
Disable Startup Programs for Faster Boot
Startup apps are the single biggest reason Windows 11 boots slowly. Disabling the ones you do not need can cut boot time dramatically without affecting any app's functionality.
Most programs add themselves to the startup list during installation. Some launch a background updater. Others open a small helper window. You probably do not need any of them to start with Windows.
Open Task Manager with the keyboard shortcut. It is faster than right-clicking the taskbar.
The tab lists every program registered to launch with Windows, along with its impact rating.
High-impact entries are the ones worth disabling. Focus on apps you do not use daily.
Disabling does not uninstall the app. You can still launch it manually whenever you want.
Spotify registers three startup entries by default (Spotify, Spotify Web Helper, and the crash reporter). Steam launches Steam Client Bootstrapper and Steam Client Service. Google Drive, Dropbox, and Skype each add one entry. Leave Windows Security (SecurityHealthSystray) and your audio driver (Realtek HD Audio Manager or equivalent) enabled. Touchpad utilities on laptops should stay too. Everything else is usually safe to turn off.
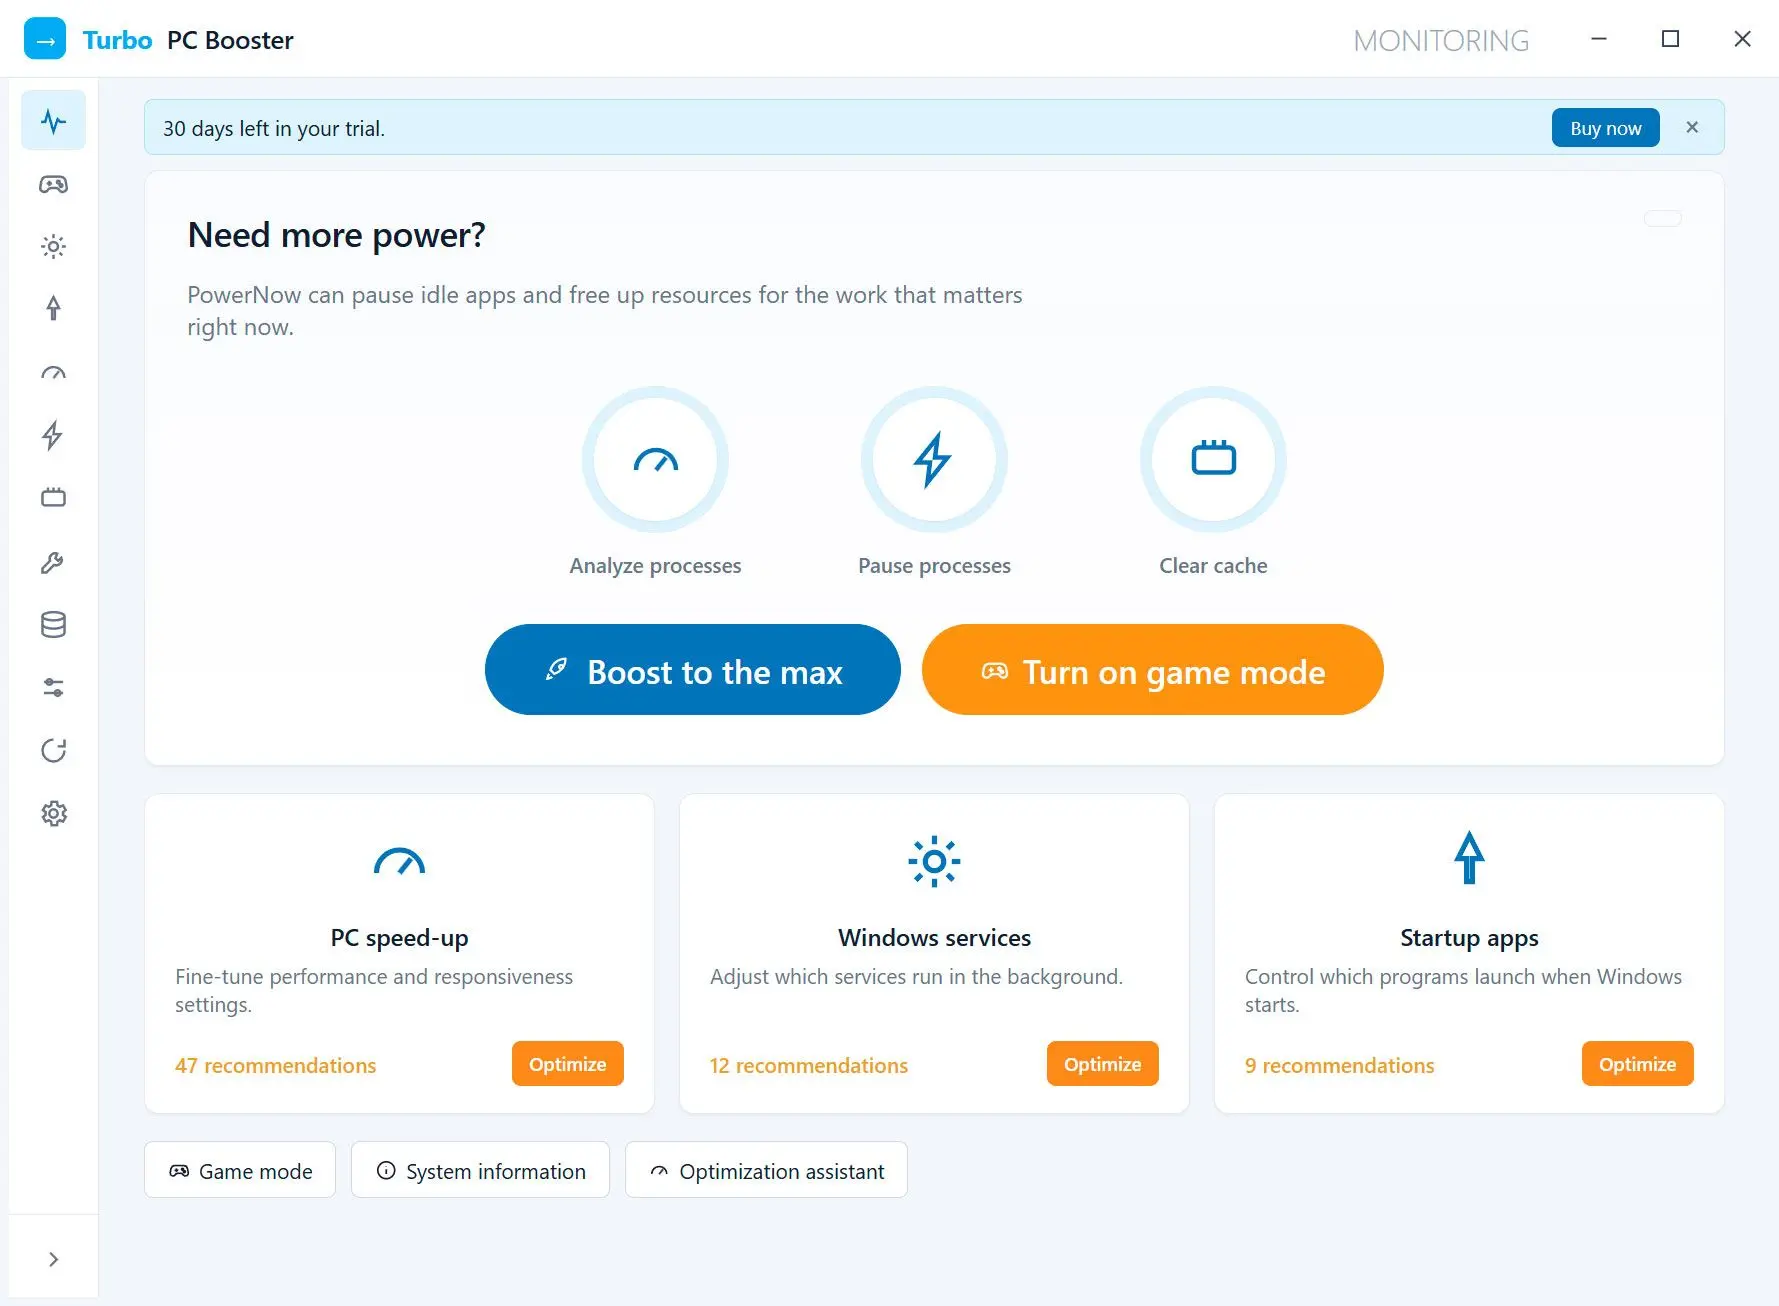
If you want a faster way to speed up boot time without opening Task Manager every time, Turbo PC Optimizer scans startup entries and background processes in one view. It identifies which apps slow down your boot and lets you disable them with a single click.
Remove Bloatware and Preinstalled Apps
Windows 11 ships with preinstalled apps like Clipchamp, Solitaire, and TikTok. These trial apps consume disk space and occasionally run background processes. Removing them frees resources with zero risk.
Open Settings, go to Apps, then Installed apps. Scroll through the list and uninstall anything you have never opened. A stock Windows 11 Home install ships with Clipchamp (roughly 180 MB), Phone Link, Microsoft Teams (consumer), Solitaire & Casual Games, and a rotating set of promoted apps like TikTok or Spotify. Most users never launch a single one of these.
To remove an app, click the three dots next to its name and select Uninstall. Some built-in apps like Cortana or the old Edge components may not show an uninstall option. That is normal. Leave those alone.
Removing bloatware alone reclaims 500 MB to 1 GB on a typical install. On a 256 GB SSD that is already two-thirds full, that headroom helps Windows keep the swap file and trim operations healthy.
Turn Off Background Apps and Services
Background apps consume CPU and RAM even when you are not using them. Turning off the ones you rarely open returns those resources to the apps you actually work in.
Windows 11 changed how background permissions work compared to Windows 10. You now control them per app.
Go to Settings > Apps > Installed apps. Find an app you want to restrict, click the three dots, then Advanced options. Under Background apps permissions, switch to Never.
Not every app shows this toggle. UWP (Universal Windows Platform) apps do. Traditional Win32 apps manage their own background behavior. For those, check Task Manager > Processes tab. Sort by CPU or Memory to spot heavy background consumers. If something uses significant resources while idle, either disable its background mode inside the app's own settings or uninstall it.
Windows Update and Windows Security should always stay on. The Print Spooler too. Messing with core services causes more problems than it solves. If you want to reduce telemetry instead, our guide on how to turn off Windows tracking covers the safe settings to change. That opinion comes from experience. We have seen too many optimization guides leave users with broken printers and stalled updates.
Clean Up Disk Space and Temp Files
Temp files, browser caches, and old Windows update data fill the drive with useless bytes. A cluttered disk slows file operations and leaves less room for the swap file Windows needs when RAM runs low.
Windows stores temporary data in several locations. The user Temp folder and browser caches grow the fastest. Windows Update cleanup and thumbnail caches add to the total. Each can reach hundreds of megabytes over time. According to Microsoft Support, freeing up disk space is one of the recommended steps for improving PC performance. As Tom's Guide points out, clearing this junk is one of the fastest ways to reclaim both disk space and responsiveness.
You can clear these manually through Settings > System > Storage > Temporary files. Check the boxes and click Remove files. The problem is that these files return within days. Browsing the web, installing updates, and running apps all regenerate temp data continuously.
SoftOrbits System Cleaner handles this on a schedule. It scans for junk files across the system, including temp folders and browser history caches. Leftover installer data and Windows error reports get cleaned too. You set it once and it runs cleanup automatically. The tool also clears registry entries that point to deleted files. This reduces the clutter Windows has to parse when opening programs.
Manual cleanup works fine if you only need a one-time fix. For ongoing maintenance, a tool that can automatically clean temp files saves you from repeating the same five-click routine every week.
Enable Storage Sense for Automatic Cleanup
Storage Sense is a built-in Windows 11 feature that automatically deletes temp files and empties the Recycle Bin on a schedule. It runs silently and needs no third-party software.
Storage Sense runs on a timer and requires zero maintenance after the first setup. Once enabled, it monitors your drive and removes files you no longer need.
Navigate to the Storage section in the System settings panel.
The toggle activates automatic cleanup immediately.
Configuration options let you set the frequency and file types.
Weekly is better for active users. Monthly works for light browsing.
Files older than 30 days in the Recycle Bin will be deleted automatically.
Storage Sense skips browser caches, third-party app temp data, and the Windows.old folder left behind after major updates. Those blind spots mean it complements rather than replaces a deeper cleaner. For the basics (Recycle Bin, Downloads, system temp folders) it works without any setup beyond the initial toggle.
Reduce RAM Usage and Free Memory
Windows 11 uses more RAM at idle than Windows 10. Identifying the heaviest memory consumers in Task Manager and closing or disabling them returns usable RAM to the apps you actually need.
Open Task Manager (Ctrl + Shift + Esc) and switch to the Processes tab. Sort by Memory. You will likely see your browser at the top. Chrome with a dozen tabs open can easily consume 2 to 4 GB of RAM. Electron-based apps like Discord and Microsoft Teams each spin up their own Chromium instance with separate renderer processes. Slack does the same. Three Slack windows can push 1.2 GB of RAM on their own. On r/WindowsHelp and r/techsupport threads, high idle RAM usage is one of the most common complaints about Windows 11.
If you need those apps, the best move is to close tabs and windows you are not actively using. Browser extensions also use memory. Each one adds overhead to every tab. Disable extensions you have not used in the past month.
For a more permanent fix, consider replacing heavy Electron apps with their web versions. Discord in a browser tab uses roughly 200 MB less RAM than the standalone Discord app, because the browser shares one Chromium engine across all tabs instead of bundling a separate copy per app.
Windows 11 also has a feature called Memory integrity under Windows Security > Device security > Core isolation. It is a security feature worth keeping on, but be aware it uses a small amount of extra RAM for virtualization-based protection.
Set Power Plan to High Performance
The default Balanced power plan throttles the CPU to save energy. Switching to Best performance removes that throttle and makes the system respond faster, especially on laptops.
Microsoft moved the power plan dropdown into Settings in Windows 11 22H2, so you no longer need the old Control Panel for this change. As PCMag notes, changing the power plan is one of the most effective quick fixes.
Find the power settings section in System settings.
This dropdown controls how aggressively Windows manages CPU performance.
The CPU will run at higher clock speeds. On a laptop, battery life decreases as a trade-off.
On a desktop PC, this change has a small effect because the CPU rarely throttles under Balanced mode when plugged in. On a laptop, the difference is significant. Apps open faster and multitasking feels smoother. If you use the laptop mostly plugged in, Best performance is the obvious choice. For batch image work, you may also want to check how to resize multiple images in Windows 11 using optimized settings.
For older Control Panel power plans, type "power plan" in the Start menu and open Choose a power plan. The High performance plan may be hidden under Show additional plans.
Disable Visual Effects and Transparency
Transparency and shadow effects use GPU resources on every window interaction. Animations add CPU overhead. Disabling these makes the interface feel snappier, especially on older hardware.
Rounded corners, mica backgrounds, fade animations, and the transparent taskbar all look polished. Each one also asks the GPU to do extra compositing work every time you open, close, or resize a window. On a modern discrete GPU (anything from the GTX 1650 onward) this overhead is negligible. On integrated graphics or a laptop from 2019-2020 with Intel UHD 630, disabling these effects frees up measurable frame time. How-To Geek lists transparency and visual effects among the hidden settings that make the most noticeable difference.
The Visual effects page has two toggles that control the most resource-heavy effects.
This removes the frosted-glass look from the taskbar, Start menu, and window borders.
Windows will snap between states instead of fading or sliding.
For deeper control, press Win + R, type `sysdm.cpl`, and press Enter. Go to the Advanced tab, click Settings under Performance. Select Adjust for best performance to disable all effects, or manually uncheck the ones you do not need. We suggest keeping Smooth edges of screen fonts enabled - text looks rough without it.
On a machine from 2019 or earlier, the difference is visible within seconds. Windows snap instead of fading. Menus pop in instead of sliding. The interface loses some polish and gains real responsiveness, which matters more when you are actually working.
Manage Windows Search Indexing
Windows Search indexes files in the background so searches return instantly. On large drives or older hardware, the indexing process itself consumes enough disk and CPU to slow everything else down.
By default, Windows 11 indexes your Documents and Desktop folders plus Pictures. The indexer (searchindexer.exe) runs in the background and updates whenever files change. On an NVMe SSD this barely registers in Task Manager. On a mechanical HDD with a large photo library or code repository, the indexer can pin disk usage at 100% for minutes after every batch of file changes.
To check or change what gets indexed, open Settings > Privacy & security > Searching Windows. The Classic mode indexes only your libraries and desktop. The Enhanced mode indexes every file on every drive. If you have Enhanced mode on and notice disk activity spikes, switch back to Classic.
You can also pause indexing temporarily. Open Indexing Options from the Start menu and click Pause. This helps when you need full disk performance for a large file transfer or a game install. Indexing resumes automatically after the pause expires.
If you rarely use Windows Search and prefer a tool like Everything by voidtools for file search, disabling indexing entirely is a reasonable choice. The service will stop writing to the disk in the background, which helps especially on mechanical drives.
Speed Up Windows 11 for Gaming
Game Mode and GPU scheduling are two built-in Windows 11 features that redirect system resources toward the active game and reduce input latency.
Windows 11 ships with three gaming toggles that most users never touch. All three are off by default or only partially enabled.Game Mode tells Windows to deprioritize background tasks and pause Windows Update downloads when a game is running. Open Settings > Gaming > Game Mode and turn it on. The benefit shows up most in CPU-bound games where a sudden Windows Update download or indexer spike would otherwise cause a frame drop mid-combat.
Hardware-accelerated GPU scheduling moves frame management from the CPU to the GPU. This reduces latency and can improve frame pacing. Go to Settings > System > Display > Graphics > Change default graphics settings. Turn on Hardware-accelerated GPU scheduling. A restart is required.
Another useful setting: Variable refresh rate in the same Graphics settings panel. If your monitor supports it, this smooths out frame delivery and reduces tearing without the input lag of traditional V-Sync.
Before launching a game, close browsers with open tabs (Chrome alone can hold 2-3 GB of RAM). Discord and Spotify have system tray minimize options that use less memory than their full windows. OBS and streaming overlays compete for GPU encoder time with the game itself, so close them unless you are actively broadcasting.
Pitfalls When Trying to Speed Up Windows 11
Some popular "speed up Windows 11" advice actually makes things worse. Registry cleaners can delete entries your apps still need. Third-party RAM boosters slow down the exact apps they claim to speed up. Disabling critical services leaves you exposed to malware and broken printers. And skipping updates means missing driver fixes that prevent slowdowns in the first place.
Here are four tips to ignore. Each one has a thread on r/techsupport where someone followed the advice and broke something.
The Windows registry is a database. Cleaning it means deleting entries that point to removed files. In practice, orphaned registry entries do not slow Windows down. They take up a few kilobytes and get ignored. What does cause problems is a registry cleaner deleting an entry that an active program still needs. On r/WindowsHelp, users regularly report broken audio drivers and Start menu issues from aggressive registry cleaning.
Some guides list 15-20 Windows services to disable for "maximum performance." The list often includes Windows Update, Windows Defender, and the Print Spooler. Multiple optimization guides caution against this approach. Disabling Windows Update leaves you without security patches within days of a new CVE being published. Disabling Defender removes real-time malware scanning entirely. On r/techsupport, broken printing and stalled Windows Store downloads are the most common results of blindly disabling services. The CPU savings are near zero; the repair cost is a broken system.
These tools claim to free memory by forcing Windows to flush cached data to the page file (pagefile.sys on your system drive). What actually happens is that cached DLLs, font tables, and recently used executables get evicted from fast RAM and written to the SSD or HDD. The next time you open an app that was cached, Windows reads it back from disk, a round trip that costs 50-100 ms on an SSD and several seconds on an HDD. The Windows memory manager has handled working sets correctly since Vista. If you need more RAM, buy a stick of RAM.
Pausing updates for a week before a deadline is fine. Running six months behind means you miss driver patches, .NET runtime updates, and security fixes that close attack vectors malware actively exploits. Threads on r/windowshelp confirm that systems running months behind on updates are often slower because outdated drivers and unpatched services cause background errors and retries. Set Active Hours in Windows Update settings so patches install on your schedule instead of mid-meeting.
Frequently Asked Questions
 Turbo PC Optimizer
Sources