Enable Fast Startup
Fast Startup turns a full shutdown into a hybrid hibernation, cutting cold boot time by 30-65%.
Fast Startup is a Windows feature that changes how shutdown works. Instead of closing every kernel process from scratch, Windows saves the system state (loaded drivers, kernel, services) to a file called `hiberfil.sys` on your drive. Next time you press the power button, Windows reads that file instead of reinitializing everything.
To enable it:
1. Open Control Panel and go to Hardware and Sound > Power Options.If you prefer the command line, open Command Prompt as administrator and run `powercfg /h on`.
There are two caveats. First, Restart still performs a full shutdown and reboot, which is what you want for Windows Updates. Second, dual-boot users should leave Fast Startup off because the Windows partition stays locked and Linux cannot access it.
Some users on fast NVMe SSDs actually report that disabling Fast Startup gives a slightly quicker boot. Reading `hiberfil.sys` can take longer than a clean kernel init on a fast drive. If you have a modern SSD, try both and time the difference.
Upgrade to an SSD
Switching from an HDD to an SSD is the single biggest improvement you can make. Boot times drop from 60-120 seconds to 10-25 seconds.
A mechanical hard drive has to physically spin platters and move a read head to find boot files scattered across the disk. An SSD reads electronically with no moving parts. The difference is not subtle. A typical SATA SSD boots Windows in 15-25 seconds, while an NVMe SSD does it in 10-18 seconds.
If your system drive is still an HDD, cloning it to an SSD is straightforward. Tools like Macrium Reflect (free for personal use) or Samsung Data Migration copy the entire system, including programs and files, to the new drive. Swap the physical drive, set it as the boot device in BIOS, and Windows picks up right where you left off.
Even a budget SATA SSD (around $30 for 500 GB in 2026) transforms a sluggish laptop into something that feels new. This is the one hardware upgrade that makes every other optimization look minor by comparison. After upgrading, a boost pc tool fine-tunes startup services and background processes automatically.
Reduce Boot Menu Timeout
The default 30-second boot menu timeout wastes time on every startup if you only have one OS.
When Windows starts, it pauses at a boot menu screen for 30 seconds to let you pick an operating system. If you only run one copy of Windows, that pause is pure waste.
Press Win + R, type `sysdm.cpl`, and press Enter. Go to the Advanced tab, then under Startup and Recovery click Settings. Change Time to display list of operating systems from 30 to 5 seconds (or even 3; you can still hit the arrow keys in time if you ever need the menu).
Alternatively, run `bcdedit /timeout 5` in an admin Command Prompt. The change takes effect on the next reboot.
Perform a Clean Boot to Find Culprits
A clean boot strips Windows down to bare essentials so you can identify exactly which third-party software is dragging out startup.
When disabling startup programs is not enough, a clean boot goes further. It starts Windows with only Microsoft services and no third-party startup items, letting you test in isolation.
1. Press Win + R, type `msconfig`, and press Enter.
2. Go to the Services tab.
3. Check "Hide all Microsoft services" (this is critical; never disable Microsoft services).
4. Click Disable all to turn off every remaining third-party service.
5. Click Apply, then OK.
6. Open Task Manager, go to the Startup tab, and disable all startup items there too.
7. Restart your PC.
If boot time drops dramatically, you know the problem is third-party software. Re-enable services and startup items one batch at a time, restarting after each group, until boot slows down again. The last group you enabled contains the culprit. See also Microsoft's official clean boot guide for more detail.
Disable Unnecessary Services
Windows runs background services you may never use. Disabling the right ones frees resources during boot and runtime.
Press Win + R, type `services.msc`, and hit Enter. Sort by the Startup Type column and look for services set to Automatic that you do not need.
Several services are commonly safe to set to Manual or Disabled for home users. Fax can go unless you still use a fax modem. Print Spooler is fine to disable if you do not own a printer. Remote Registry is both unnecessary and a security risk when left enabled. Connected User Experiences and Telemetry collects data you probably do not want. Windows Search can be set to Manual if you rarely use the Start menu search and want to stop background indexing.
When in doubt, set a service to Manual rather than Disabled. Manual lets Windows start it if something actually requests it. For a safer approach, a pc optimizer applies tested service presets for common configurations, so you do not have to research each service individually.
Update Windows and Drivers

Outdated storage, chipset, and GPU drivers are a surprisingly common cause of slow boot, especially after a Windows update.
Windows Updates sometimes install new background services or reset optimization settings. If your boot time got worse after an update, check for driver updates.
1. Go to Settings > Windows Update > Advanced options > Optional updates.
2. Install any available driver updates, especially for storage controllers, chipset, and display adapters.
3. For GPU drivers specifically, use NVIDIA GeForce Experience or AMD Adrenalin to grab the latest version directly.
A pending restart also degrades performance until you complete it. If Windows Update says a restart is required, do it. Delaying only makes things worse.
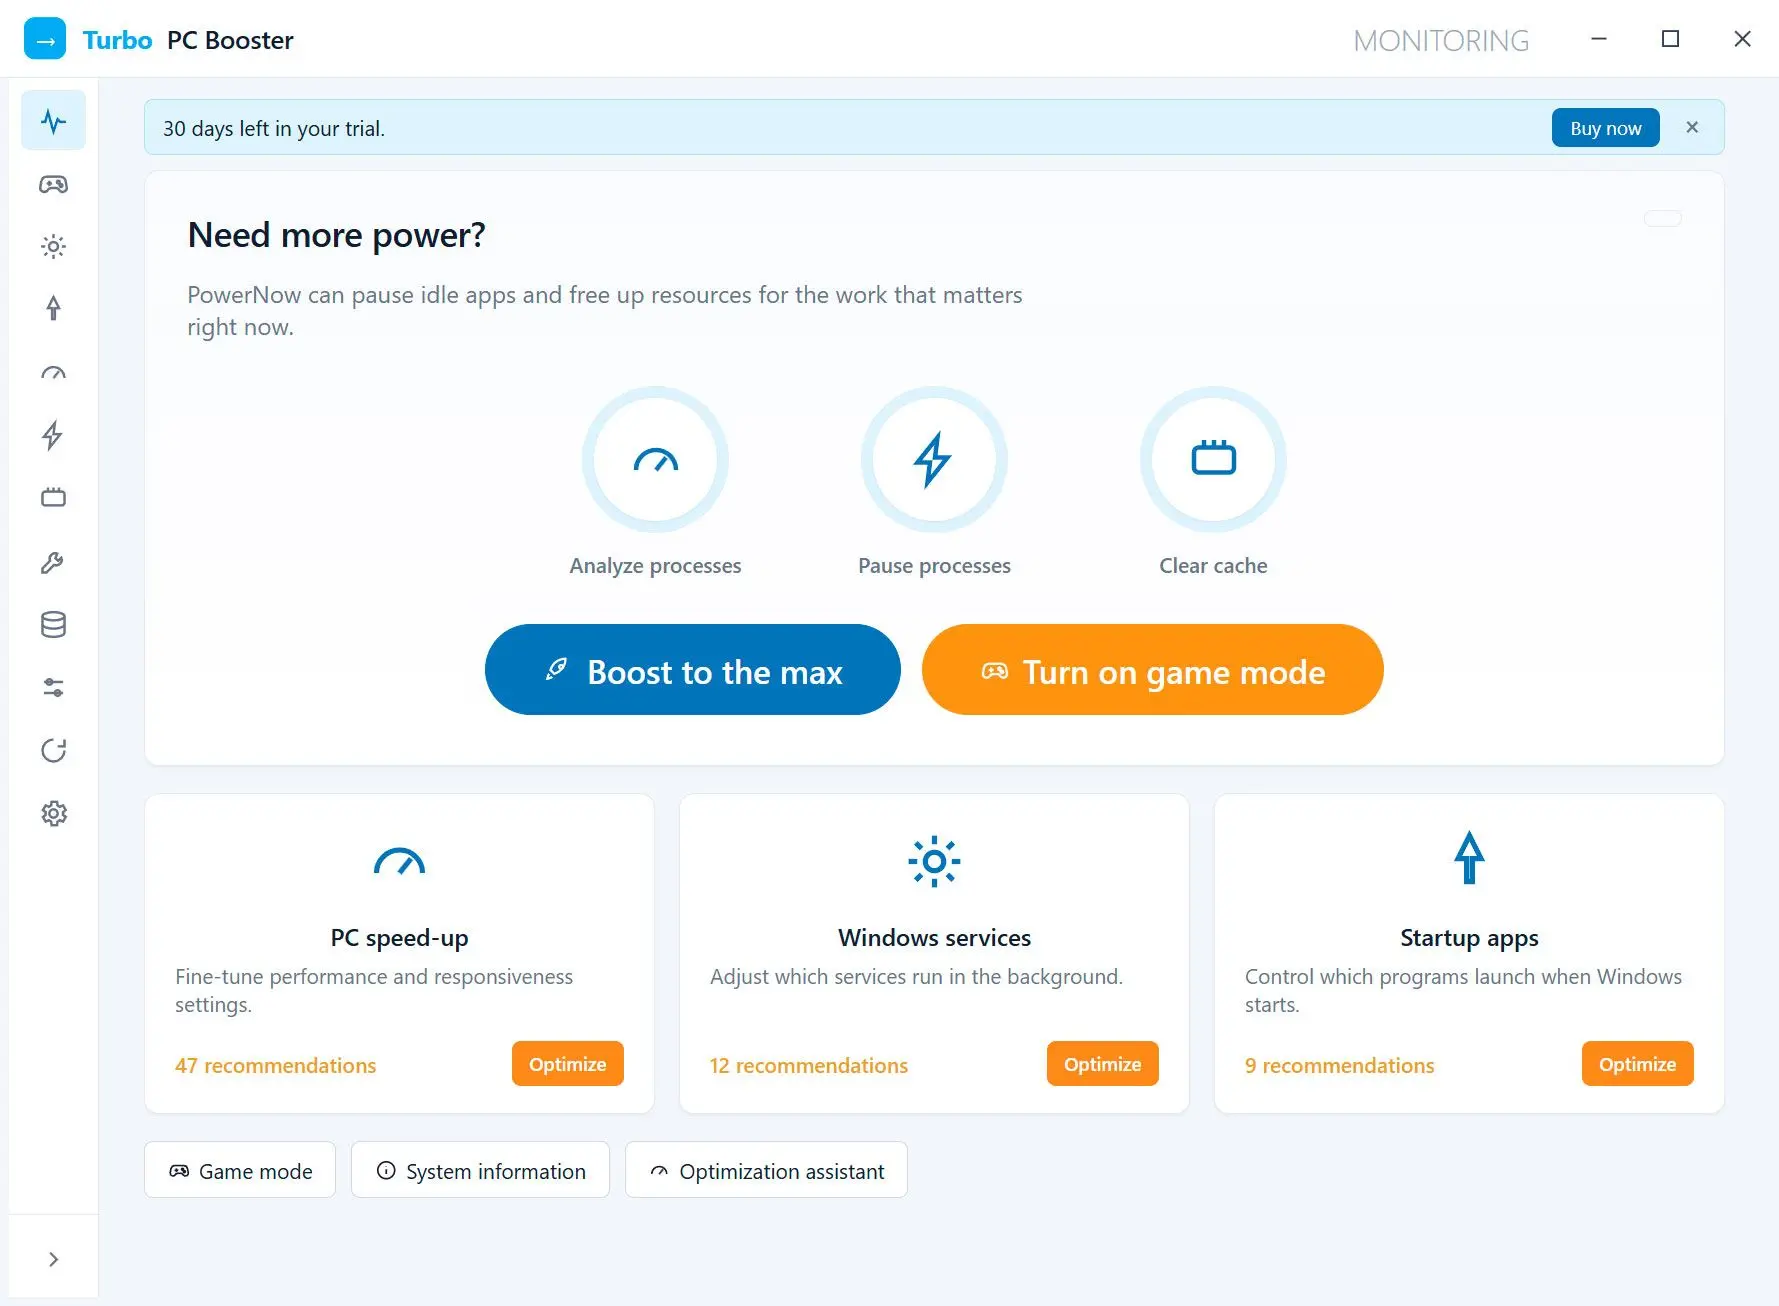
Defragment Your HDD (Skip if You Have an SSD)
On a mechanical drive, fragmentation scatters boot files across the platter, forcing the read head to jump around during startup.
Press Win + R, type `dfrgui`, and hit Enter to open Defragment and Optimize Drives. Select your system drive (usually C:) and click Analyze. If fragmentation is above 10%, click Optimize.
Windows runs defragmentation on a schedule, but it can fall behind on drives that are nearly full. Keep at least 15-20% free space on your system drive so the defragmenter has room to work. If your drive is cluttered with temporary files, run Disk Cleanup first (search "Disk Cleanup" from Start) to free up significant space before defragmenting.
SSDs do not benefit from defragmentation. They have no moving parts, so file location does not matter. Windows sends TRIM commands to SSDs instead, which is the correct maintenance operation for flash storage.
Optimize Virtual Memory
A poorly configured page file forces Windows to constantly resize it during boot, adding unnecessary disk activity.
If your system drive is running low on space or the page file is set too small, Windows spends extra time managing memory during startup.
1. Press Win + R, type `sysdm.cpl`, press Enter.
2. Advanced tab, under Performance, click Settings.
3. Advanced tab, under Virtual memory, click Change.
4. Uncheck Automatically manage paging file size for all drives.
5. Select your system drive, choose Custom size.
6. Set Initial size to 1.5x your RAM in MB (for 16 GB RAM: 16384 x 1.5 = 24576 MB).
7. Set Maximum size to 3x your RAM (for 16 GB RAM: 49152 MB).
8. Click Set, then OK, and restart.
On systems with 16 GB or more RAM, the automatic setting is usually fine. This tweak matters most on machines with 8 GB or less.
Set Boot Priority in BIOS/UEFI
If your BIOS checks USB drives, network boot, or optical drives before your system drive, it adds 2-10 seconds to every startup.
Restart your PC and press the BIOS key during the manufacturer logo (typically F2, Del, F10, or Esc depending on the brand). Navigate to the Boot section and move your system drive (the one with Windows) to the first position in the boot order. Save and exit (usually F10).
This also prevents the rare but annoying case where a plugged-in USB drive or phone causes the PC to hang at a "no bootable device" screen.
Scan for Malware
Hidden malware processes can add 30-120 seconds to boot by running resource-heavy tasks in the background before you even see the desktop.
Some malware specifically targets startup. Cryptominers, adware, and spyware register themselves to launch at boot and immediately consume CPU and disk resources.
Run a full scan through Windows Security: go to Settings > Privacy & Security > Windows Security > Virus & threat protection > Scan options > Full scan. A full scan takes time (potentially hours on a large drive), but it checks every file.
For a second opinion, Malwarebytes free edition catches threats that Windows Defender sometimes misses, particularly adware and potentially unwanted programs (PUPs) that slow startup without being outright malicious.
Use Sleep or Hibernate Instead of Full Shutdown
If you shut down every night out of habit, switching to Sleep gives you a 1-3 second resume instead of a 30-60 second cold boot.
Sleep keeps your session in RAM with minimal power draw. Pressing the power button or any key wakes the PC in 1-3 seconds with everything exactly where you left it. Hibernate saves the session to disk and uses zero power. Resume takes 5-15 seconds, still much faster than a cold boot.
To enable Hibernate in the power menu, open Command Prompt as administrator and run `powercfg /h on`, then go to Control Panel > Power Options > Choose what the power buttons do and check Hibernate under shutdown settings.
Sleep is the best option for daily use. Full shutdown makes sense before travel, after major updates, or when you want a clean slate.
Pitfalls When Speeding Up Windows Startup
Before you start disabling everything in sight, watch out for these common mistakes:
Some guides recommend turning Fast Startup off because it "is not a real shutdown." For most users, the boot time savings (30-65%) far outweigh the philosophical argument. Only disable it if you dual-boot Linux or have a specific driver conflict.
Setting Windows Update, Windows Defender, or audio services to Disabled might speed up boot by a few seconds but breaks core functionality. Always check what a service does before turning it off.
This wastes write cycles and does nothing for boot speed. Windows already sends TRIM commands to SSDs automatically.
No optimization tool can make a 5400 RPM HDD boot as fast as an SSD. If your drive is mechanical, the upgrade is the fix.
This is by design. Restart always performs a full shutdown and reboot. If you are timing boot speed, use Shut Down then power on, not Restart.
A pending restart degrades performance. Complete updates before measuring boot time.
Sources