

Way #2: Using Adobe Photoshop
Adobe Photoshop offers a range of tools for object removal, including the Clone Stamp, Spot Healing Brush, and Content-Aware Fill. These tools provide varying levels of precision and control, allowing for effective removal of different types of watermarks. The Clone Stamp tool is particularly useful for removing simple watermarks by copying pixels from unaffected areas, while the Spot Healing Brush and Content-Aware Fill tools can handle more complex watermarks by automatically blending the removed area with surrounding pixels.![]()
How To Use Photoshop To Remove Watermark from Photo?
Adding a blank layer
When you open the image, you must add a layer above it. Creating a blank layer will ensure that the original photo underneath is protected from any mistakes you make.
Name the blank layer as Remover to identify which layer you need to work on.
Select Spot Healing
Find the Spot Healing Brush in the Toolbar. As the name suggests, this brush will heal the spots on which you click and replace the gaps with the surrounding pixels.
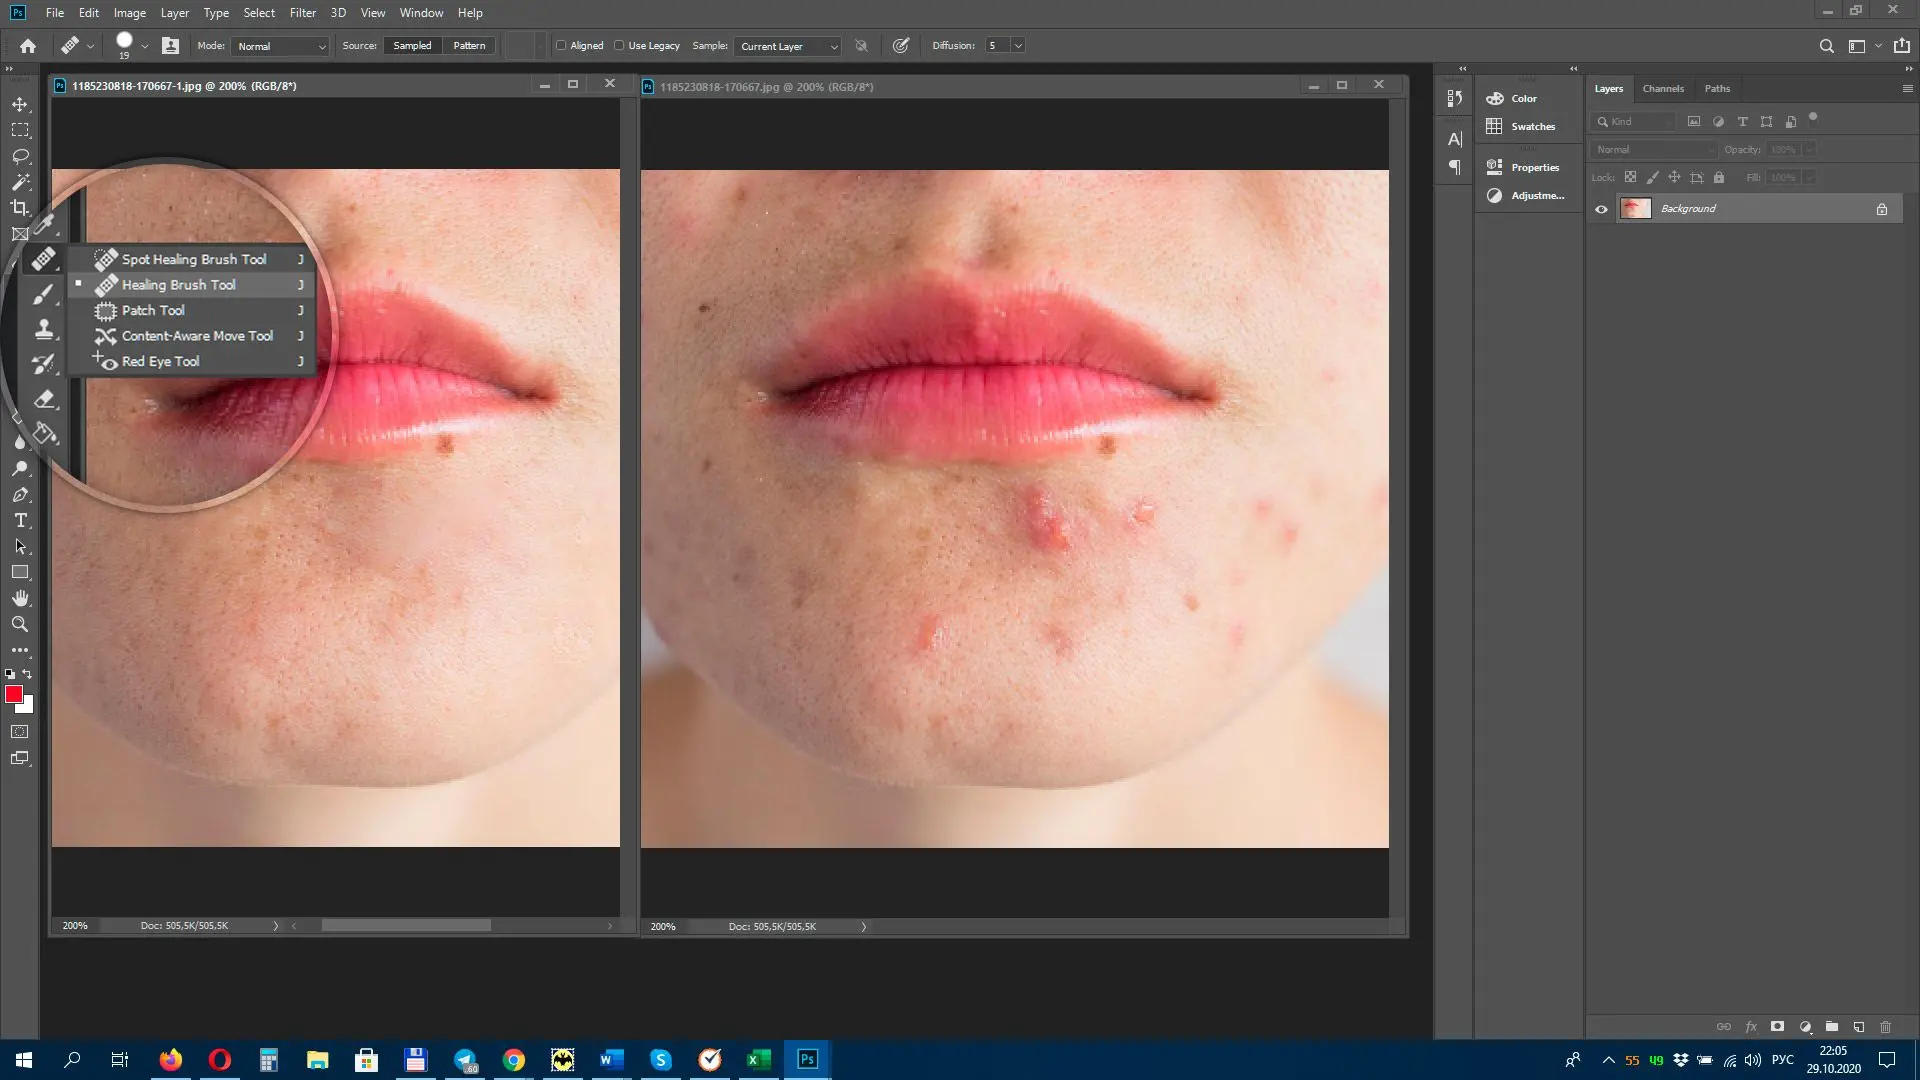
Also, turn the Sample All Layers option on! This is necessary so you can use the layer below to understand how the gaps can be filled once the watermark is gone.
Select Content Aware
Along with the Sample All Layers option, you will also see a Type option to your left. Change this to Content Aware. This is a powerful option because it samples the pixels around the watermark and uses them to fill the gaps.

This is an essential step because it leads to the most natural results!
Tap the watermark
Now click on the watermark and watch it disappear!

Lasso tool. If you find these steps difficult to follow, you can check out a few videos on YouTube explaining how to remove watermarks. Or you may try Adobe Photoshop object removal AI.
Pros:
Advanced features for complex watermarks.
High-quality image editing capabilities.
Versatility for various image editing tasks.
Large community and extensive resources.
Cons:
Steep learning curve for beginners.
Can be resource-intensive.
Requires a subscription fee.
Ideal use cases:
- Removing complex watermarks.
- Professionals or advanced users who require precise control over the editing process.
- Users who need a versatile tool for various image editing tasks beyond object removal.


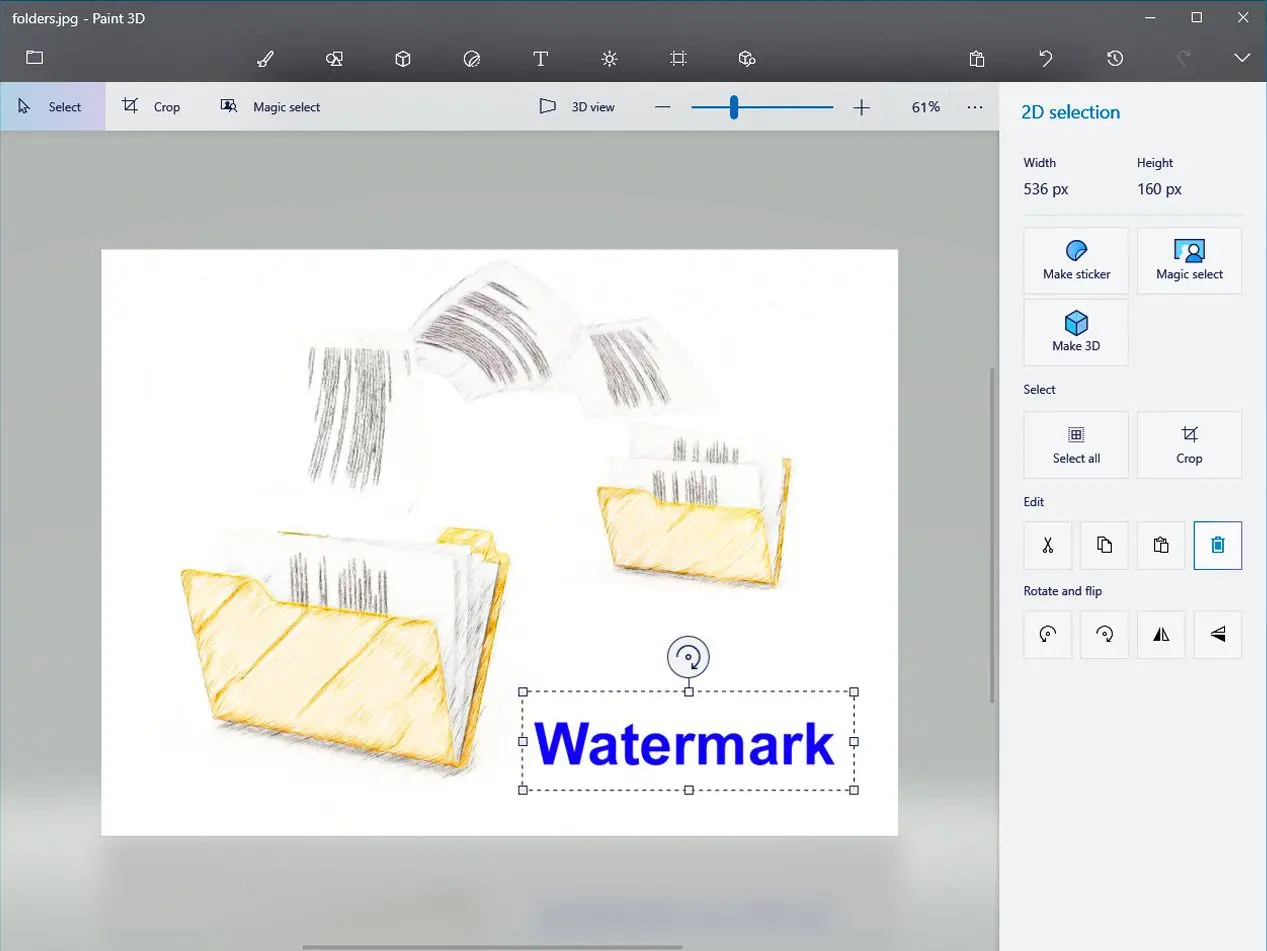


 Photo Stamp Remover