Learn how to fix out of focus photos on Windows: pick software for correcting out of focus shots, run a guided deblur workflow, and get clearer pictures when focus was missed in camera.
You can often recover usable detail from mildly defocused shots and motion blur, but Image Focuser cannot recreate true optical focus that was never captured. Easy Photo Unblur models blur patterns with deconvolution-style processing so edges and texture read clearer with fewer halos than a basic sharpen filter.
Defocus spreads detail evenly when the lens missed the focal plane. Motion blur stretches pixels along the movement direction. Easy Photo Unblur lets you treat these cases with algorithms tuned to the blur type, which usually beats a one-size-fits-all sharpen filter.
You are not refocusing the lens; you re-estimate sharp detail from the degraded signal. Expect the least improvement on extreme blur, heavy compression, and very low resolution, because high-frequency information may already be gone.
Classic sharpening boosts local contrast and can add halos. Deblurring aims to invert blur spread while controlling noise and ringing. For portraits, you want controlled edge recovery, not oversharpened skin micro-contrast.
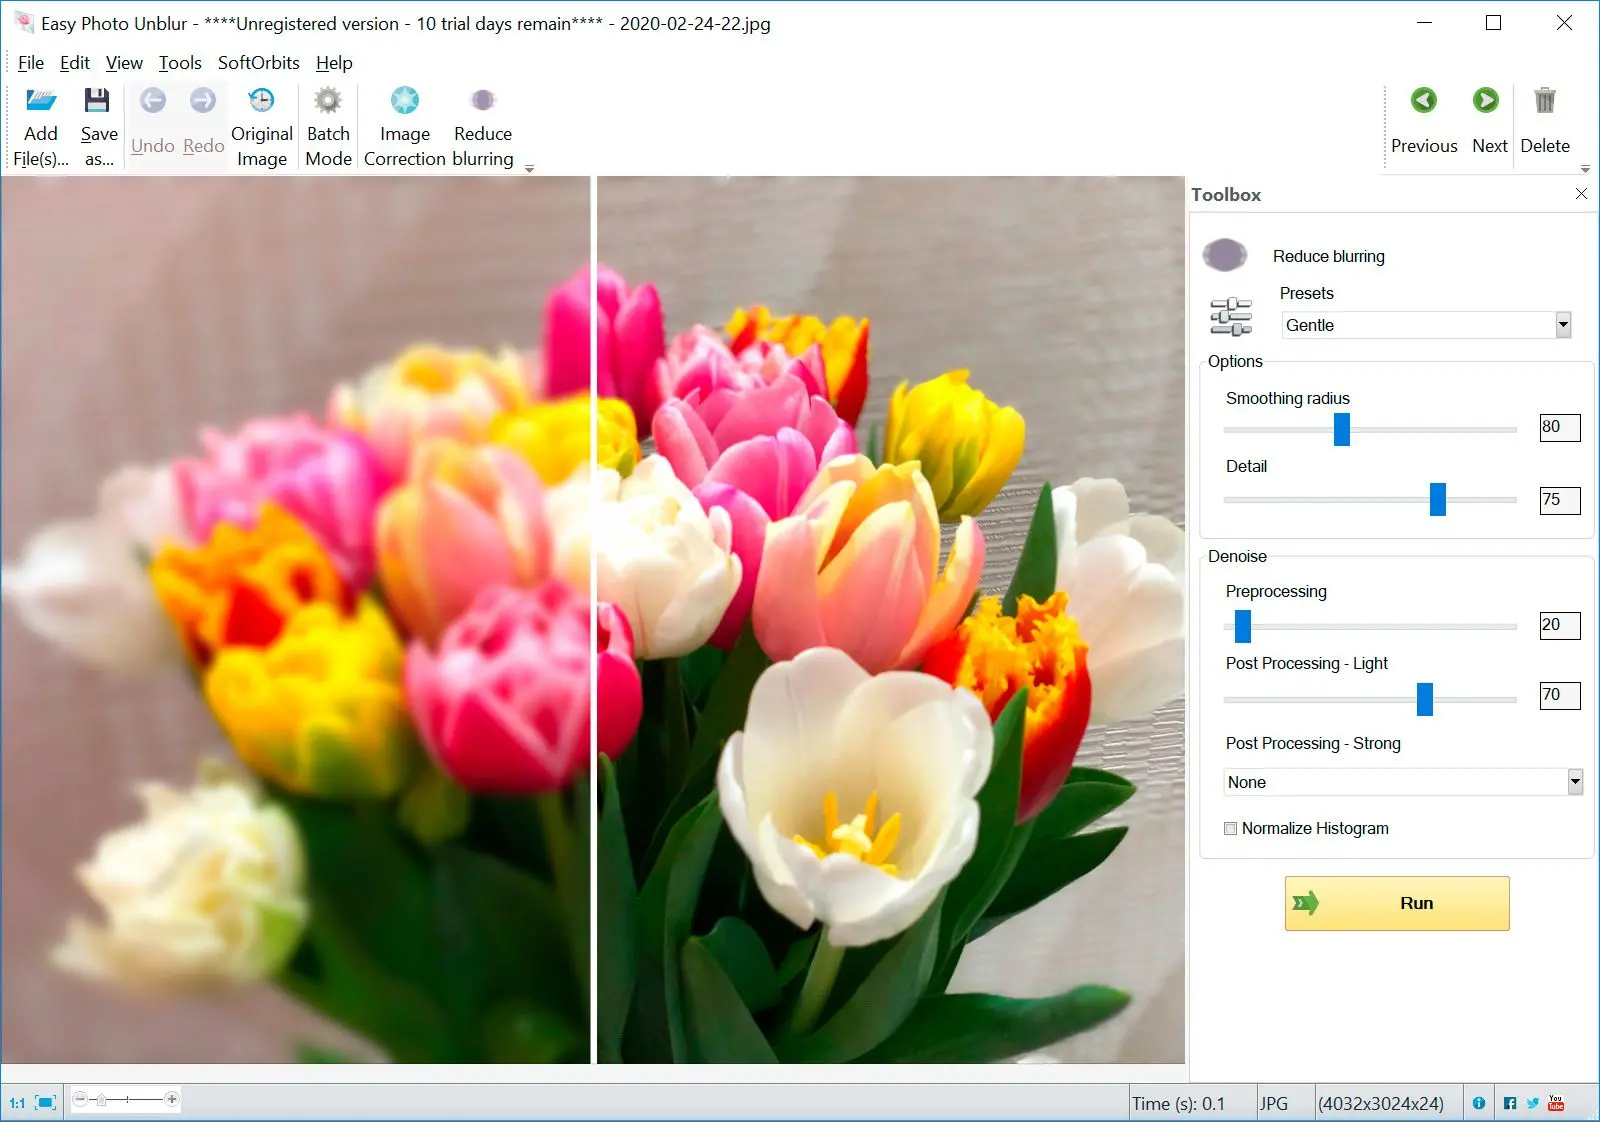
Start from the largest original file, avoid extra JPEG saves, then run automatic blur detection and preview strength. In Easy Photo Unblur, compare before and after on eyes, text, and fine lines; dial back if you see ringing or plastic skin texture.
Larger previews, batch runs on scans and exports, and steadier handling of high-megapixel images. For archival prints or RAW and TIFF workflows, a dedicated deblur tool typically offers more control and repeatability than quick mobile sharpen presets.
 Easy Photo Unblur