


Way #2: How To Convert a Photo into a Realistic Drawing in Photoshop
At SoftOrbits, our goal is to deliver accurate and trustworthy information.
We pick products for reviews based on what people like and what is popular. Our testing phase focuses on spotlighting the prime features of a product and identifying its most suitable software. User reviews from top sites guide us in crafting our product reviews. We gather feedback from our users, understanding their thoughts on SoftOrbits software and other products.

How to Transform Picture to Realistic Drawing in Photoshop
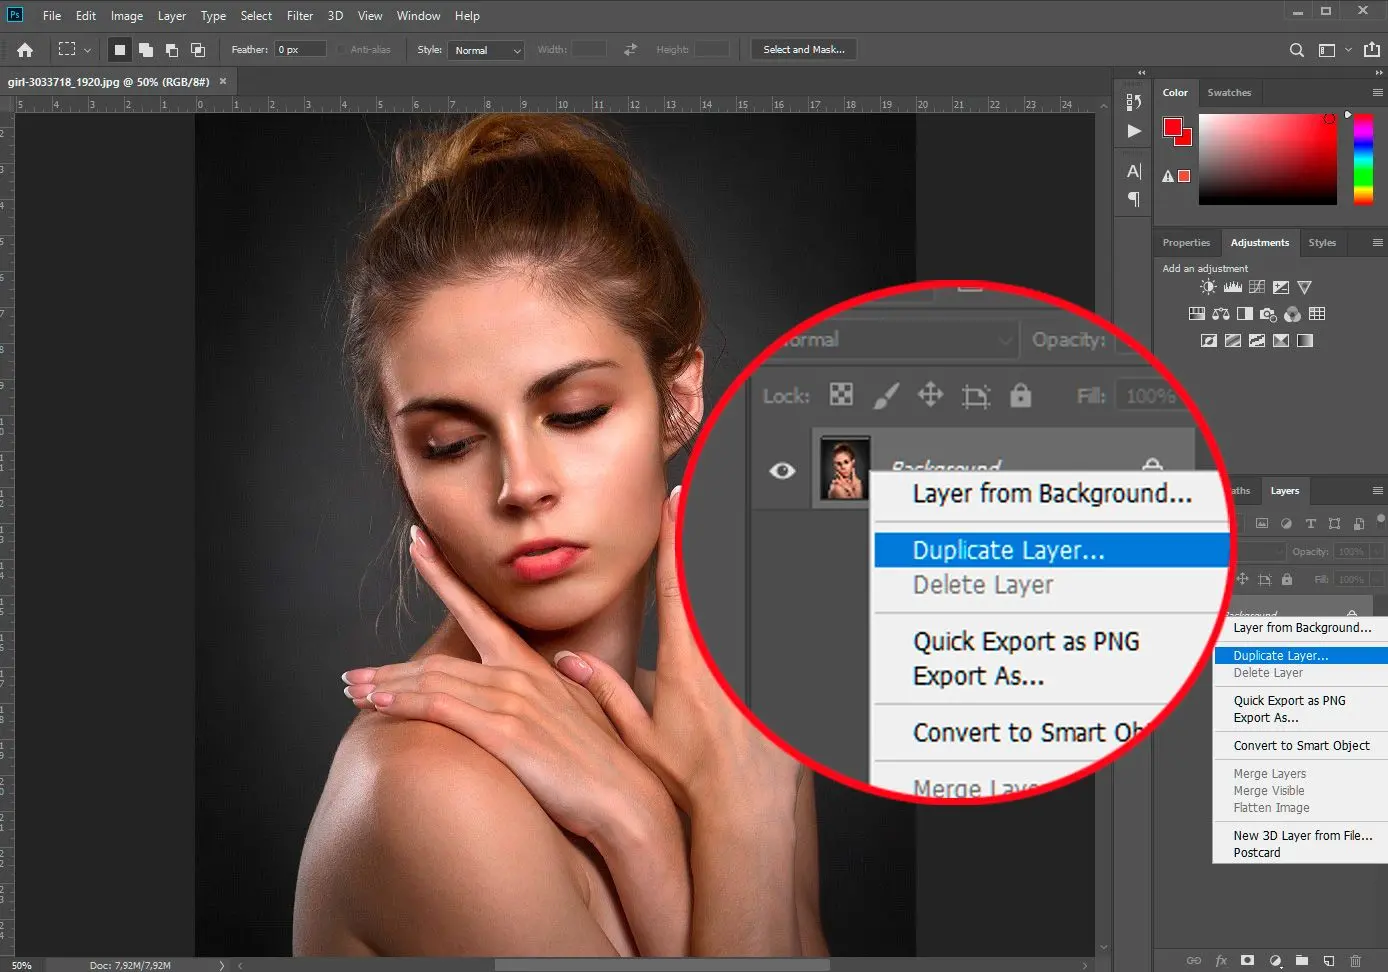
Open the photo and duplicate the layer
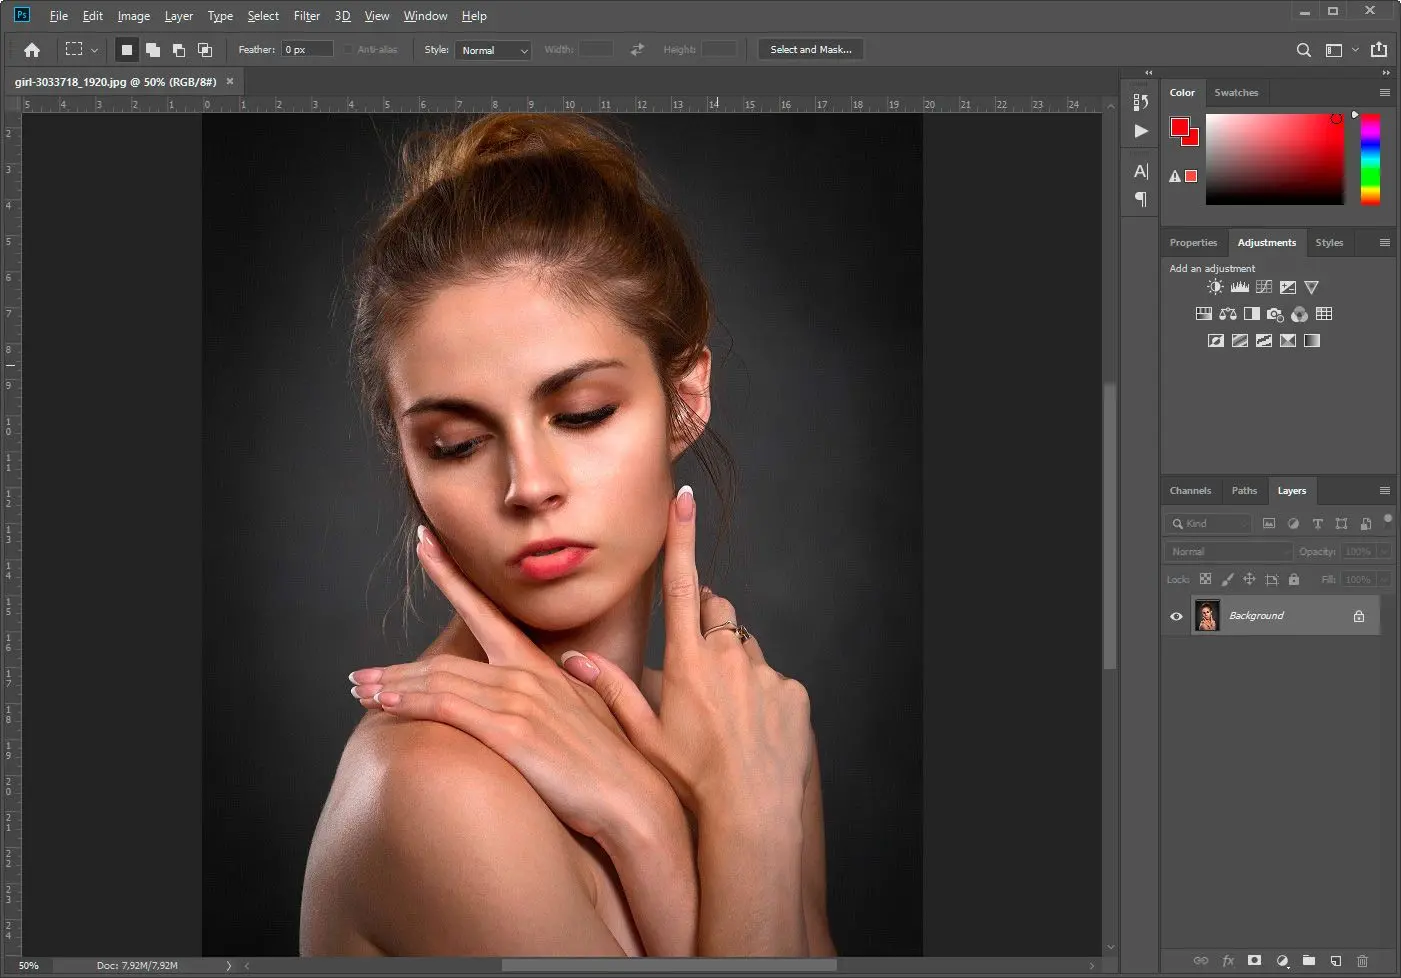
When you open the image in Photoshop, it’ll be loaded as the Background layer in the Layer panel of the toolbar.
Drag and drop this onto the folded paper icon to create a new layer. Once the original photo is duplicated, you’ll see 2 layers – Background and Background copy.
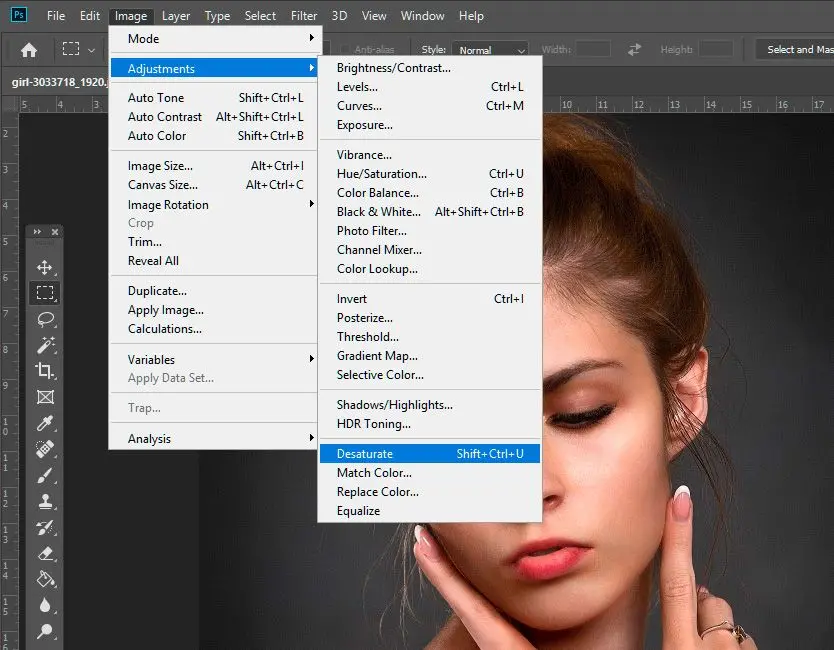
Desaturate and duplicate again
You must remove all the colours from the duplicate layer and make it black and white. Go to Image > Adjustments > Desaturate.
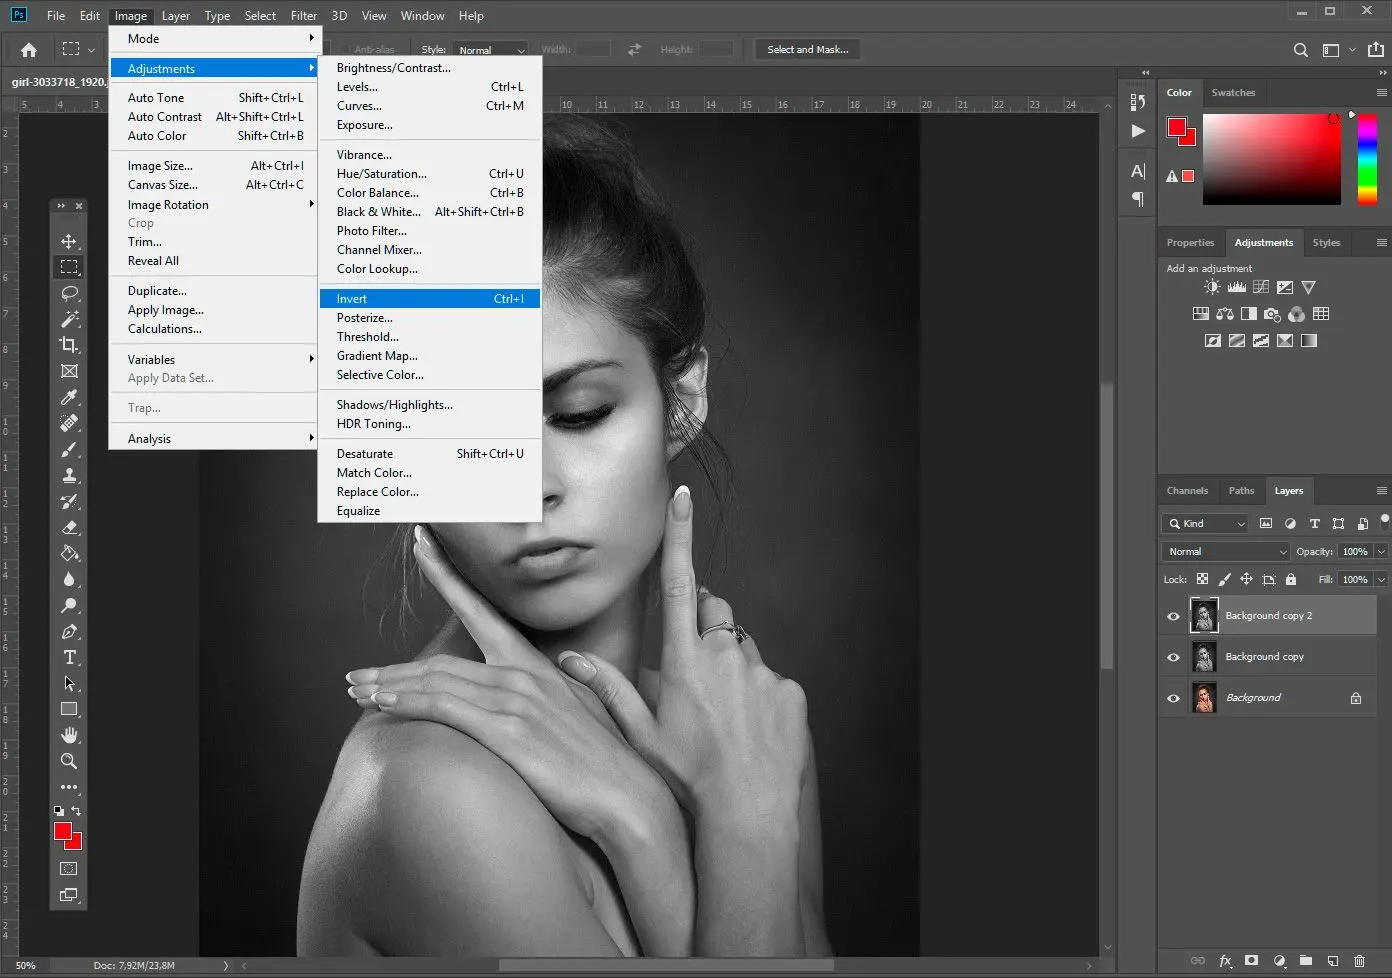
Now, this Background copy layer has to be copied again. Use the same drag-and-drop method to create a 3rd layer, called Background copy 2.
Invert
We have to invert the 3rd layer, which will give a film negative look, turning dark areas light and light areas into black patches. You can do this by using Image > Adjustments > Invert.
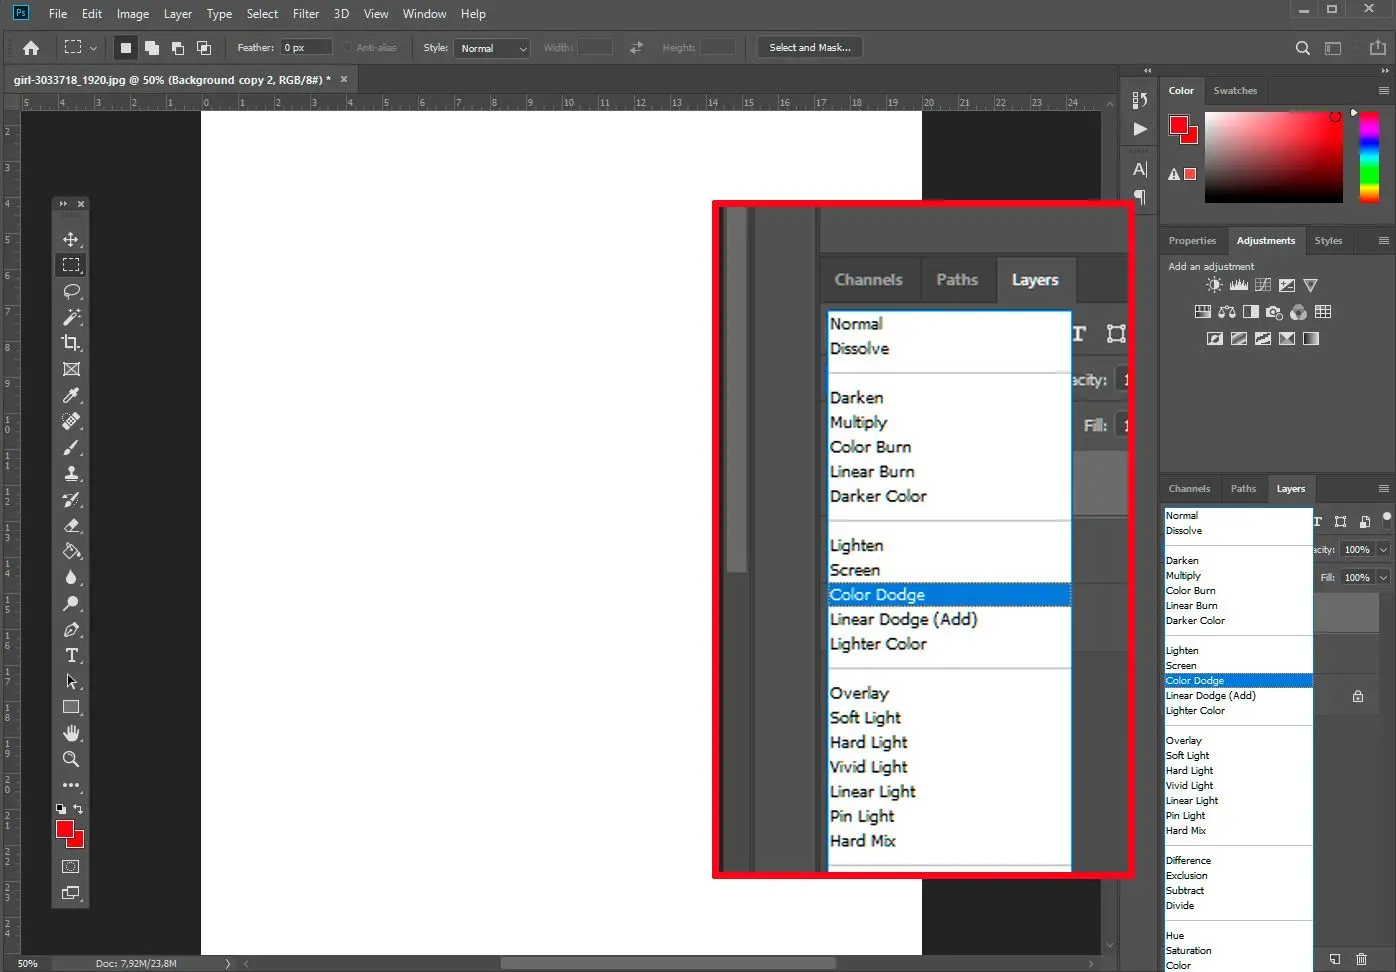
Change blend mode to Colour Dodge
When you open the Layers panel, on the top-left corner, you will see the blend mode as Normal, which is by default. Change this to colour dodge.
You should now see the Background copy 2 photo become almost completely white!
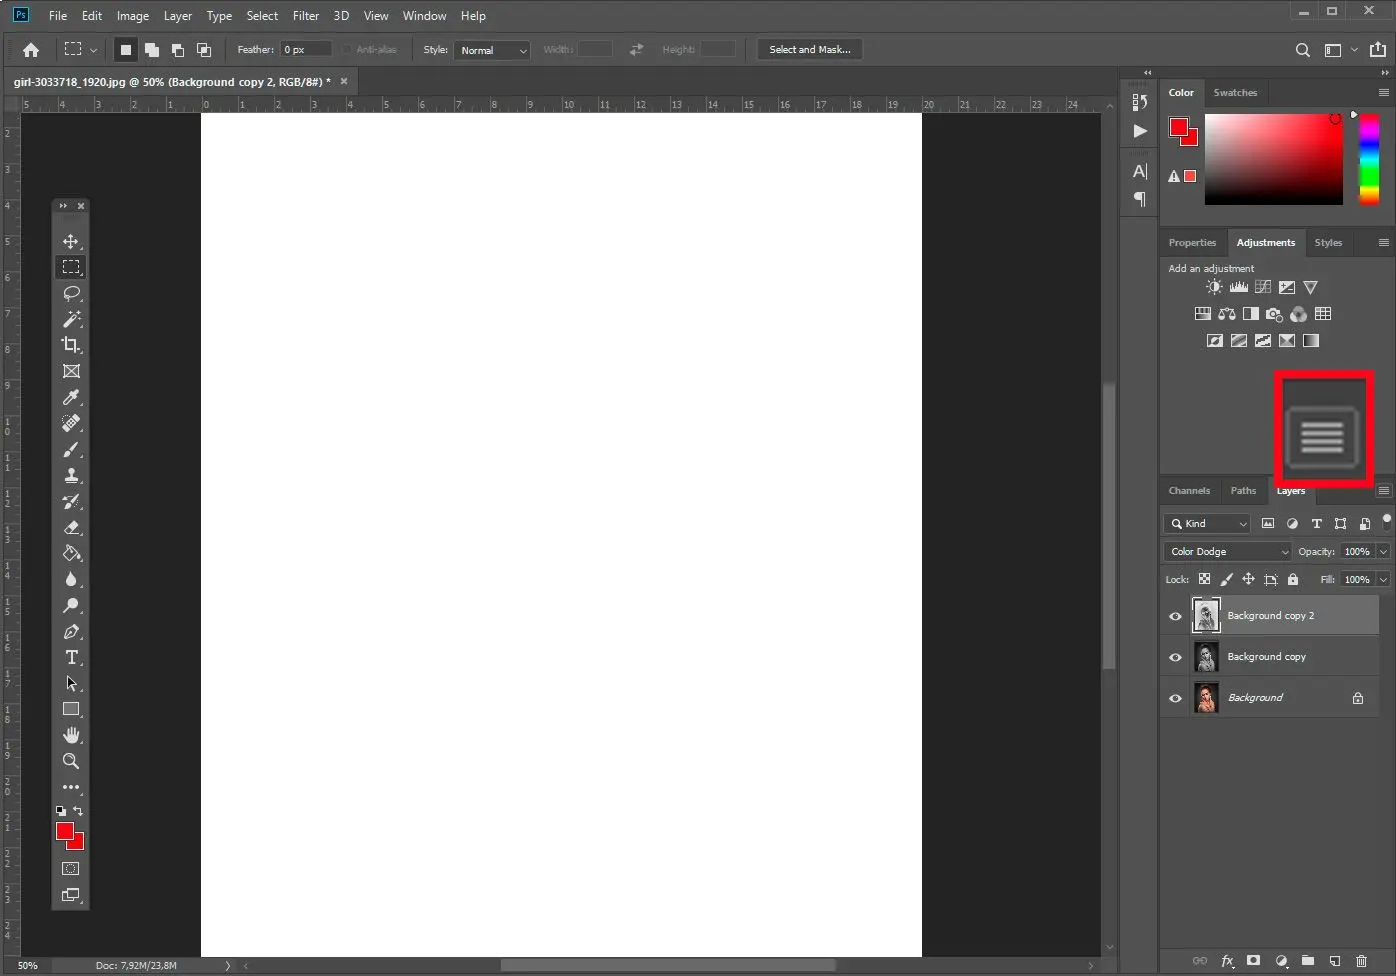
Convert this 3rd layer into a smart object
Before applying the main pancil sketch photo effect using Gaussian blur, we must change this layer into a smart object. This will keep the layer fully editable, and the changes won’t become permanent.
So, when we apply the Gaussian blur filter, we can still go back and adjust the settings as we require.
To change the layer into a smart layer, go to the Layers Panel, and click on the menu icon in the top-right corner. From that menu, you can select Convert to Smart Object.
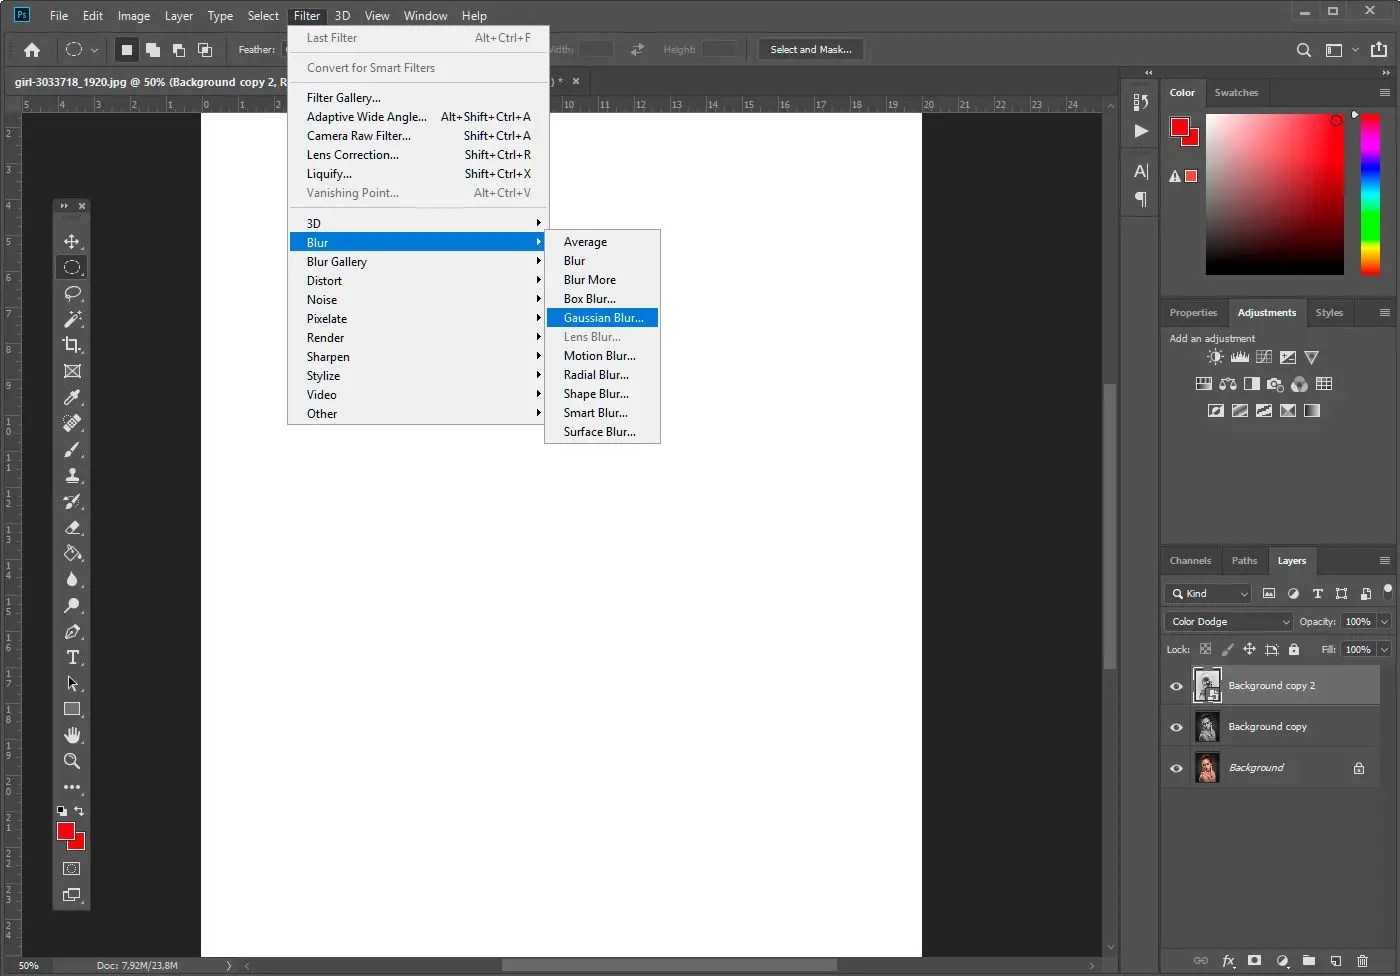
Apply Gaussian filter
Gaussian blur filter will give the final pencil effect we are looking for! Go to Filter > Blur > Gaussian Blur.
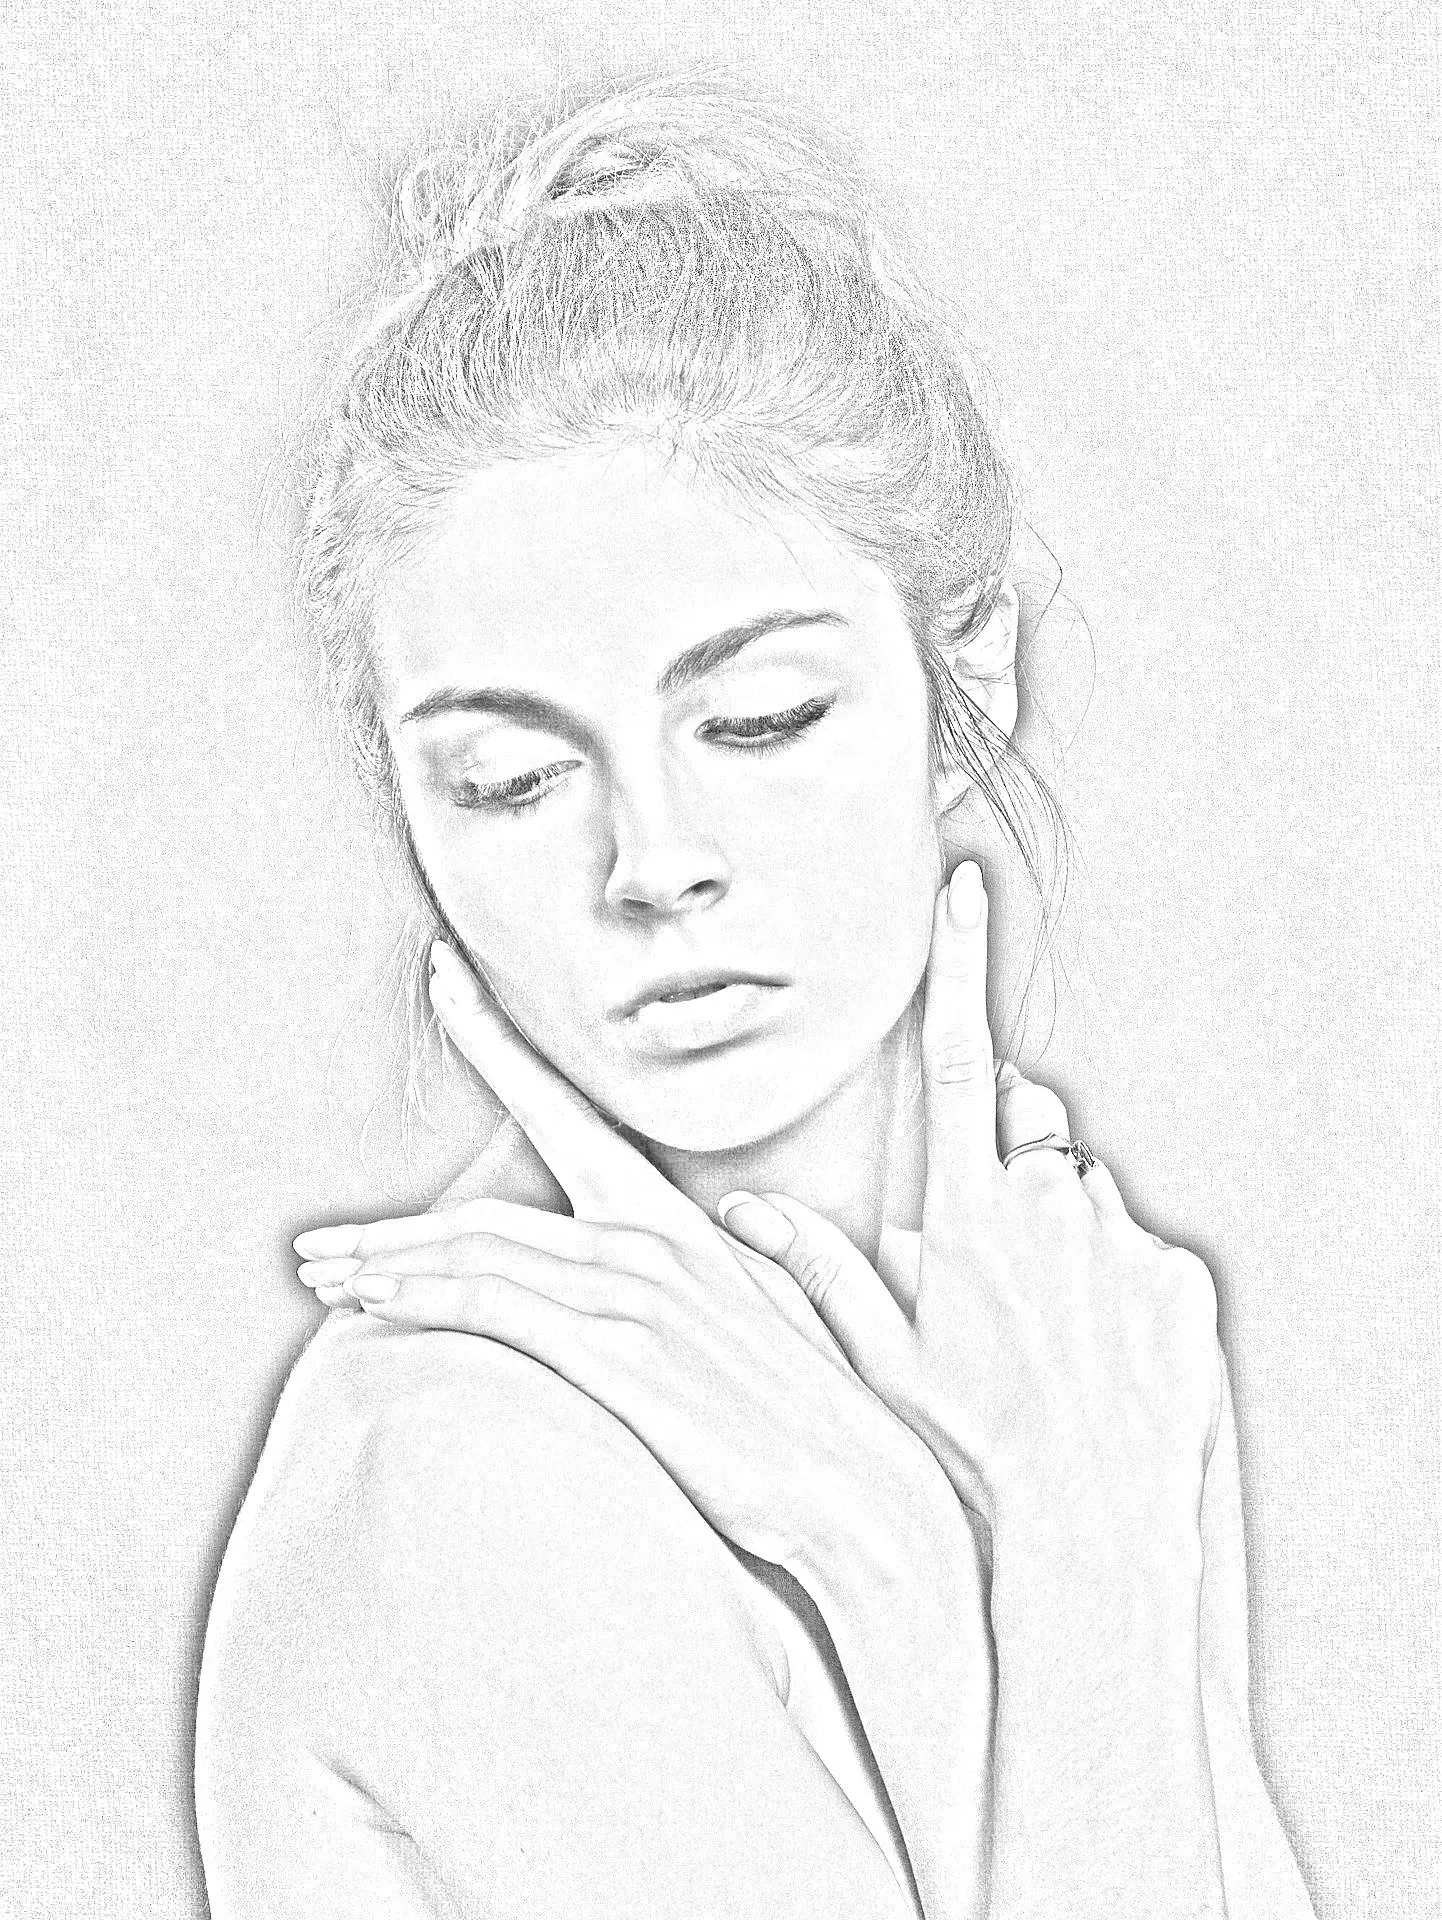
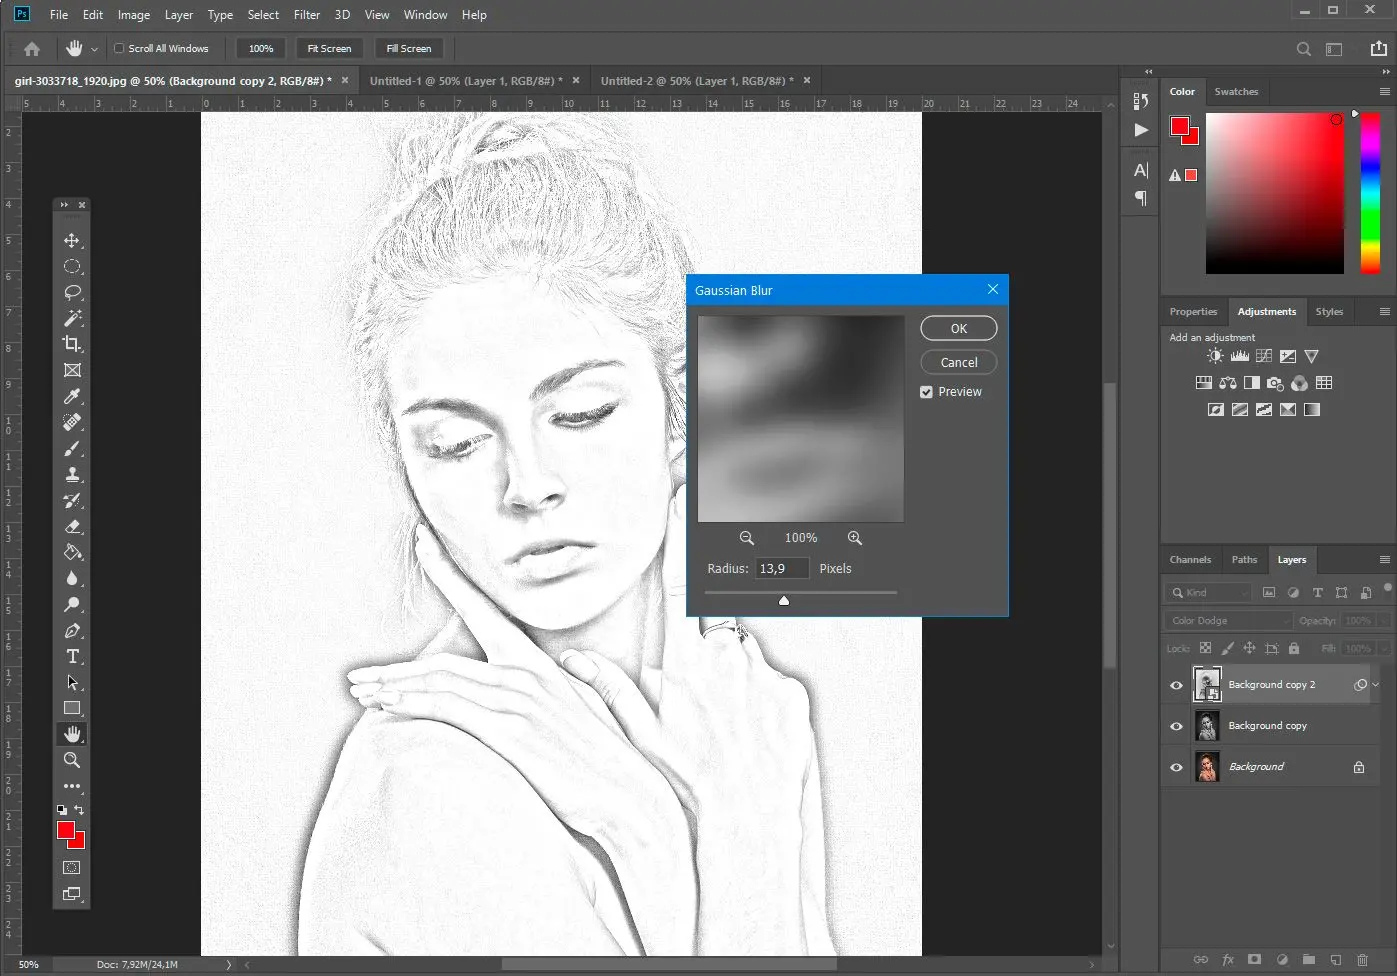
Once the filter is applied, your photo looks like a realistic drawing. You should also adjust the radius of the filter and see what look you like best! Increasing the radius allows you to create a drawing with thicker pencil strokes.
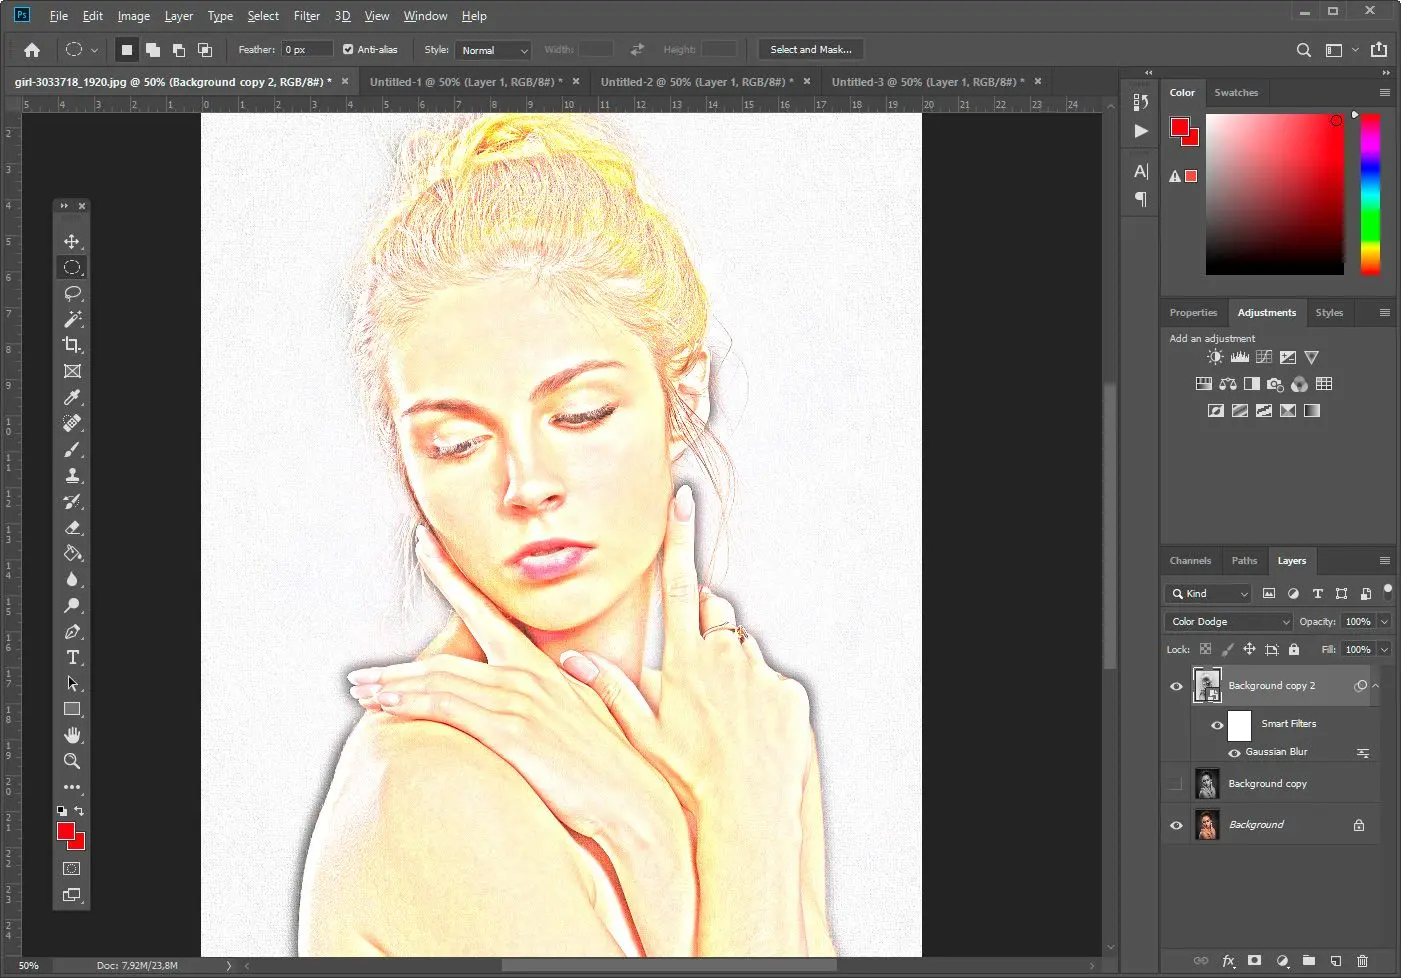
Some optional adjustments
If the result looks too bright, you can change the blend mode to Multiply to darken the image. You can add customizations and modify the shading by changing the sharpness, brightness, and contrast and using tools like Dodge and burn.
If you want to add colour to your sketch, you will have to duplicate the first layer, bring it to the top and change the blend mode to Colour.
This will mix the converted layer with the colours from the original image!
Save image
You’re done! You can save your image once you are happy with the final effects. Try options like Torn Edges or colour filters and experiment!