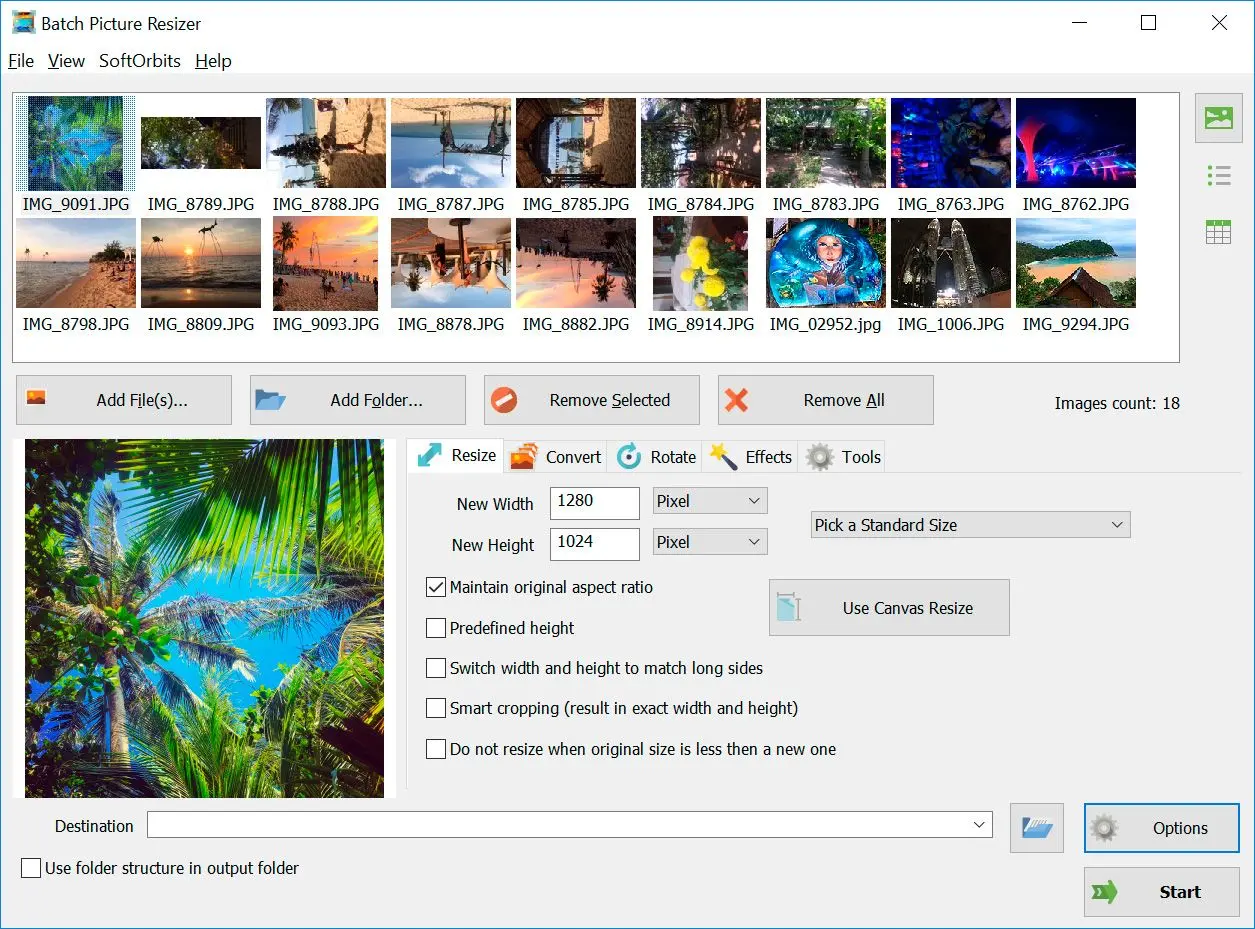
Batch Image Resizer is an easy, user-friendly tool that helps you resize multiple photos, convert, flip, mirror, or rotate them in batch mode.
Why doesn't renaming .webp to .png convert it?
Renaming changes only the file name, not the bytes inside. The file is still WebP-encoded, so editors that read the real header still reject it. You need software that decodes WebP and re-encodes it as PNG.
Renaming is the single most common mistake, and it shows up in thread after thread. People rename photo.webp to photo.png, the thumbnail looks fine, and then Photoshop or a print shop throws an error. The extension is just a label. Inside, data is still compressed with WebP codec, and a PNG reader has no idea how to decode it.
A converter does the real work. It reads the WebP, decodes the pixels into raw image data, then writes a proper PNG file with the correct header and compression. That is why a one-second rename and a real conversion produce very different files, even when both end in .png. If a program ever "opens" a renamed file, it is usually because that app happens to sniff the actual format and ignore the wrong extension, so you cannot count on the next app doing the same.
What is a WebP file, and why convert it to PNG?
WebP is Google's web image format, built for small file sizes on websites. PNG is the universally supported, lossless format that almost every editor and upload form accepts, which is why converting is often the practical fix.
WebP was created by Google to make web pages lighter. According to the official WebP FAQ, lossless WebP images are around 26% smaller than equivalent PNGs, which is great for a website but does you no favors when an app cannot read the format. Browsers save WebP because that is what the page served, and you end up with a file your desktop tools dislike.
PNG is the opposite trade-off. It is older, larger, and lossless, and it has been supported everywhere for decades, from Paint and Photoshop to GIMP, office software, and every photo upload box. When you need a file that just opens, drops into a document, or passes a strict upload validator, PNG is the safe choice. That is the whole reason the WebP to PNG conversion is so common. You are trading a little disk space for compatibility you can rely on.
Does converting WebP to PNG lose quality?
Converting from lossless WebP to PNG is pixel-for-pixel identical, with no quality loss. If the source was lossy WebP, the PNG faithfully preserves whatever the WebP already contained; it cannot add back detail the WebP threw away.
It depends on what the WebP was to begin with. WebP comes in two flavors, lossless and lossy. If your file is lossless WebP, the conversion to PNG is exact, because PNG is also lossless and every pixel is preserved. Nothing degrades.
If your file is lossy WebP (the more common kind for photos pulled from websites), the compression already discarded some detail when the image was first saved. Converting to PNG locks in exactly what is there. It preserves the existing detail without adding any new loss. So a WebP to PNG converter never makes the image worse, and going to a lossless PNG means every later edit and re-save stays clean, with no generation-by-generation decay you would get if you kept re-saving as JPG.
Will the transparent background survive the conversion?
Yes, if you convert to PNG. PNG supports an alpha channel, so transparent areas stay transparent. The trap is converting WebP to JPG instead, because JPG has no transparency and fills those areas with solid color.
Transparency is the main reason to choose PNG over JPG as your target. WebP can carry an alpha channel, and so can PNG, so a proper converter copies that transparency straight across. A logo or a product cut-out keeps its see-through background, same as the original. If you still need to make that cut-out, a background remover software for PC strips the backdrop first, then you convert to keep the transparency.
The classic failure is picking the wrong output format. If you convert a transparent WebP to JPG, the transparency has nowhere to go, because JPG does not support alpha, so those areas come back as a flat white or black box. Developers run into this constantly; one widely cited Next.js issue thread describes transparent regions turning black after the wrong conversion. The fix is simple. When transparency matters, always export to PNG. If your images are flat photos with no transparency, JPG is fine and smaller, and our WebP to JPG converter guide covers that route. Already holding PNGs you want to shrink? A PNG to JPG converter takes those down to web-friendly JPGs in the same batch.
Why is my PNG so much bigger than the WebP?
PNG stores all pixel data losslessly with lighter compression than WebP, so the same image is usually larger, often two to four times the size. That is expected and not a sign of anything wrong.
This surprises a lot of people, and they worry they did something wrong with the settings. They did not. WebP was engineered for aggressive compression so web pages load fast, while PNG keeps every pixel with simpler, lossless compression. The same picture as PNG is commonly several times larger, and image teams who batch-process assets see the same pattern, as ShortPixel's knowledge base explains from the other direction.
Here is the trade-off at a glance.
| Format | Compression | Transparency | Best for |
|---|---|---|---|
| WebP | Lossy or lossless, very small | Yes | Web delivery, fast page loads |
| PNG | Lossless, larger files | Yes | Editing, archiving, uploads, print |
How to convert an animated WebP to PNG and keep the frames?
Standard PNG holds a single frame, so a plain conversion of an animated WebP gives you just one still. To keep motion, export to APNG, or split the animation into separate PNG frames first.
Animated WebP is a real format, and it trips up simple converters. A normal PNG file can only hold one frame, so when a basic tool converts an animated WebP "to PNG," it quietly grabs the first frame and drops the rest. People discover this after the fact, when their animation is suddenly just one still picture.
You have two clean options. If you want to keep the animation in one file, convert to APNG (animated PNG), which several tools and online converters support. If you only need specific frames, like a particular pose from a sprite, extract the frames you want and save those as individual PNGs. For other moving-image jobs on Windows, our guide on how to crop a GIF handles that format the same way. Either way, decide before you convert. Check whether the WebP is animated, then pick the output that matches what you actually need.
Can Windows 11 convert WebP to PNG without extra software?
Yes, for a single image. Open it in Paint, use Save As, then choose PNG. Windows has no built-in way to batch-convert a folder, and older Windows 10 builds may not open WebP at all, which is where a dedicated converter earns its place.
For a one-off file, you do not need to download anything. On Windows 11, open the WebP in Paint, then choose File > Save as > PNG picture. The Photos app can also display WebP on current builds. This is genuinely the fastest path when you have exactly one image to deal with.
It falls apart at scale and on older systems. There is no native "convert this whole folder" command, so doing fifty images in Paint means opening and re-saving fifty times by hand. Plenty of users hit this wall and ask about it on the Microsoft Tech Community, and on Windows 10 the Photos app historically would not even open WebP without a codec, as noted in Microsoft Learn answers. One file in Paint is fine; a folder, or an older PC, calls for a real batch converter.
Why won't Photoshop open my WebP file?
Many Photoshop versions ship without native WebP support, so the app errors out or never lists the file. Convert the WebP to PNG first and Photoshop opens it normally, with transparency intact.
Photoshop is the app where this bites most often. A lot of builds have no built-in WebP decoder, so a saved .webp throws a "could not complete your request" error or simply does not show up in the open dialog. Adobe's own forums carry long threads from users whose Photoshop abruptly stopped opening WebP files (linked in Sources below). Plugins and codec packs exist, but they break between versions and have to be set up on every machine.
Converting first is the reliable path. Turn the WebP into PNG, a format Photoshop has read for decades, and the file opens every time with its alpha channel preserved. One image is quick, but if you have a folder of them, batch the conversion once and the whole set lands editor-ready, instead of wrestling a codec for each picture.
Why pick an offline converter over an online tool?
An offline desktop converter keeps your images on your own PC, has no upload limits, and finishes large batches faster than waiting on uploads and downloads. Online tools are fine for one or two non-sensitive files.
Online converters are convenient until you hit their limits, which is why a webp to png offline workflow appeals to anyone moving real volume. Most web tools cap how much you can do at once, and you have to upload each image to someone else's server and download it back. For a couple of throwaway pictures that is no problem. For a folder of client photos, personal screenshots, or anything you would not email to a stranger, sending them to an unknown server is a real concern. Forum threads on this are full of people who only realized that after uploading.
A desktop converter sidesteps all of that. The files stay on your machine, there is no per-file size cap or daily quota, and you are not bottlenecked by your upload speed. For repeat work, like converting batches every week or processing big folders, an offline tool is simply less friction. You install it once and stop thinking about upload screens.
Convert a folder of WebP to PNG from the command line
Batch Picture Resizer includes a command-line mode, so you can convert a whole folder of WebP to PNG from a script or a scheduled task. That is the fast way to mass-convert recurring drops without opening the interface.
Once the same conversion repeats, a nightly export, a folder a client keeps filling, an asset pipeline, clicking through a window gets old. A command-line converter lets you wire the WebP to PNG step into a .bat file, Task Scheduler, or a build script and then forget about it. Batch Picture Resizer exposes its conversion options as command-line switches, so "convert every .webp in this folder to PNG" becomes one line you can schedule or chain after another step.
People searching to mass convert WebP to PNG usually want one repeatable command that handles the whole folder at once, instead of a manual pass per file. The output is the same lossless PNG with transparency preserved that you get from the interface; you just trigger it from a script. For a one-time job the buttons are quicker, but for anything you run more than once, scripting it earns its keep.
Why Batch Picture Resizer fits batch WebP to PNG jobs
Batch Picture Resizer is a lightweight Windows app built for exactly this. Add a folder of WebP, pick PNG, and it converts everything in one run while keeping transparency and lossless quality.
If your problem is "I have a pile of WebP and I want PNG, fast," this is the job it was built for. Batch Picture Resizer reads WebP plus more than 70 other formats, so mixed folders (WebP, RAW such as Nikon NEF, HEIC, AVIF, and TIFF) all route through one workflow, and it preserves the alpha channel when the source WebP is transparent. You can see the full feature set on the Batch Picture Resizer product page; the same app also handles jobs like converting PSD files to JPG from the same queue. If the WebP is a logo or flat icon and you need it scalable rather than raster, a dedicated webp to svg converter traces it into vector paths instead.
Converts a whole folder of WebP to PNG in a single pass
Keeps transparency and lossless detail. Nothing is uploaded
Lightweight, about a 15 MB Windows installer
Same queue can resize, rename, or rotate if you need it
It is a focused converter and batch editor, not a full photo editor like Photoshop
Windows only
Batch Image Resizer is an easy, user-friendly tool that helps you resize multiple photos, convert, flip, mirror, or rotate them in batch mode.
Pitfalls when converting WebP to PNG
Most WebP to PNG problems come from picking JPG by mistake, renaming instead of converting, or assuming an animated WebP survives as one PNG. A quick check before you batch saves a re-do.
It is easy to grab JPG out of habit. If the WebP had a transparent background, JPG flattens it to a solid color, and you only notice after the batch is done. Pick PNG whenever alpha matters. Users in r/software conversion threads repeatedly warn each other about this exact swap.
As covered above, photo.webp renamed to photo.png is still a WebP inside. It will fail in strict editors and uploaders, a trap people walk into when they save images and try to rename WebP saves to PNG. Always run an actual conversion.
A plain PNG export keeps only the first frame. If the source moves, decide on APNG or frame extraction before you convert, not after.
Paint is great for a single image and miserable for fifty. People on the Microsoft Q&A boards often describe doing this by hand before switching to a batch tool. Use a batch converter for anything past a handful.
Free web converters cap file counts and require uploading your pictures. For sensitive or large sets, keep it local. Photoshop users hit a related wall when the app cannot even open WebP, as seen in the Adobe support community, where converting to PNG first is the reliable workaround.
 Batch Picture Resizer
Sources