Apart from programs like Batch Picture Protector, you can try other methods to add a timestamp when you do not need desktop batch power.
Add Time and Date Stamps Through Camera Settings
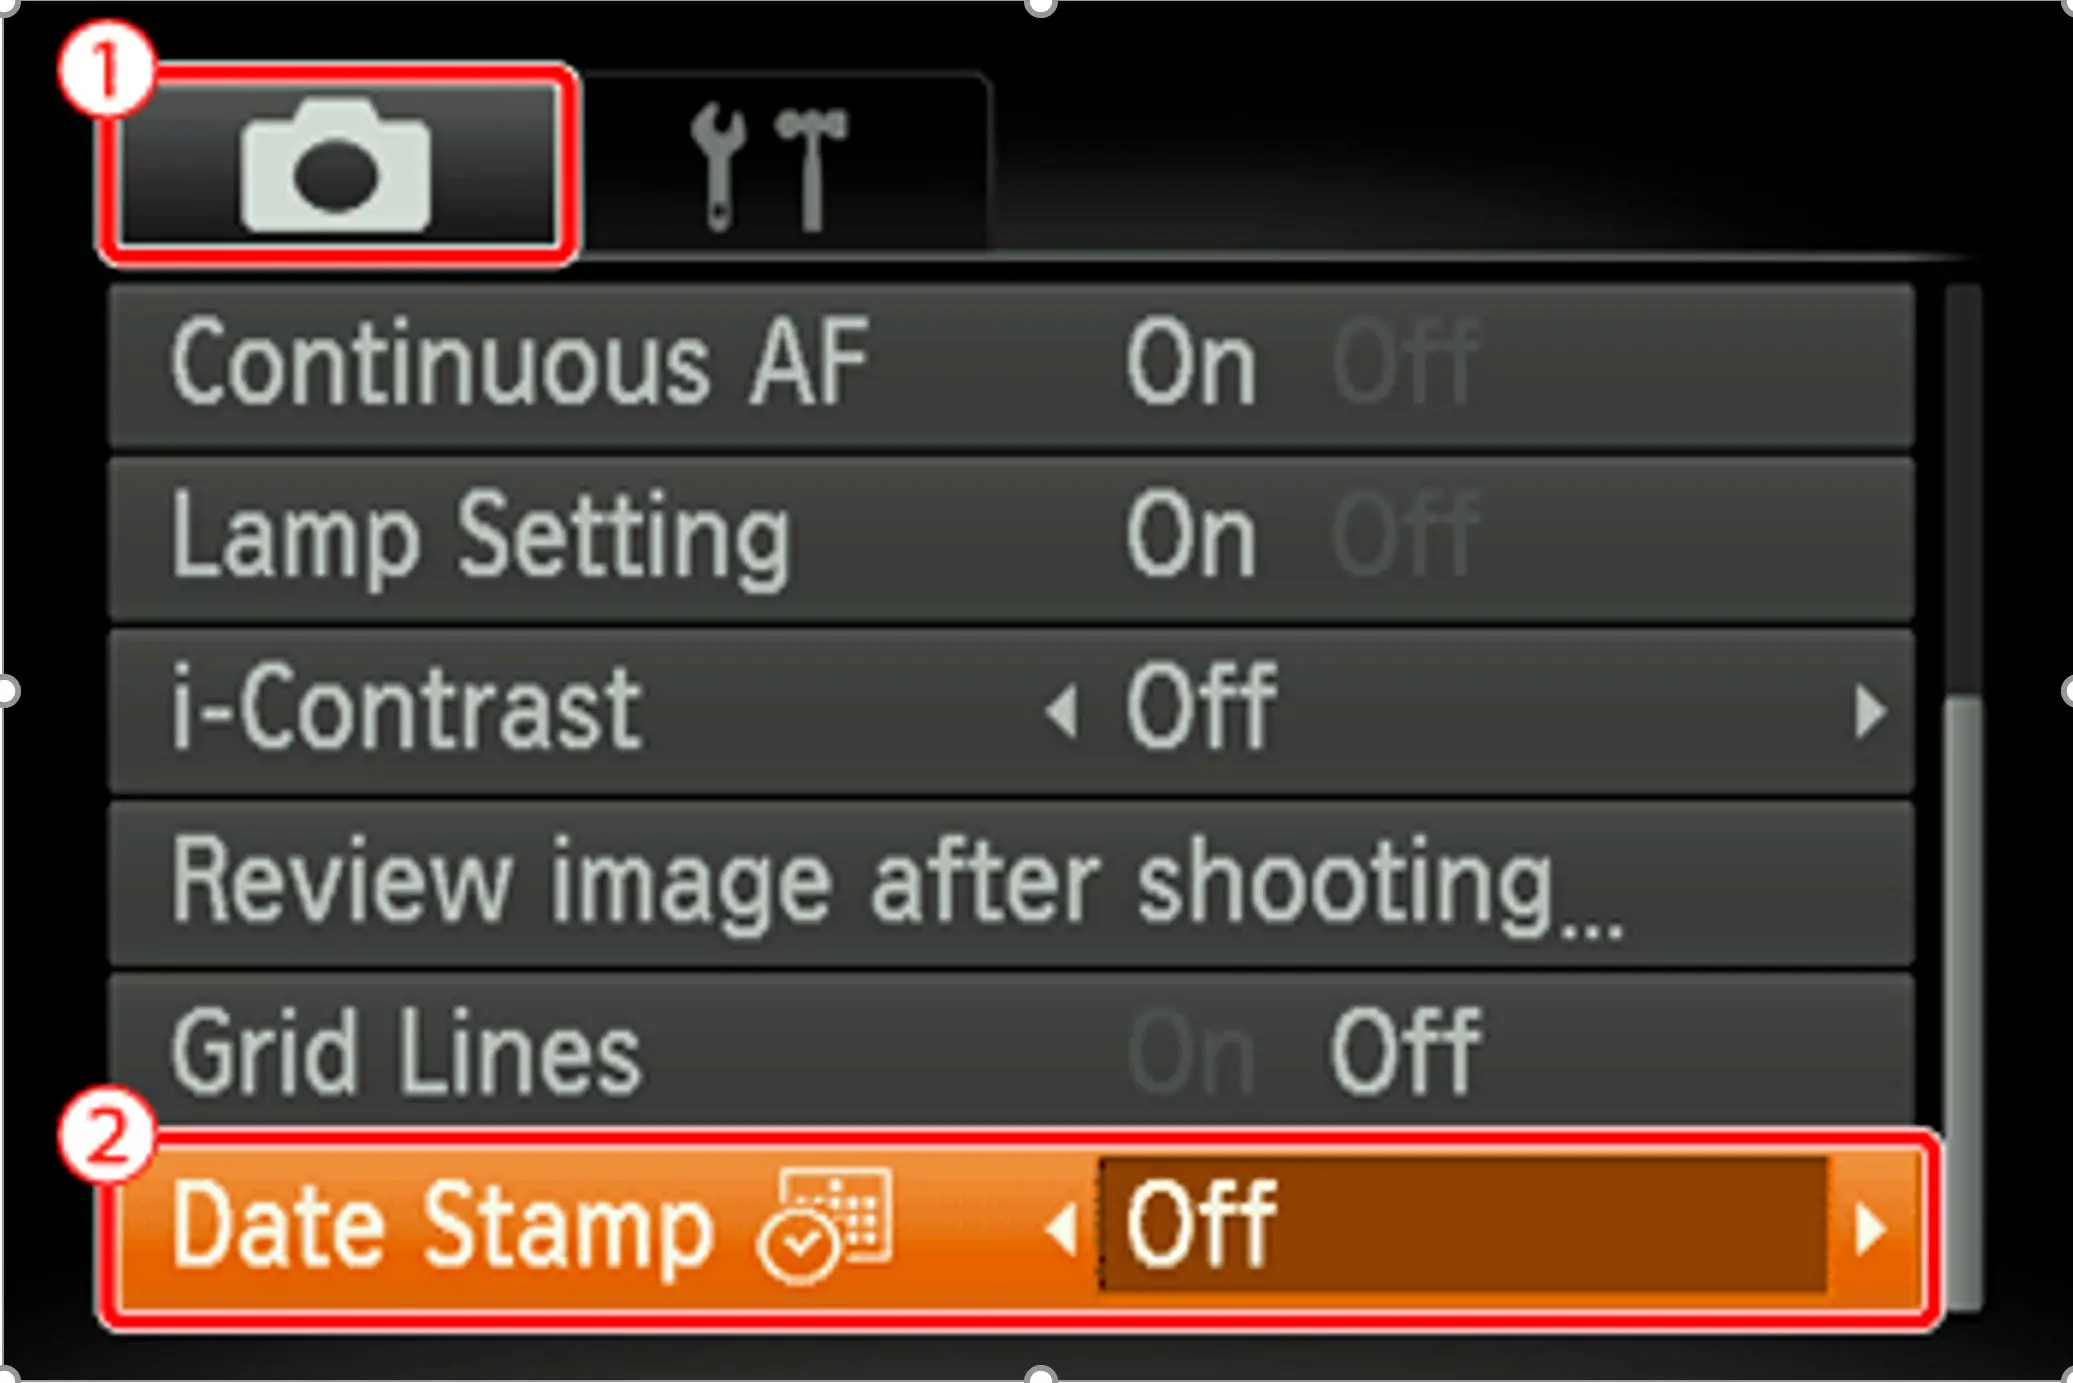
If you open the settings for the camera app on your smartphone, you should see an option for adding a time stamp to the photos. In Samsung cameras, there is an option for both Location Tag and Date and Time, which can be enabled.For Canon DSLR cameras, you can enable date stamps by clicking on the Menu button and going to the camera setup options. Under that list, you will see an option for Date Stamp.
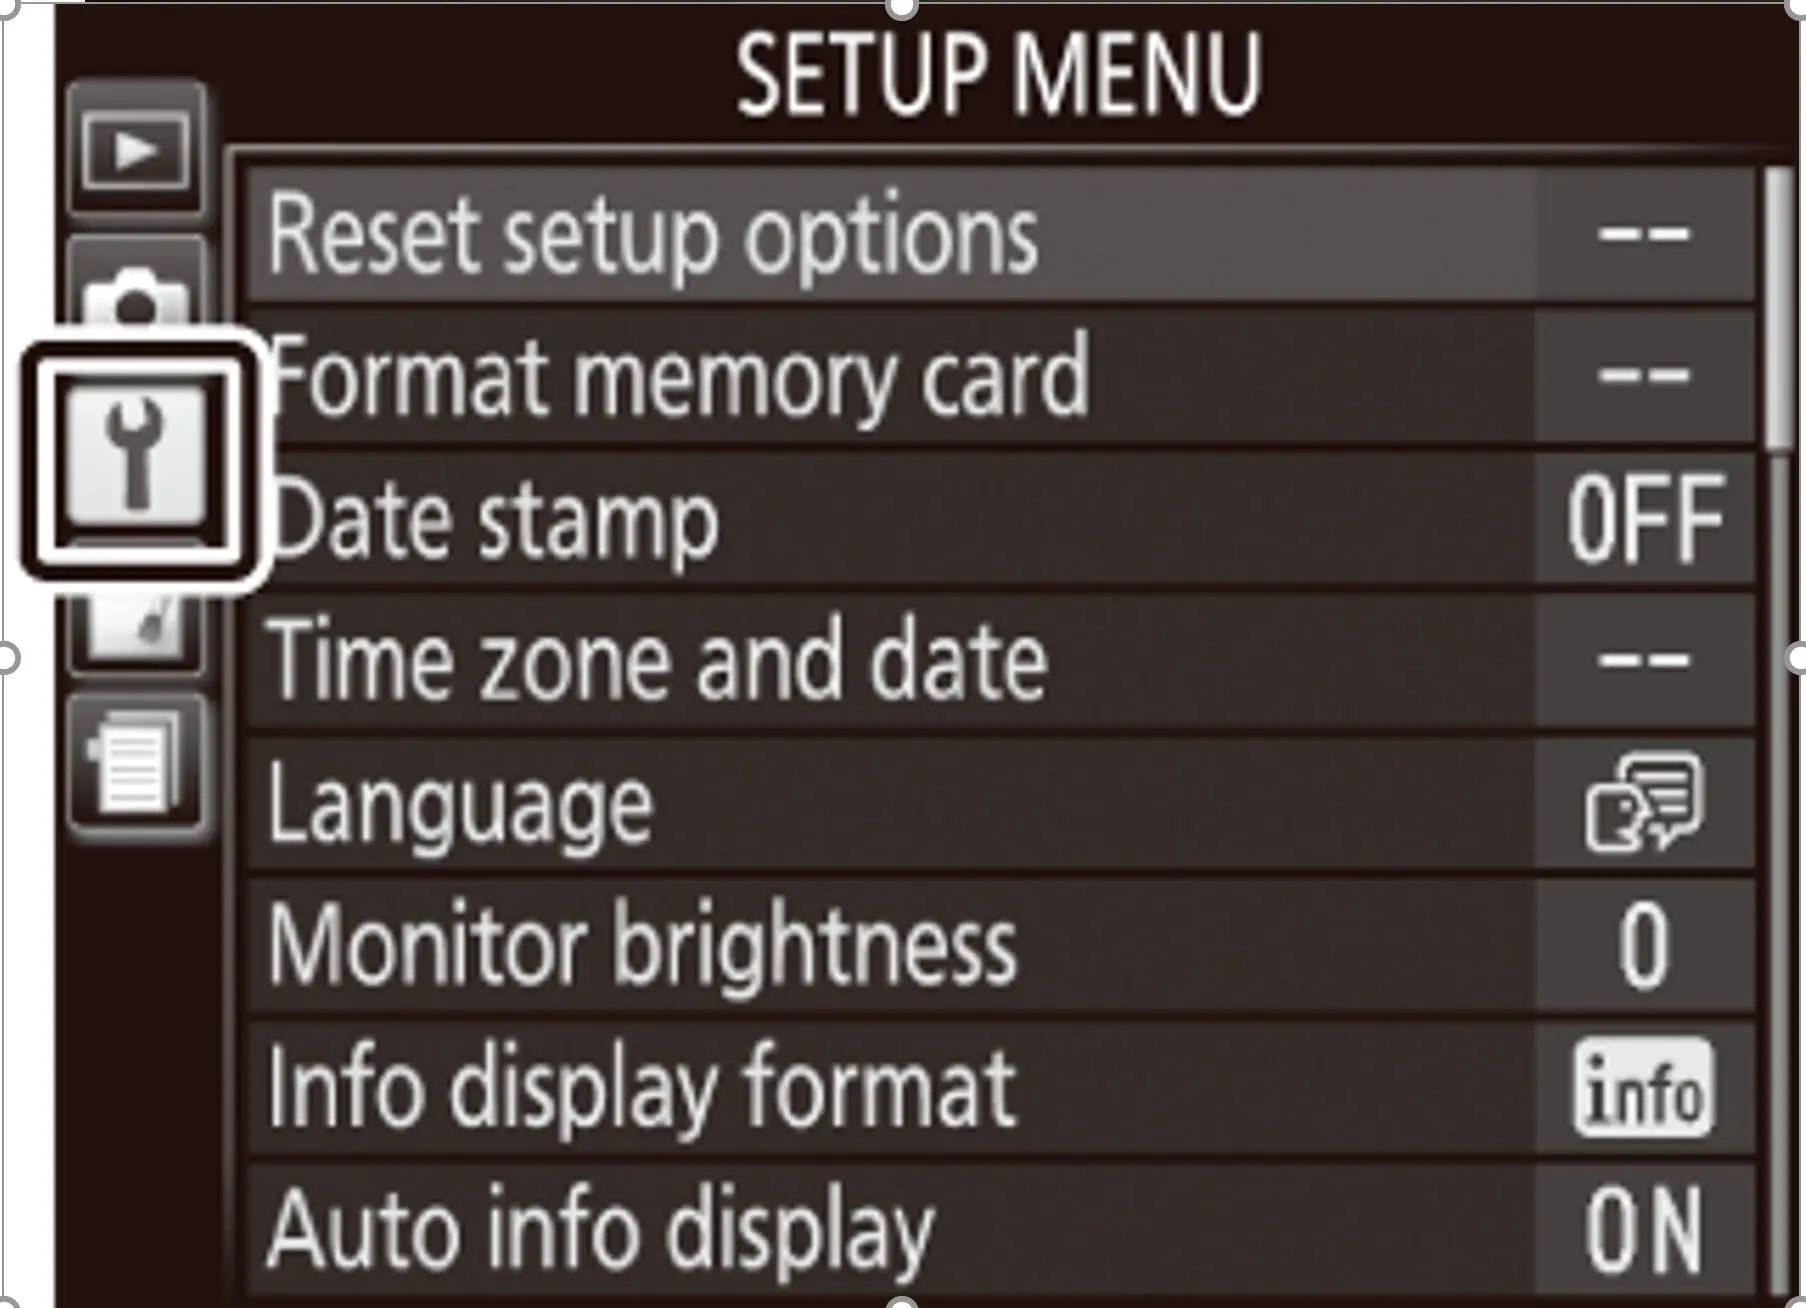
Nikon cameras also have a setting for date stamps under the camera setup menu. Click on Menu and click the wrench icon to turn on the date and time stamps.
Add Stamps While Printing
Windows lets you add the date and time when printing documents by clicking Print Settings and inserting an AutoText box in the header or footer. You can add timestamps for photos if you are connected to a special image printer or have downloaded some software.For example, Olympus cameras can connect to your printer using the PictBridge app, or you can download Olympus Master 2 program, which has a print dialog box that lets you add date stamps.
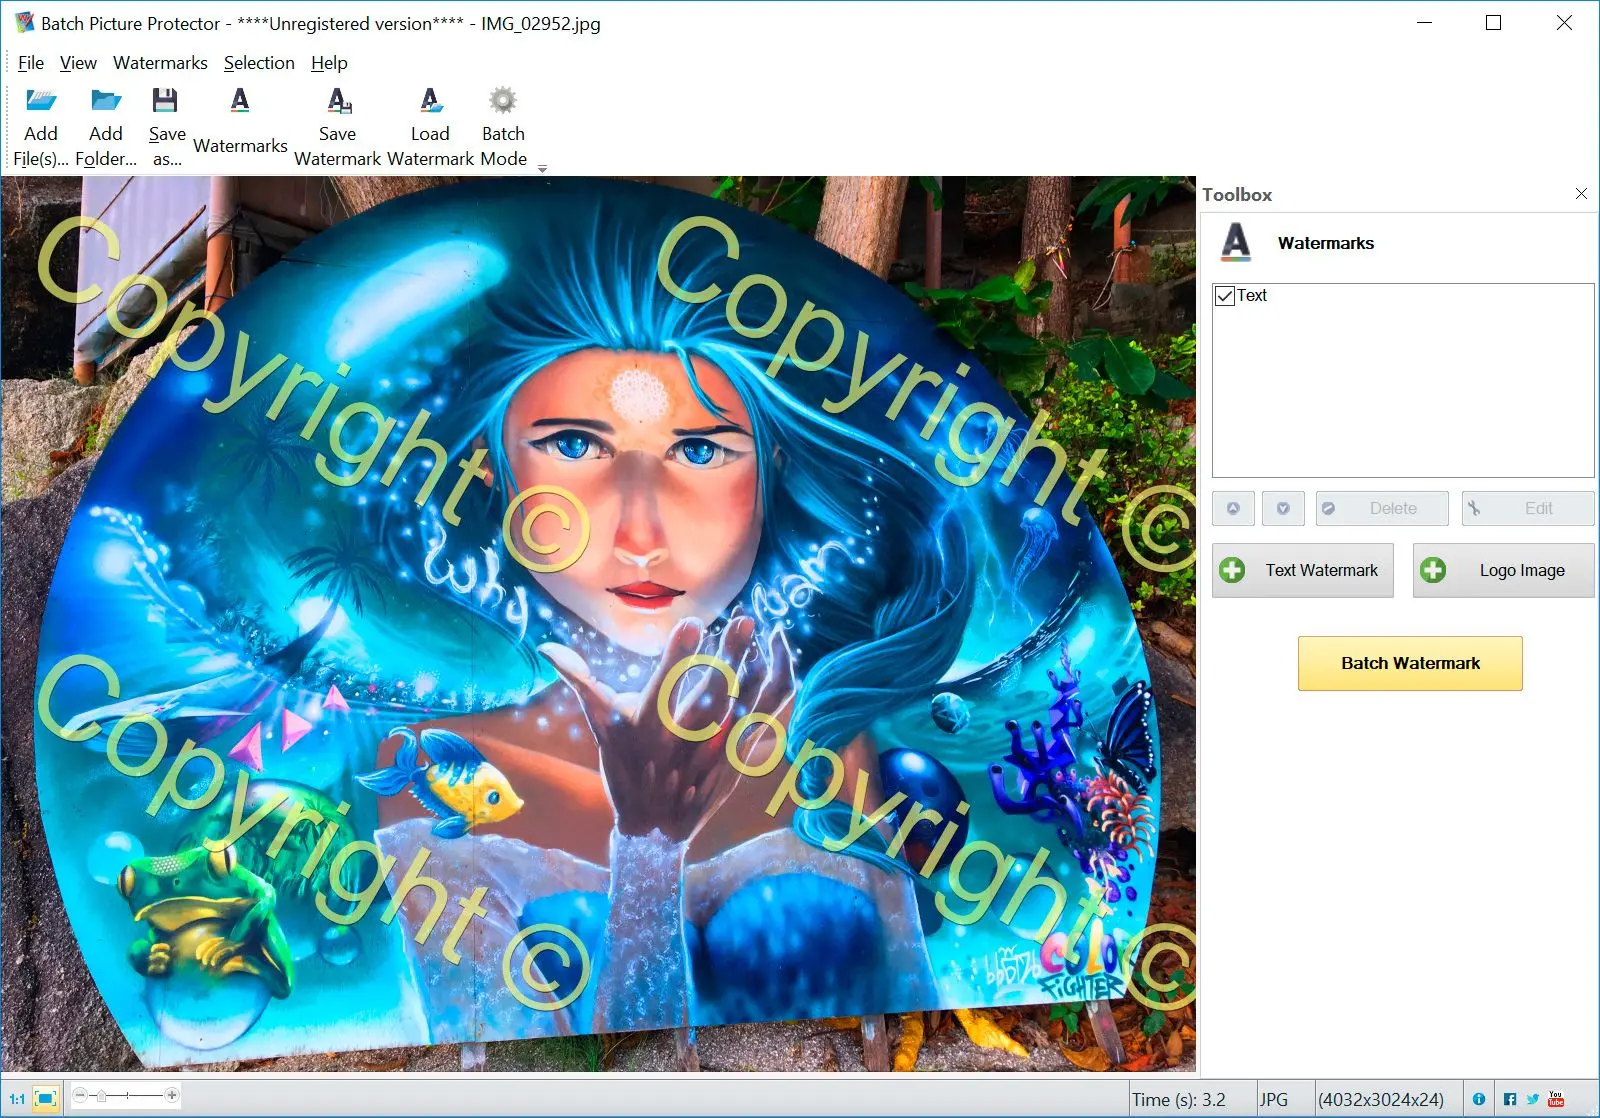
 Batch Picture Protector