
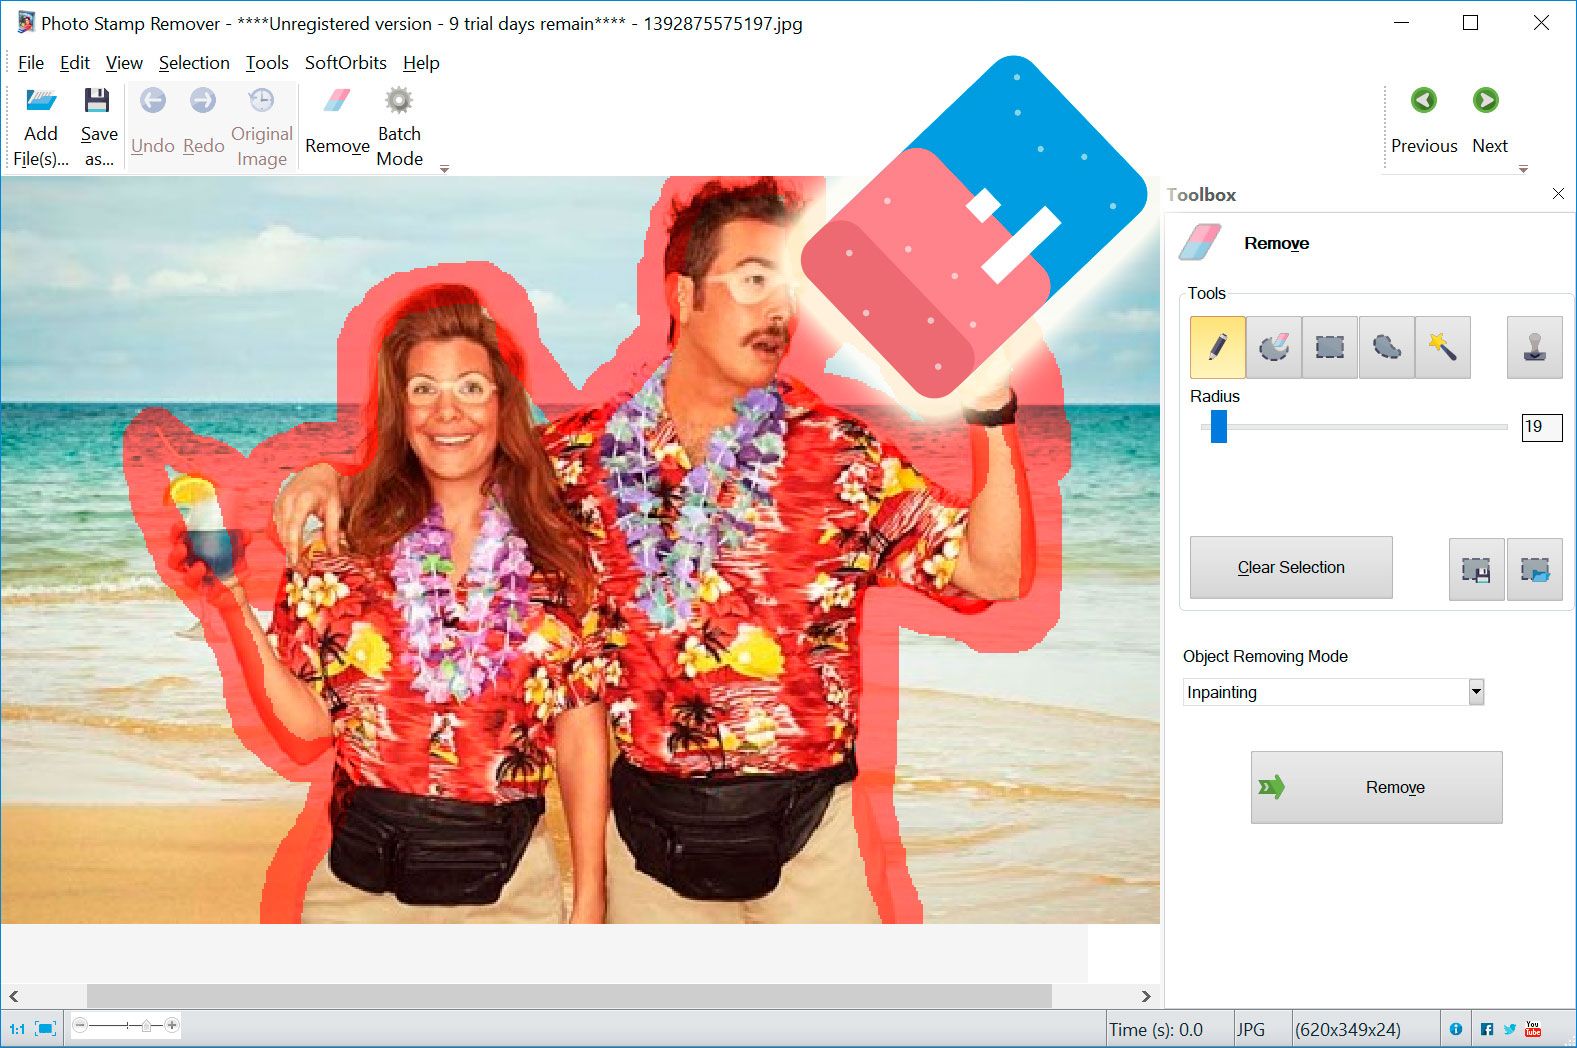


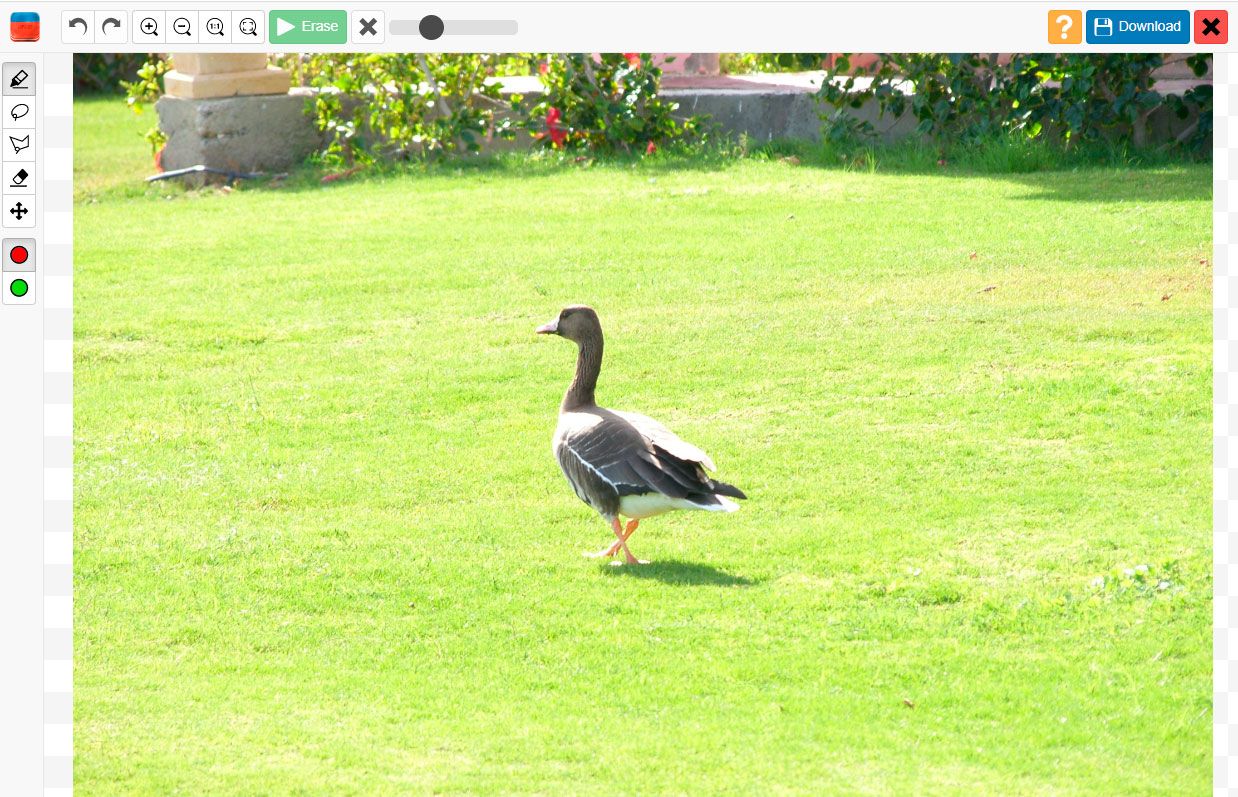
How to Remove Object From Photo Photoshop
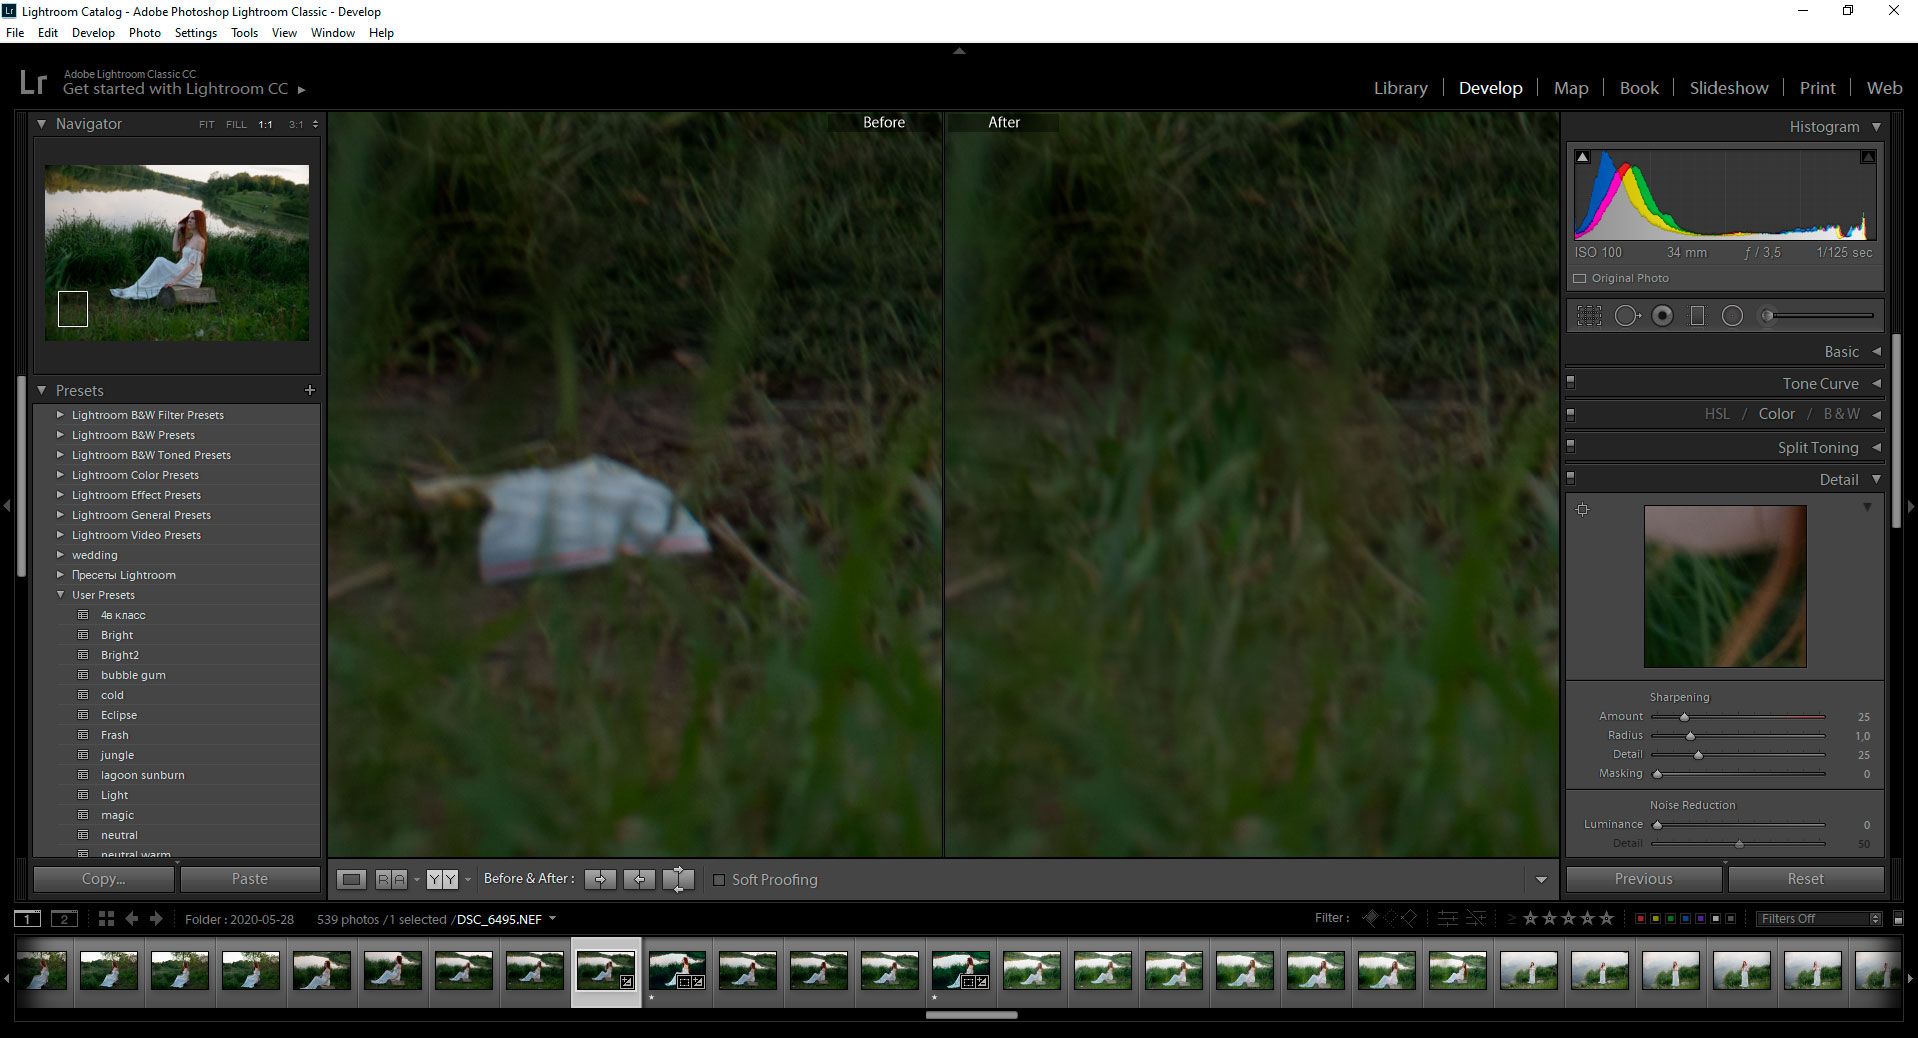
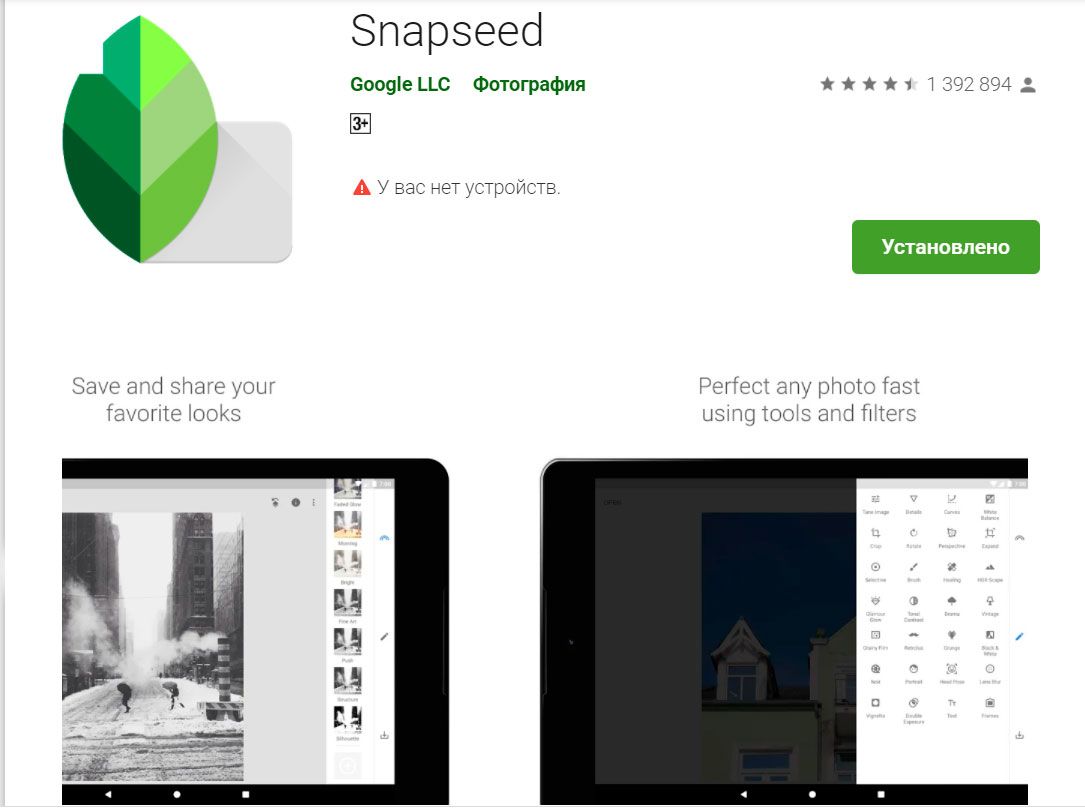
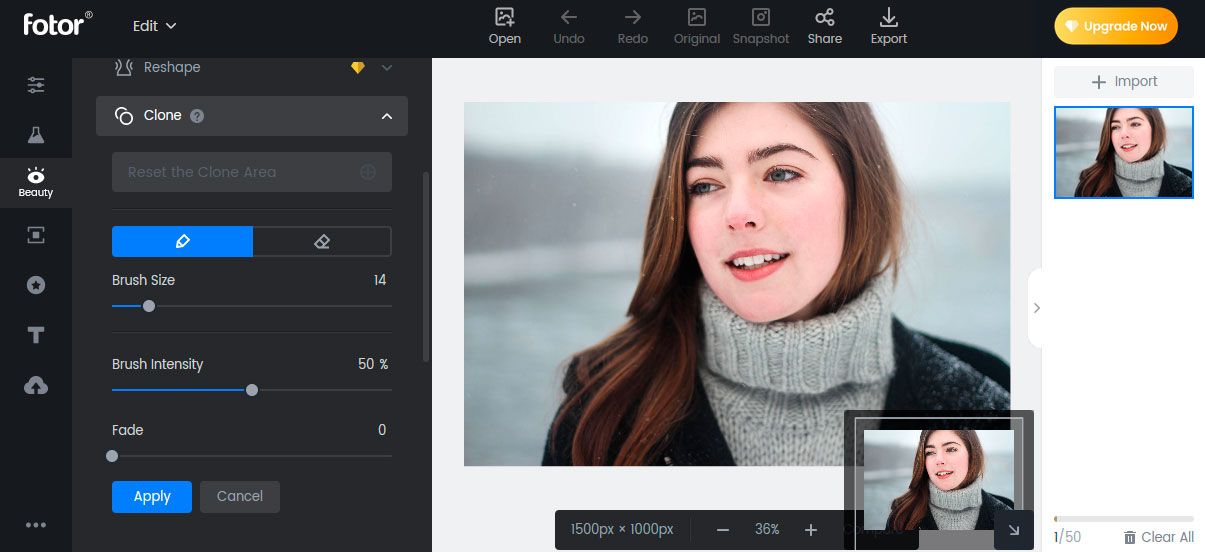
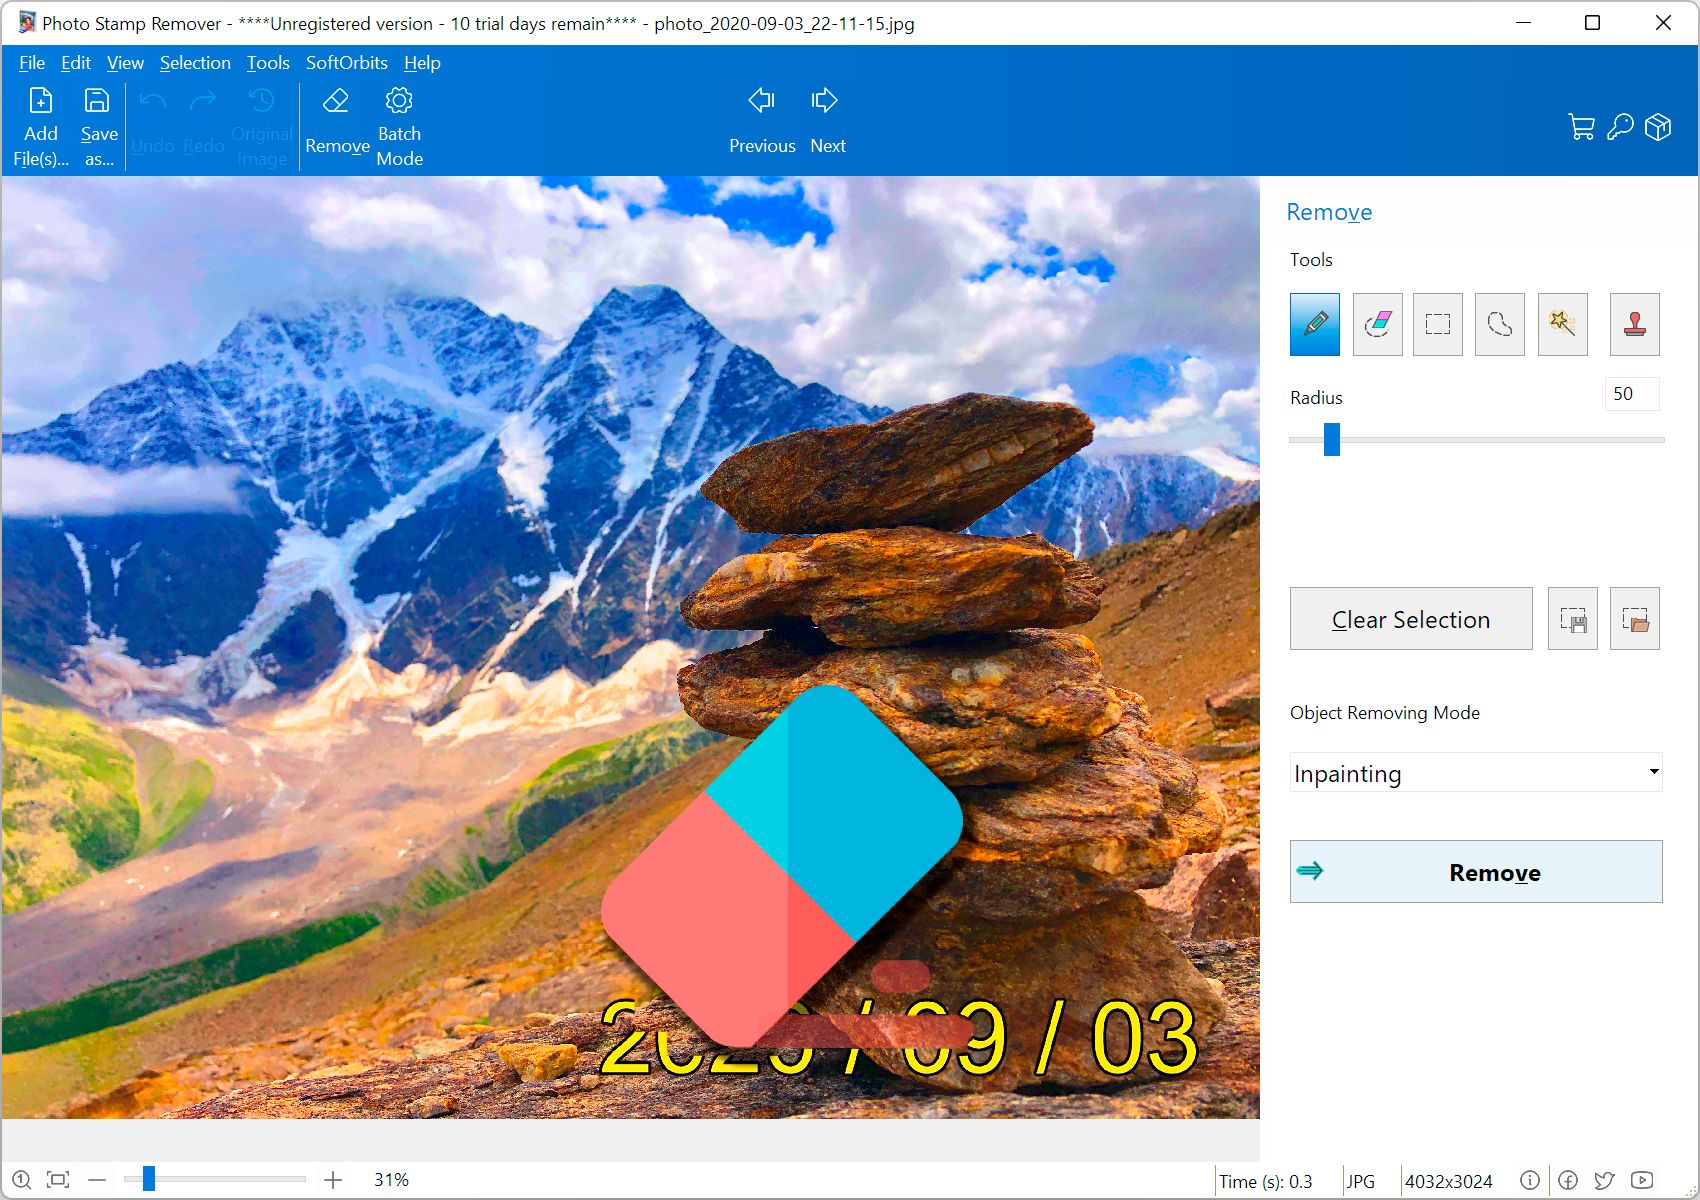
If you already use Photoshop for image editing, you can use its healing brush and clone stamp tool to erase any logos, wrinkles, and blemishes.Photoshop even has a content aware option, which allows Photoshop to remove objects even more accurately!
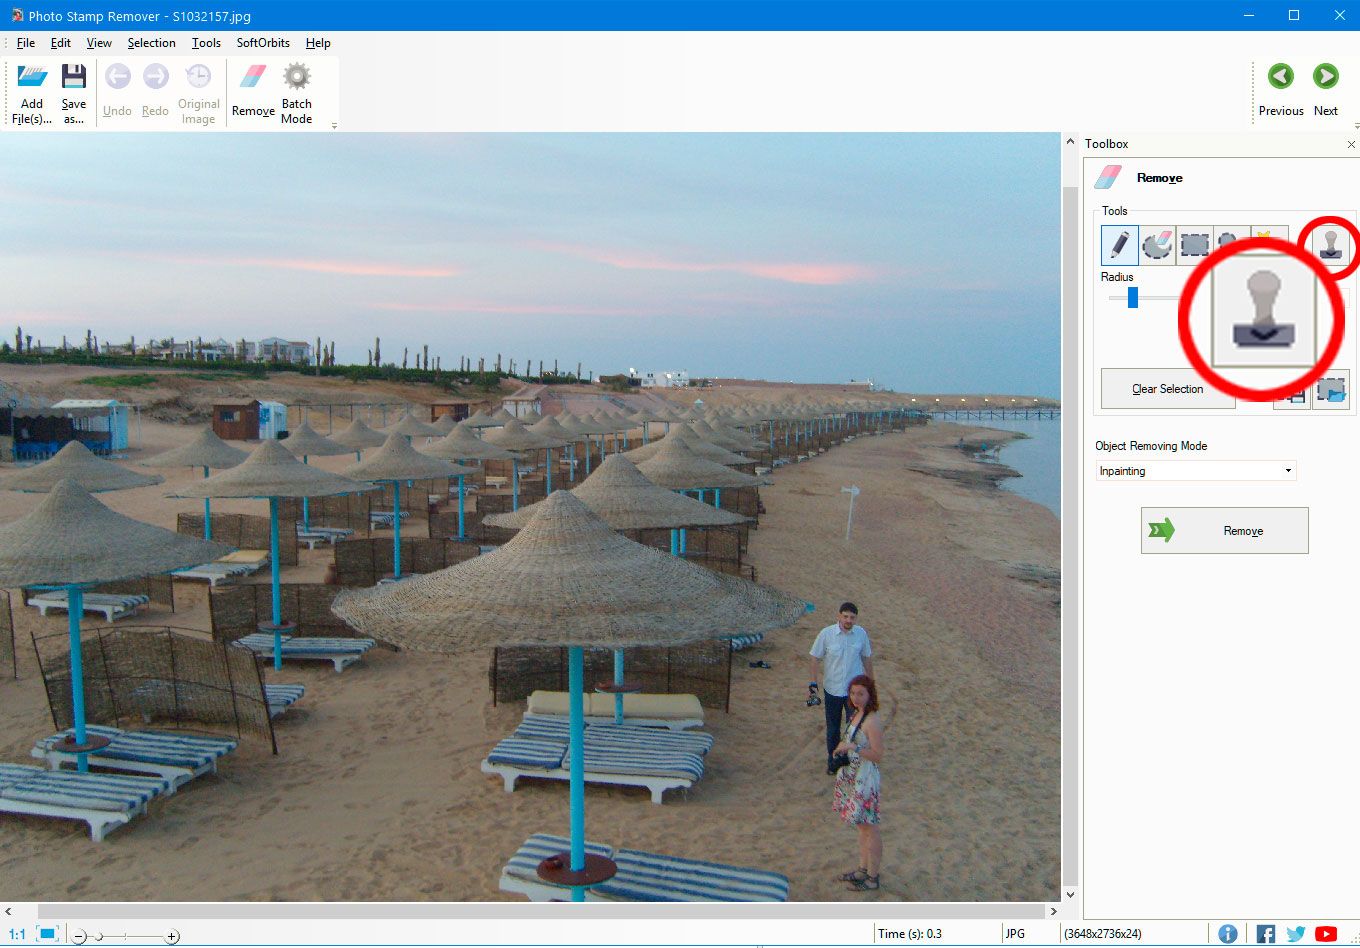
How to Remove an Object from Photo in Photoshop (step by step)
Create a new layer
After you open the image in Photoshop, go to the Layers panel. Double-click on the original layer to create a duplicate.
Using a new layer will ensure that the original image is not disturbed if you make any editing mistakes.
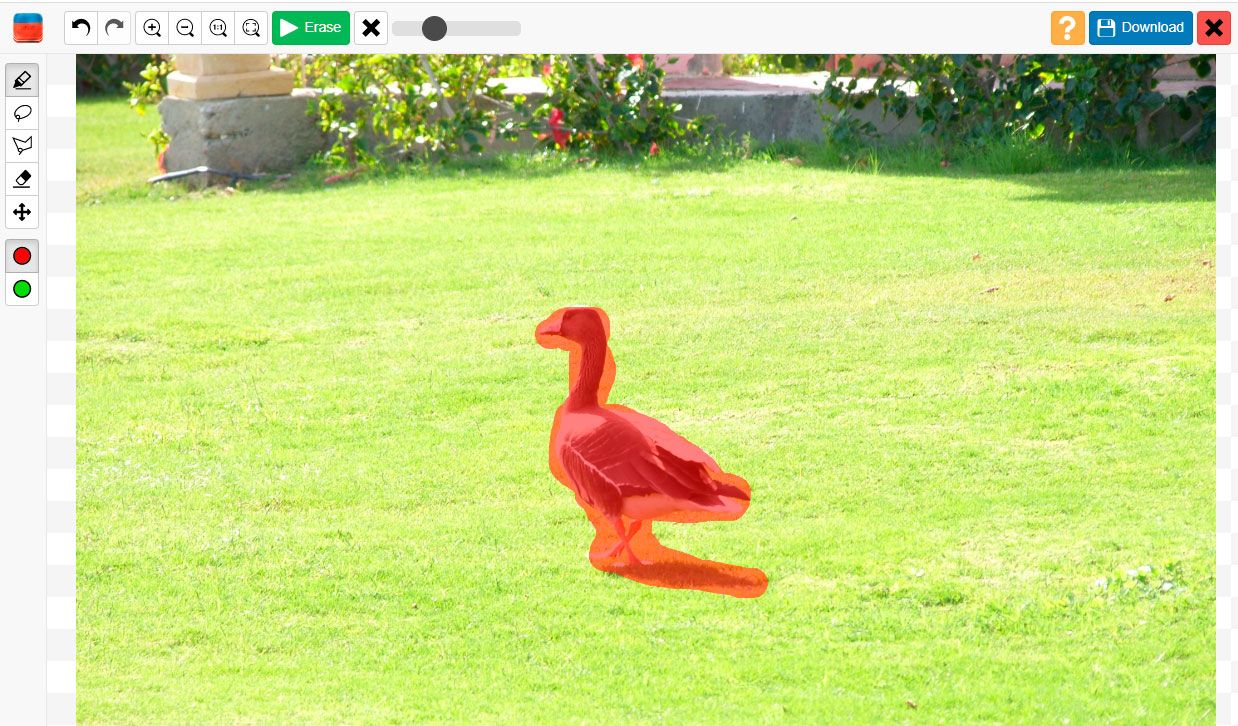
Select the healing brush
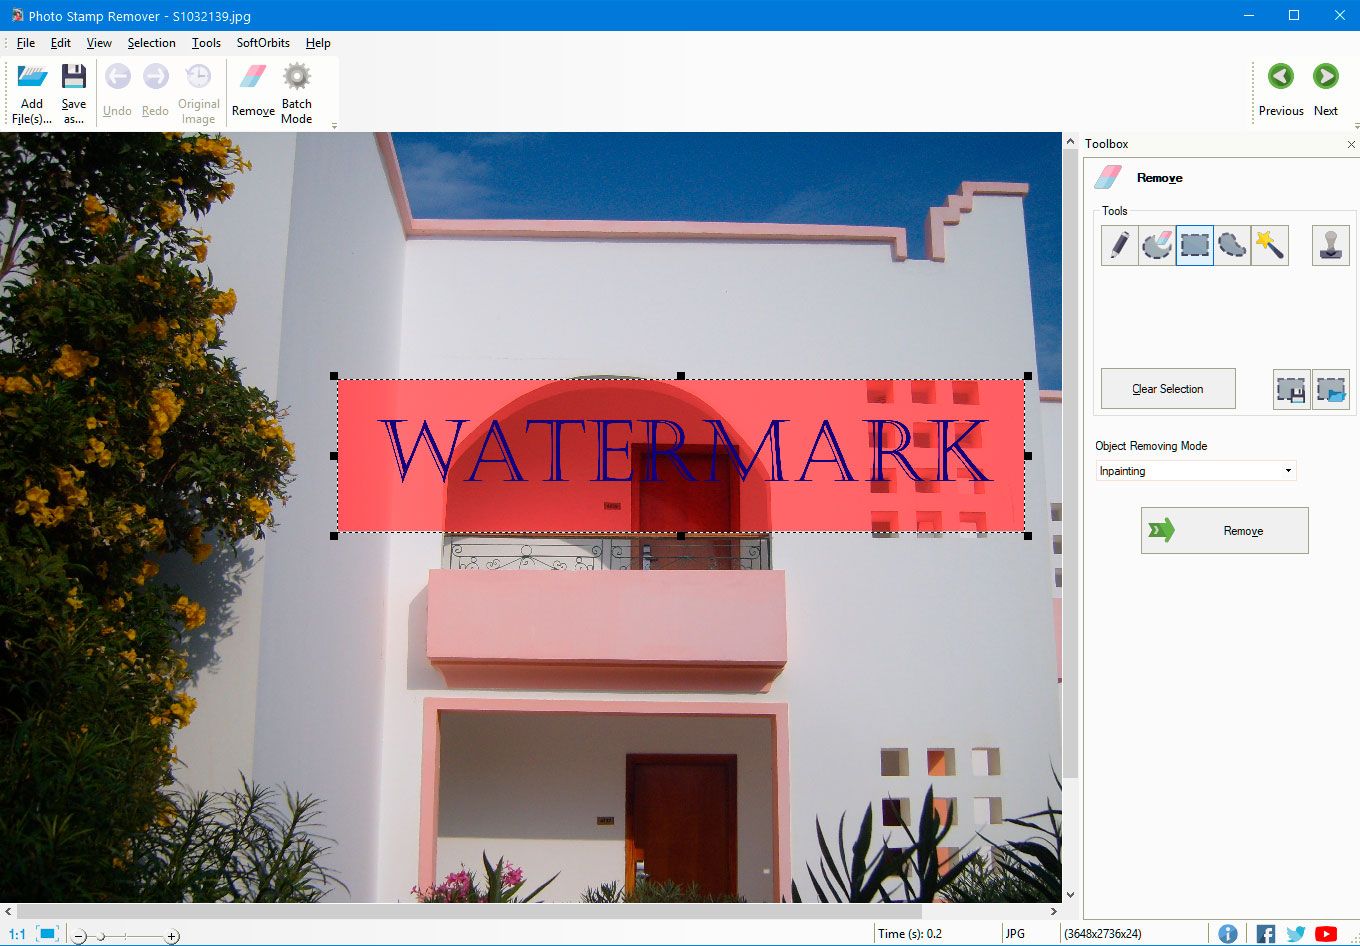
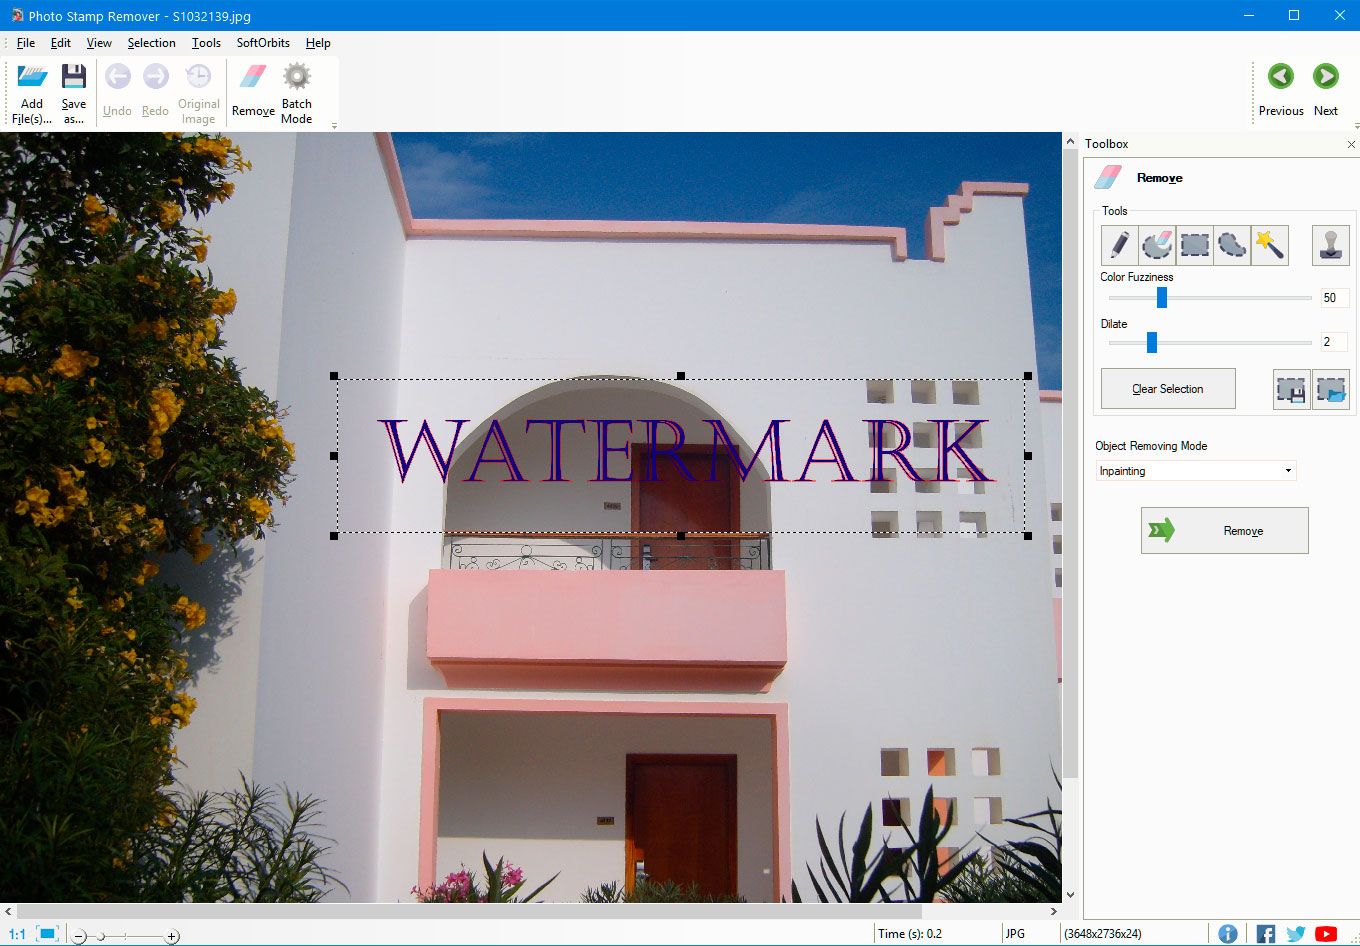
Under the toolbar, you will see a Spot Healing brush in the form of a band-aid icon. This brush will be used to click and erase the object.
There will also be a few additional options like the size of the brush, Mode, and Type. Make sure that the Type is Content-aware, and turn on the Sample All Layers option too.
This will help Photoshop analyze all the pixels and use the information from the original layer to ensure no loss of detail once the watermark or wrinkles are removed.
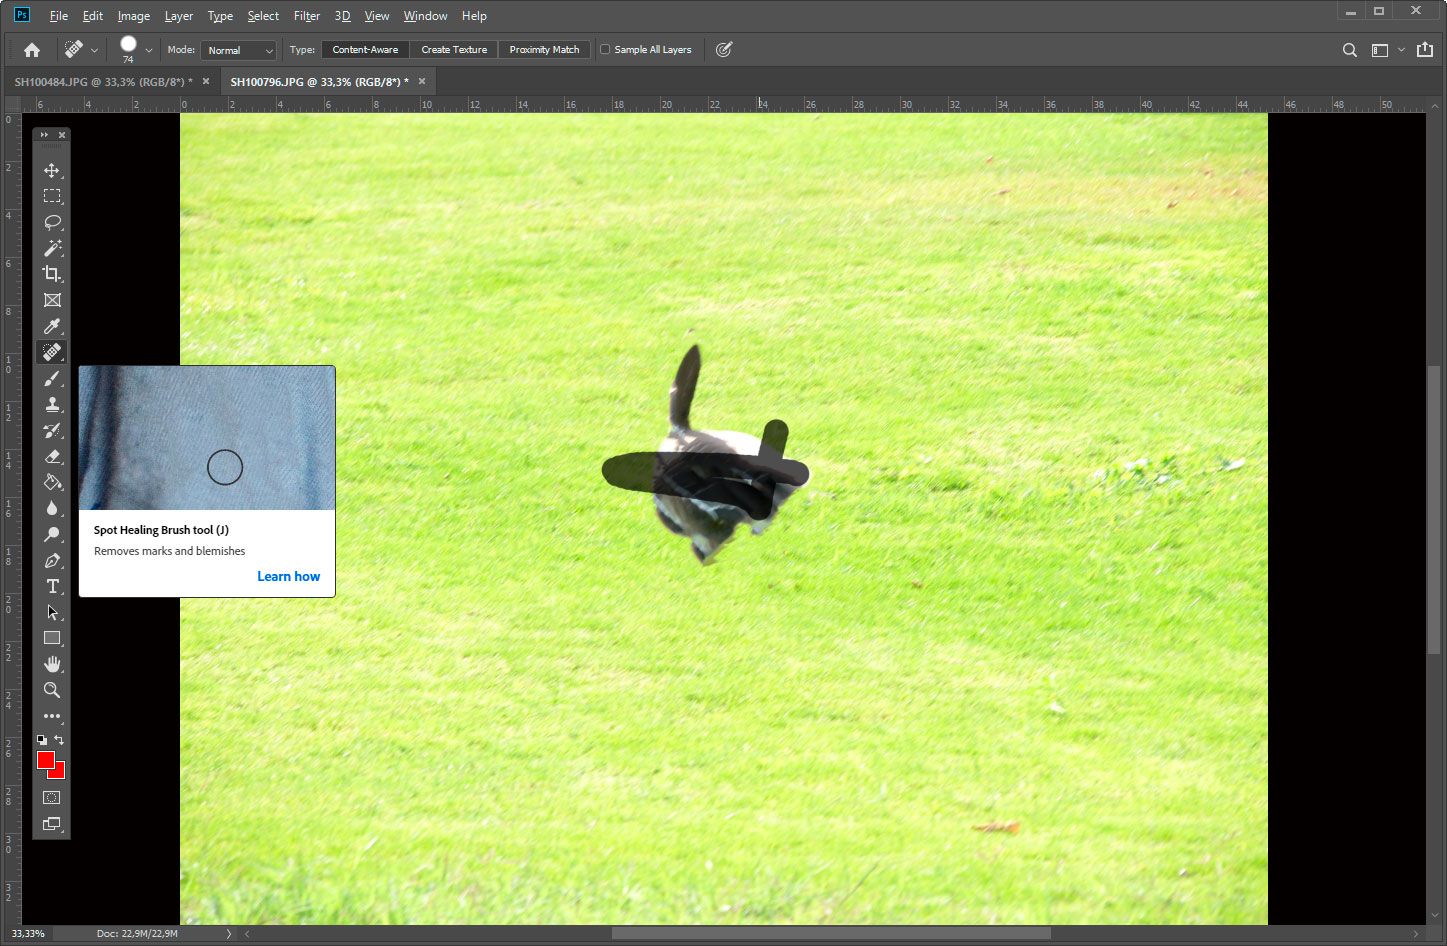
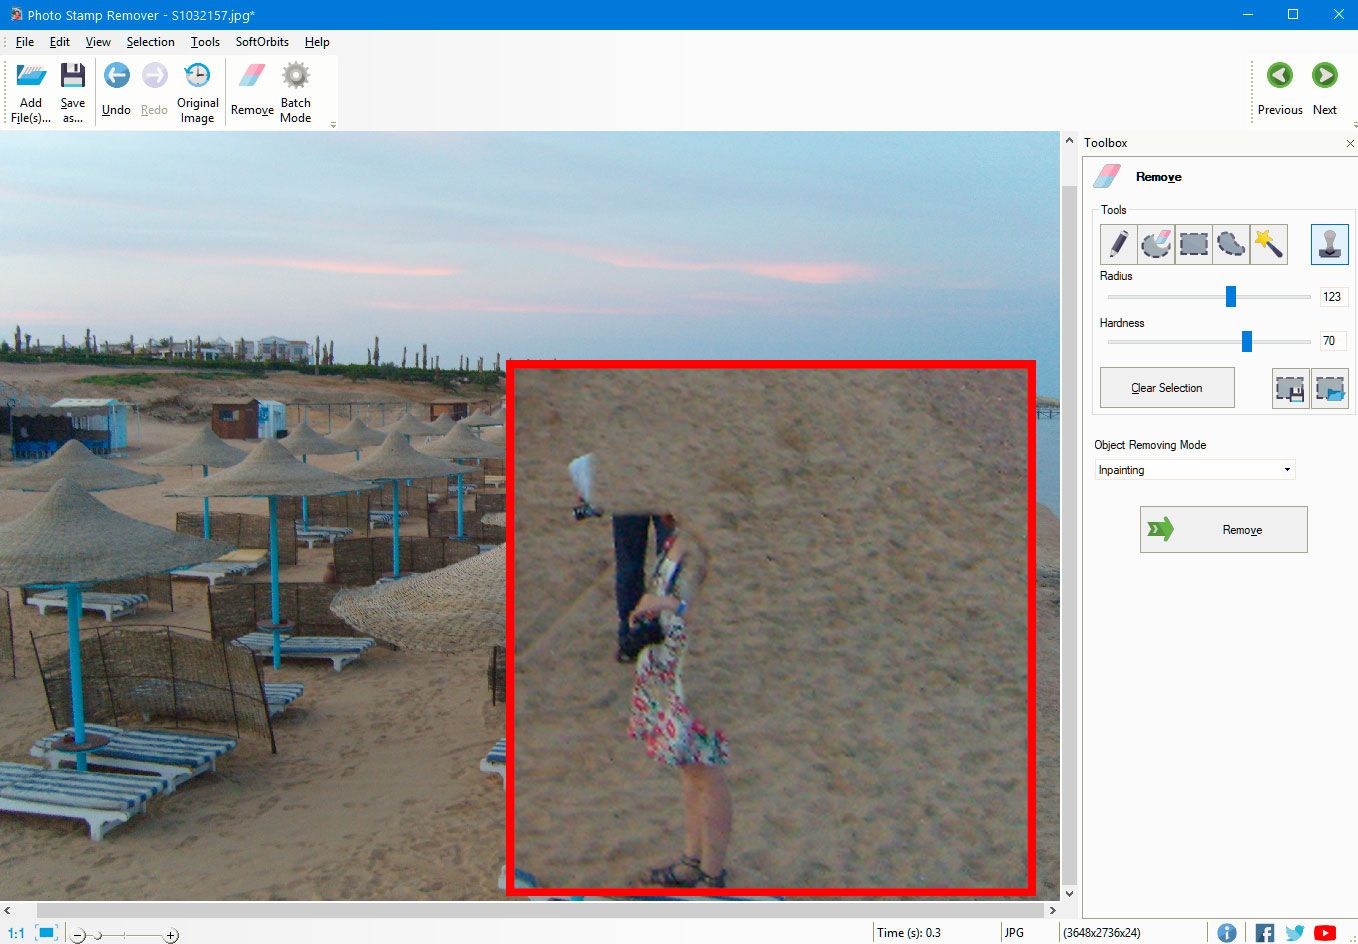
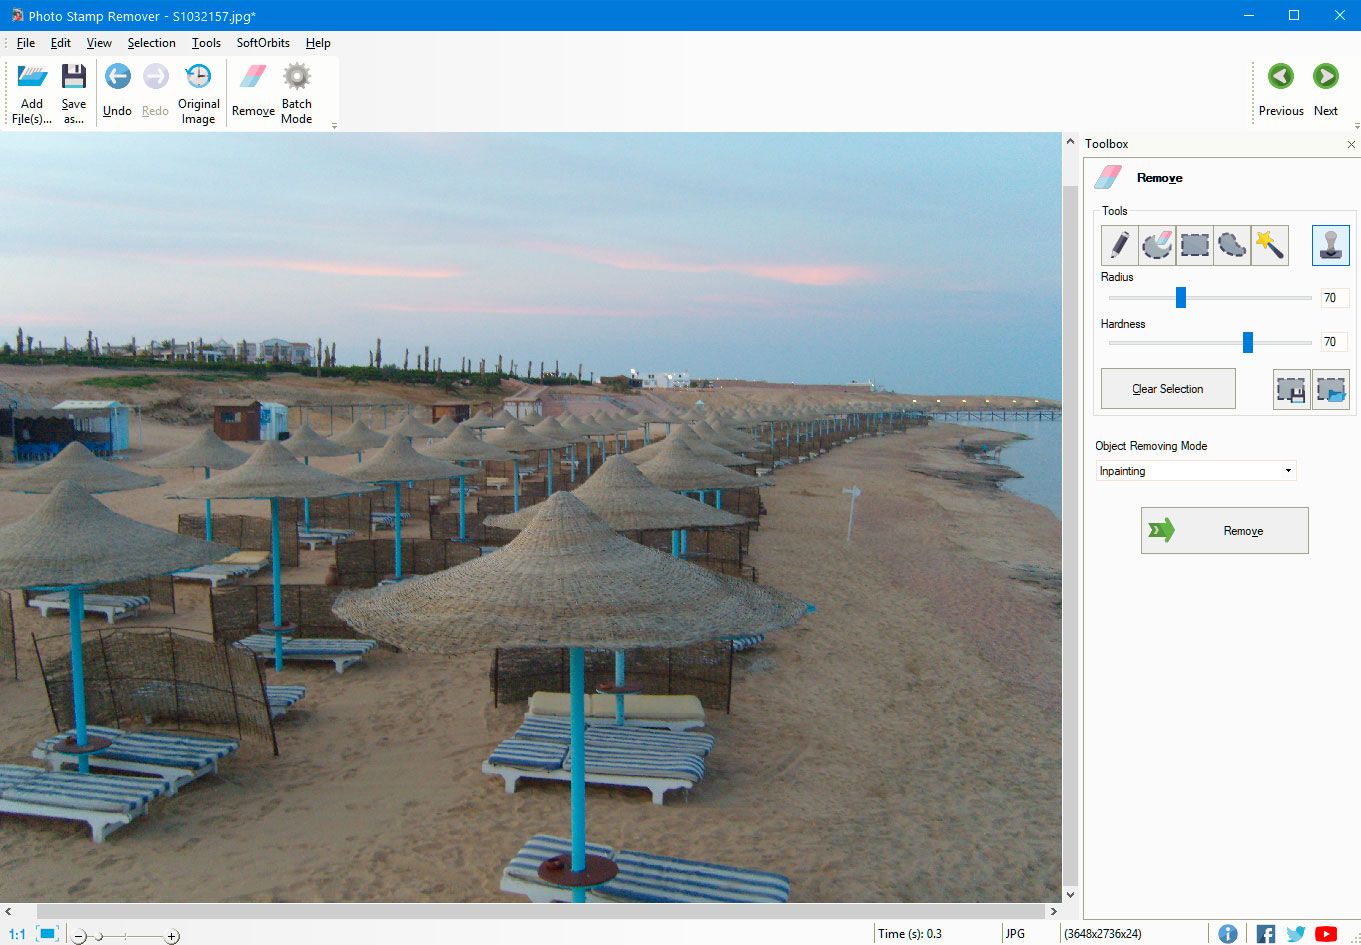
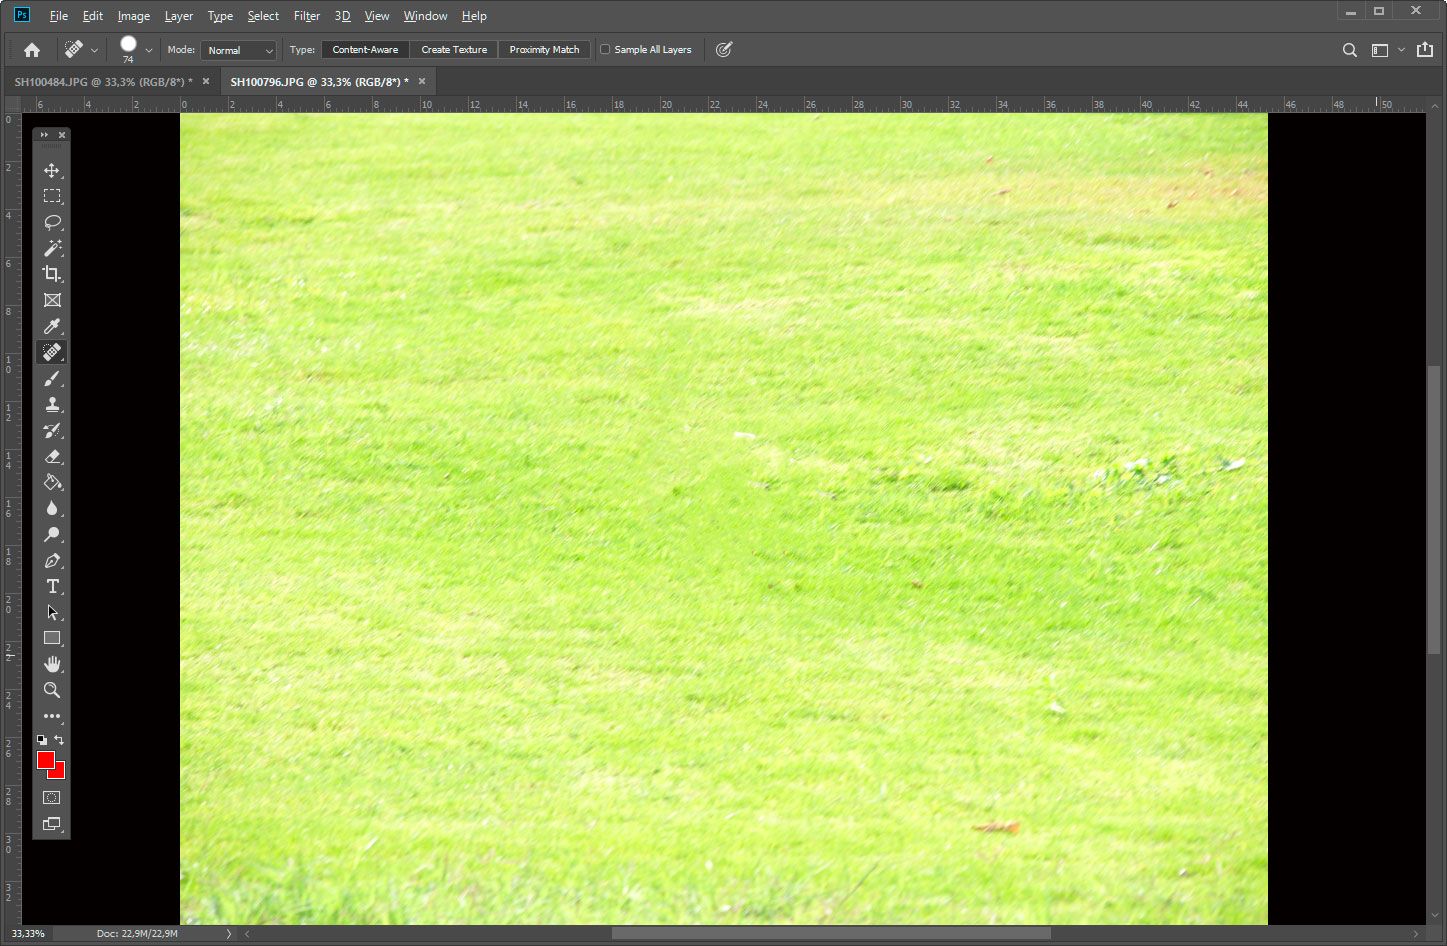
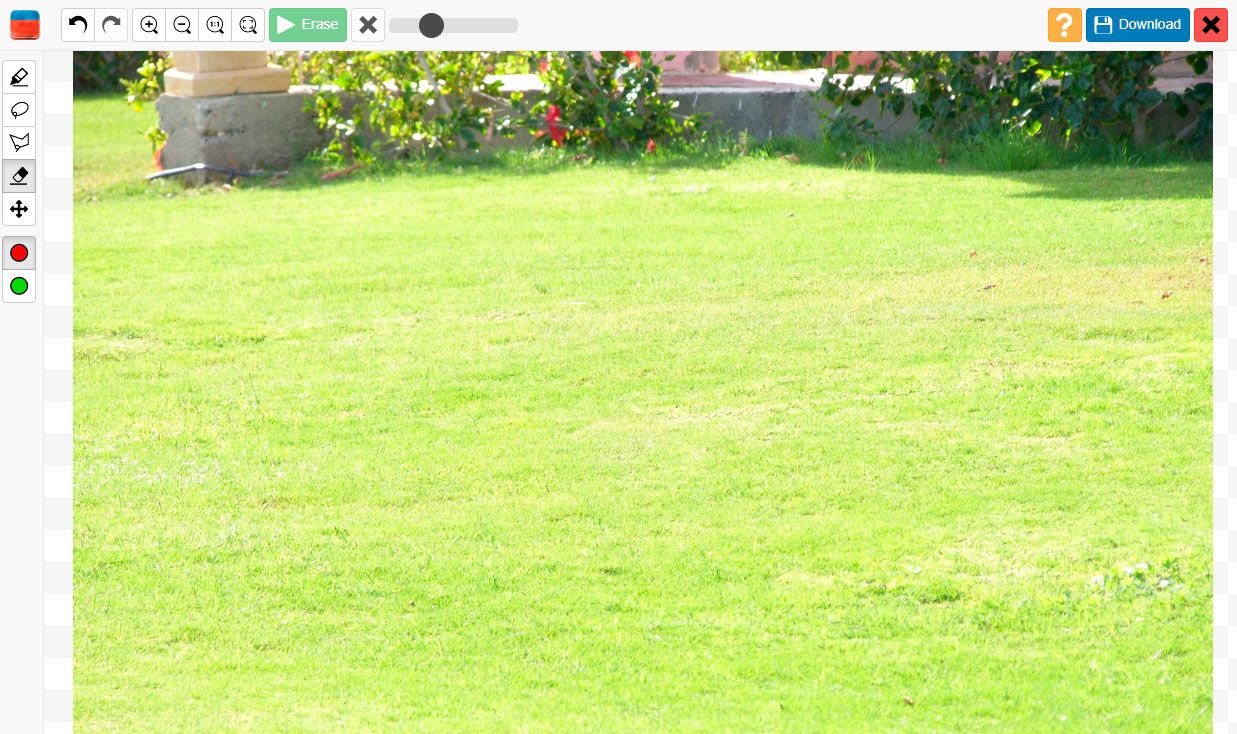
Make small clicks over the object
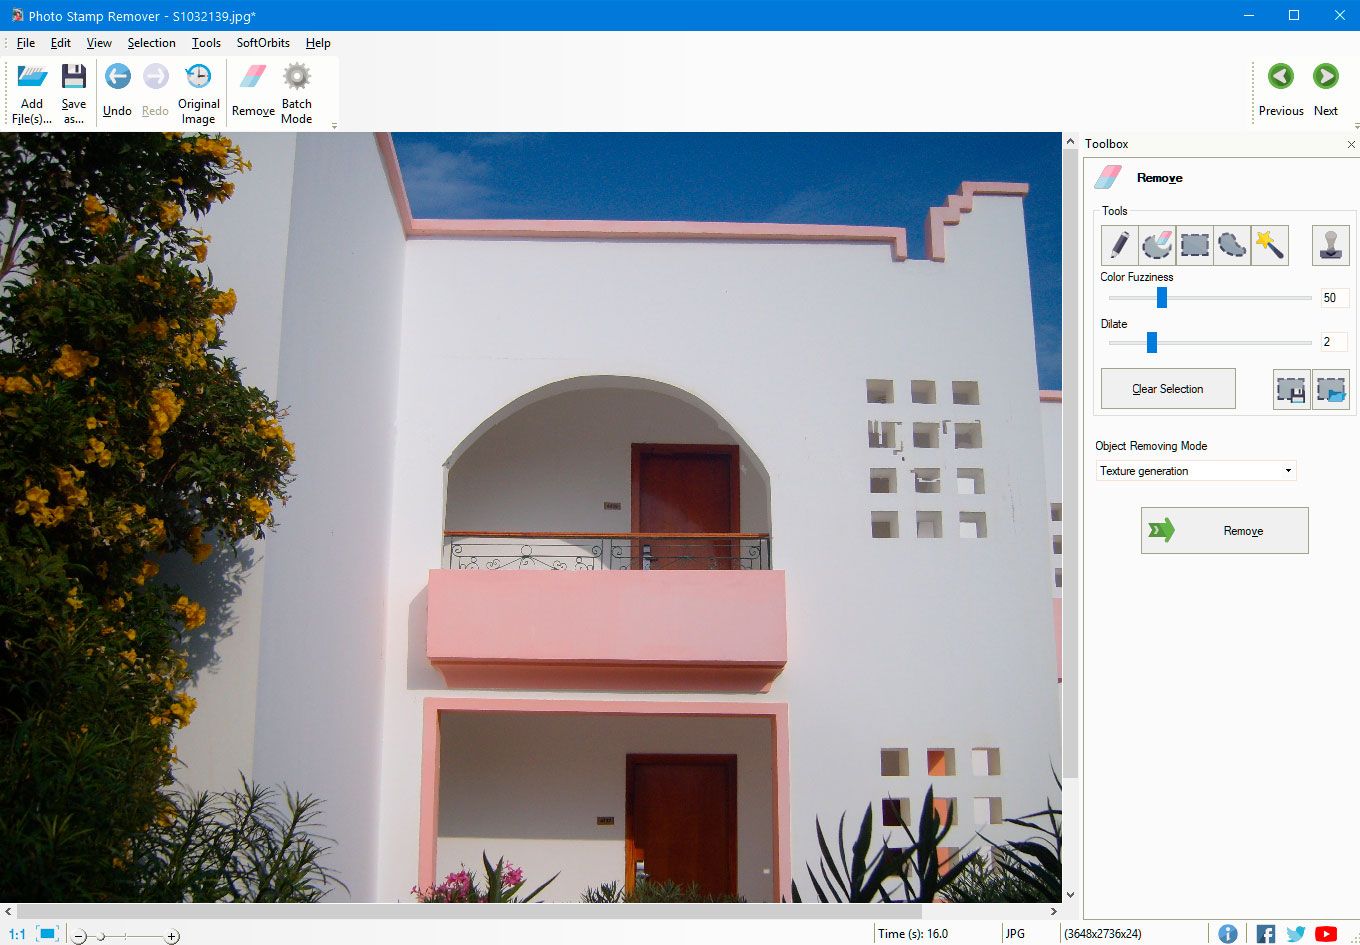
Now that your smart removal brush is ready, you only have to left-click over the distractions to delete them. You should zoom into the photo and use lots of small clicks for a natural result!
You can take care of any logo or wrinkle in your photo with three simple steps. You can check out a few Photoshop tutorials and blogs online if you need to make more adjustments.

Comments (0)