


Way #4: Best Apps to Fix Grainy Pictures
If you're like me and rely on your phone for selfies and vacation snaps, having apps for instant grainy photo fixes is a must! These noise removal apps come in handy whenever you need a quick touch-up.
How to Fix Grainy Photos on iPhone
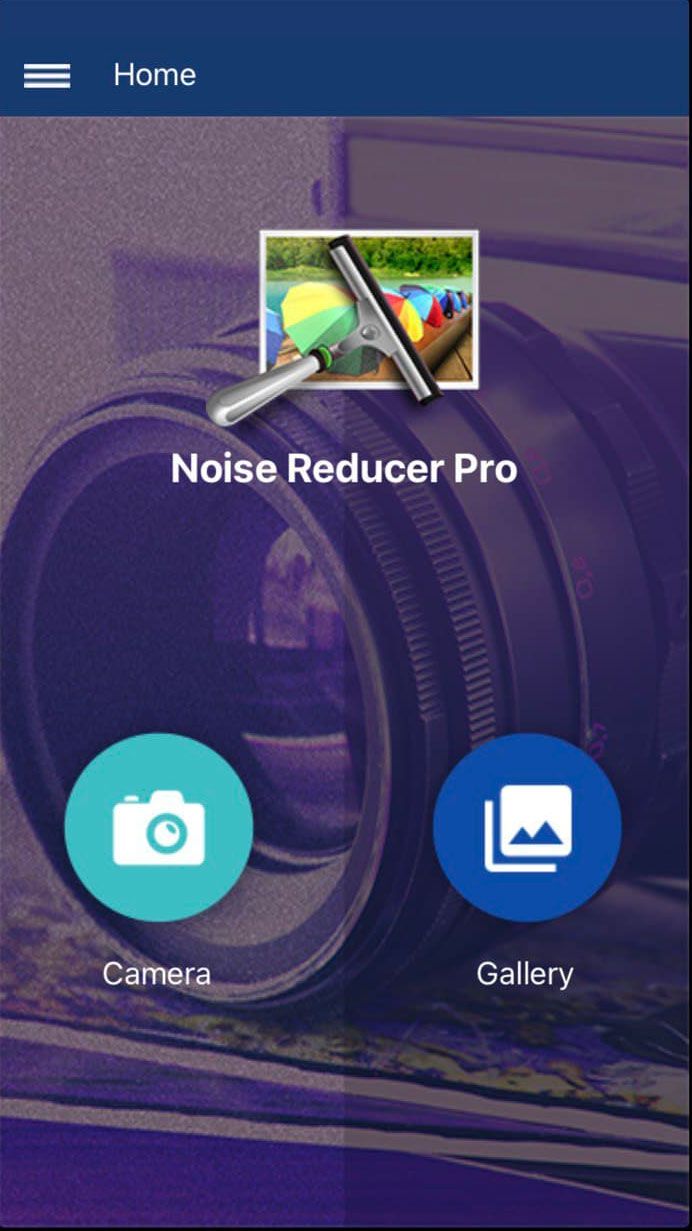
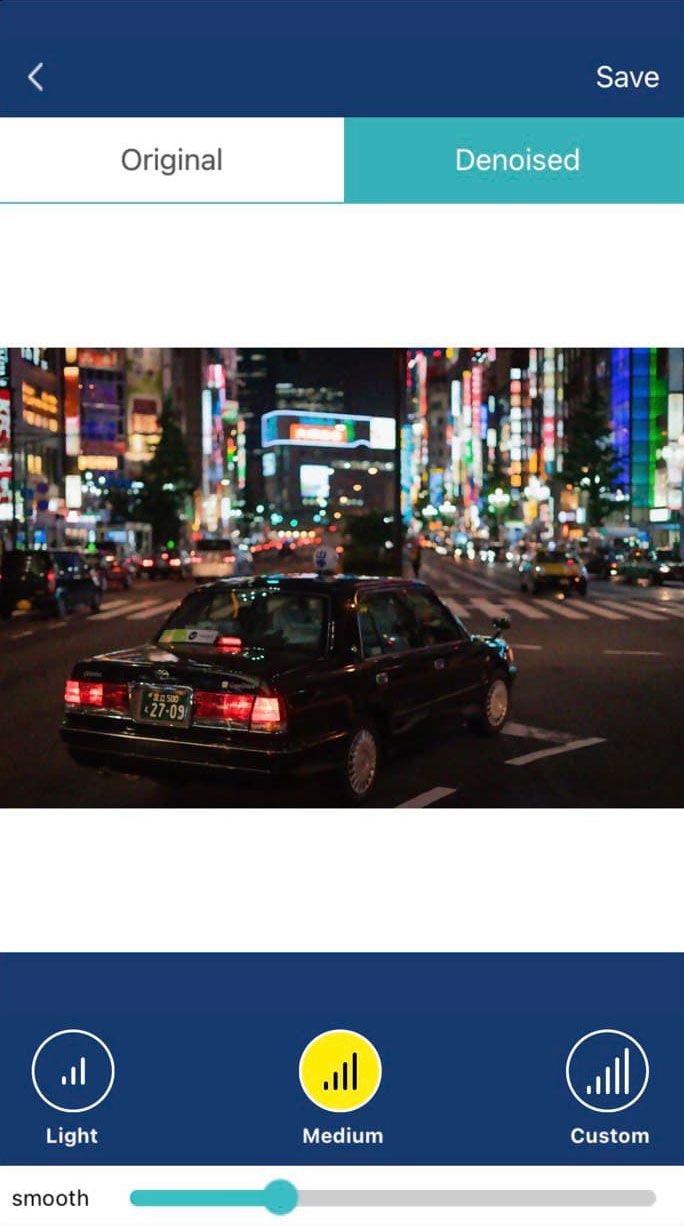
I selected these top apps based on their user-friendly interfaces, effectiveness in removing graininess, and positive reviews from fellow photography enthusiasts.Noise Reducer Pro

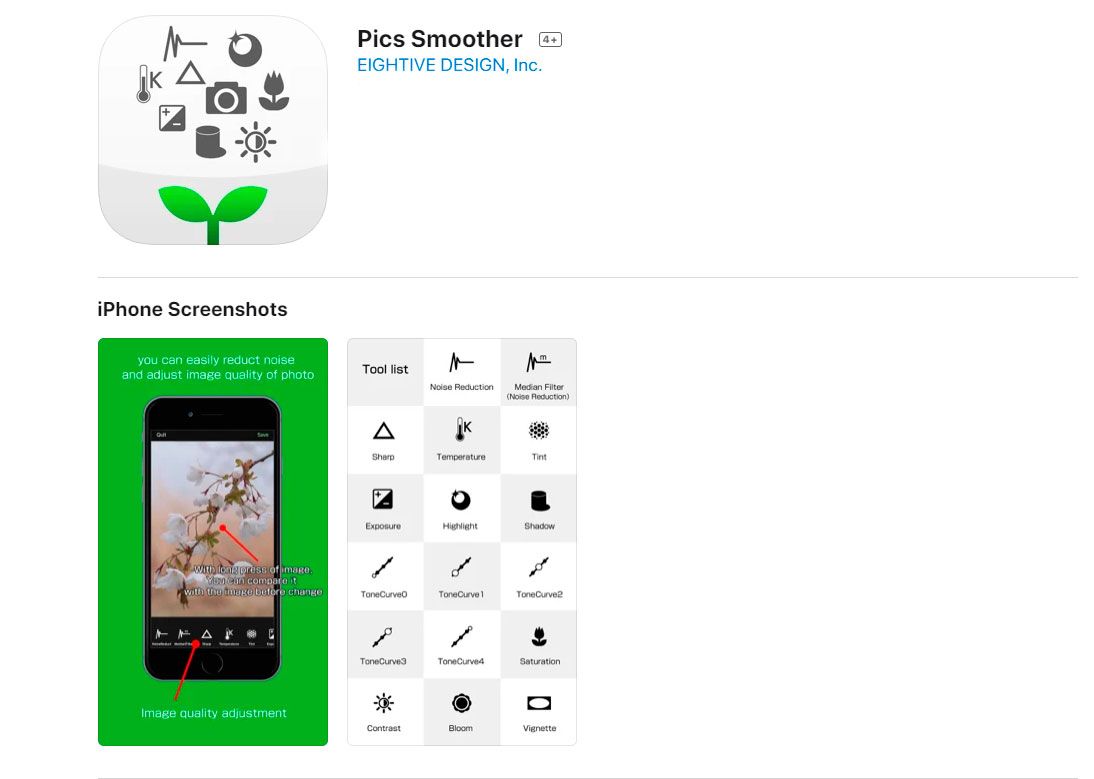
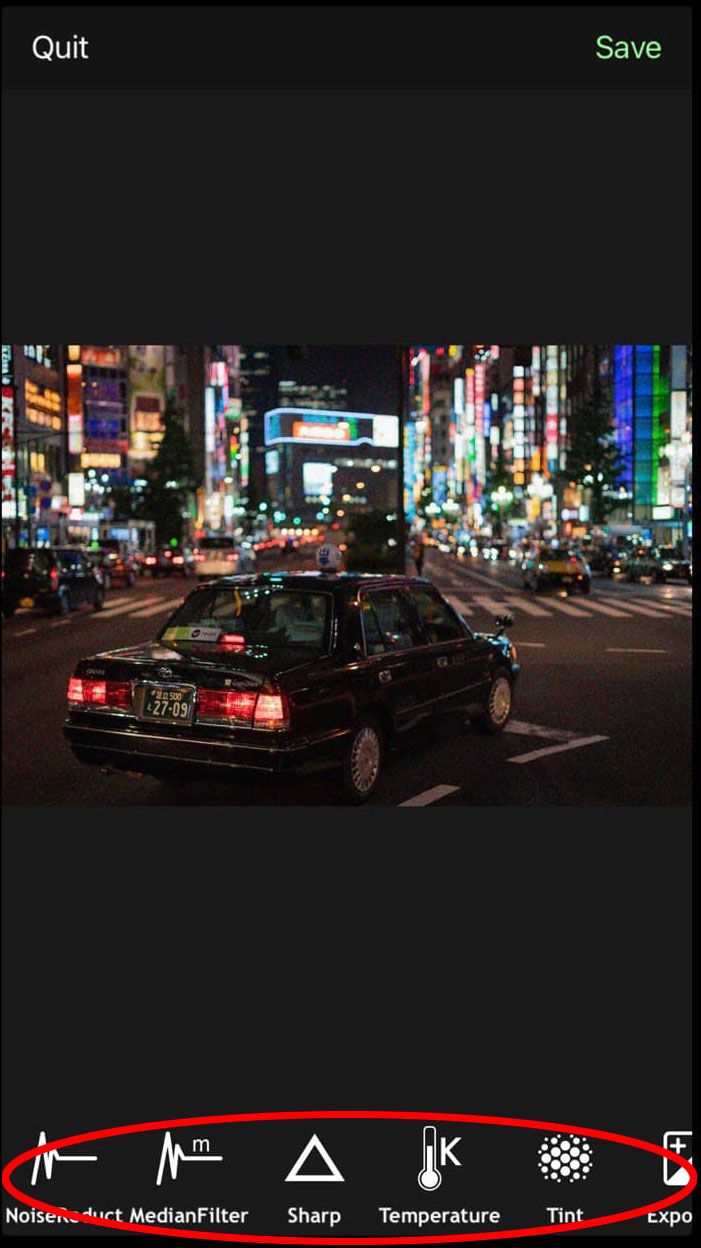
Pics Smoother
The median filter is great if you use burst mode in your camera. It removes noise by combining the different shots into one image, taking only pixels common to all the files and leaving out grain since it appears randomly.
How to Fix Grainy Photos on Android
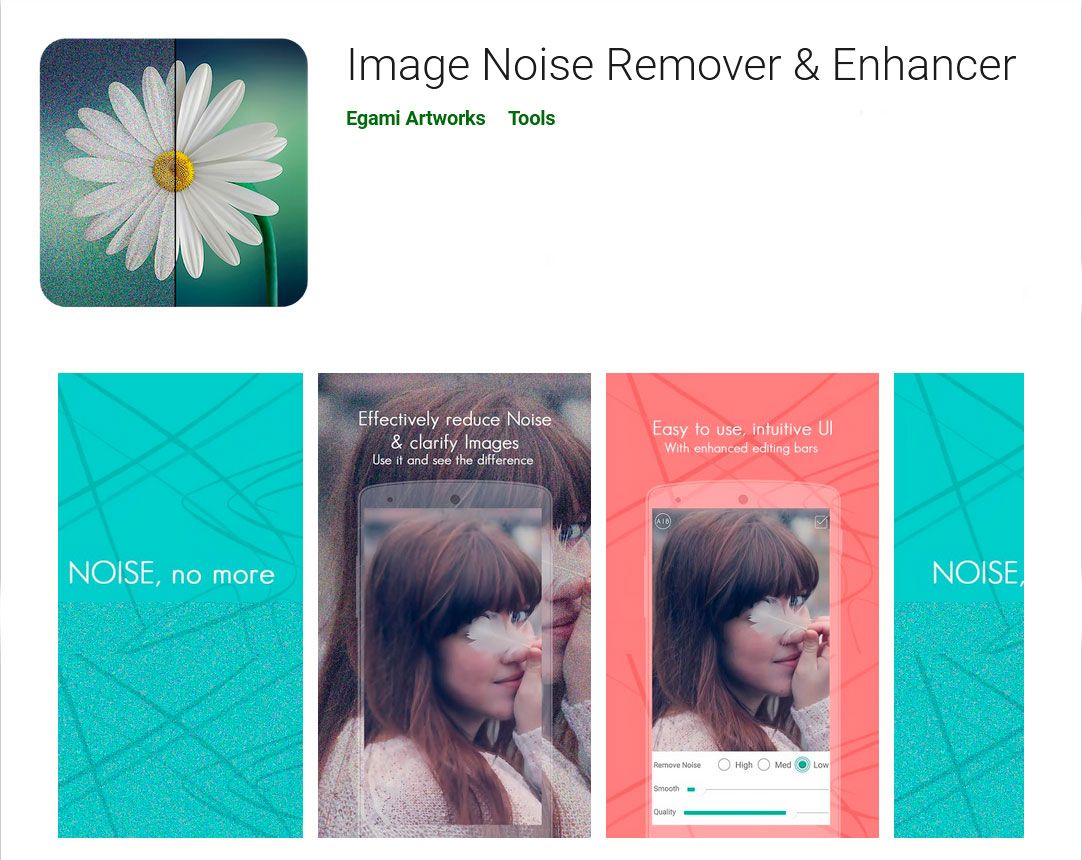
A tool specifically for noise reduction, Image Noise Remover is a free app that is very easy to use. It works well for high ISO images because it uses advanced optimization algorithms to fix grain non-locally. This means it can remove noise without affecting the overall details in the image!
Image Noise Remover
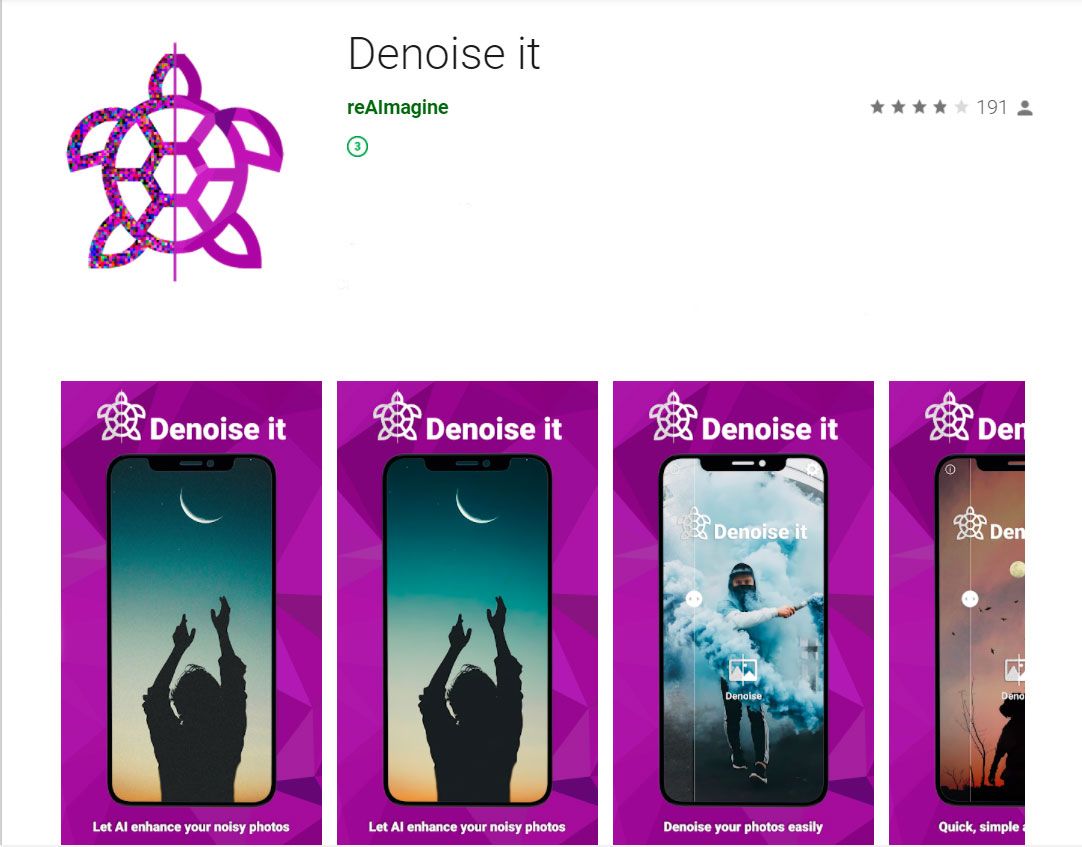
Denoise It works a bit differently than most apps.
Instead of requiring you to make adjustments on your own, the app sends your photo to an online server where the actual noise removal occurs. Once the editing is complete, you return a cleaner photo version!
The only drawback is that there is a resolution limit for the images. You must pay a small fee to get the full app version!
How to remove grains from photos using Denoise It
Way #5: How To Fix Grainy Photos Online for Free?
Spending money on and installing advanced programs for fixing grainy photos is not essential. Websites offer the convenience of uploading your image and getting it cleaned up for free!

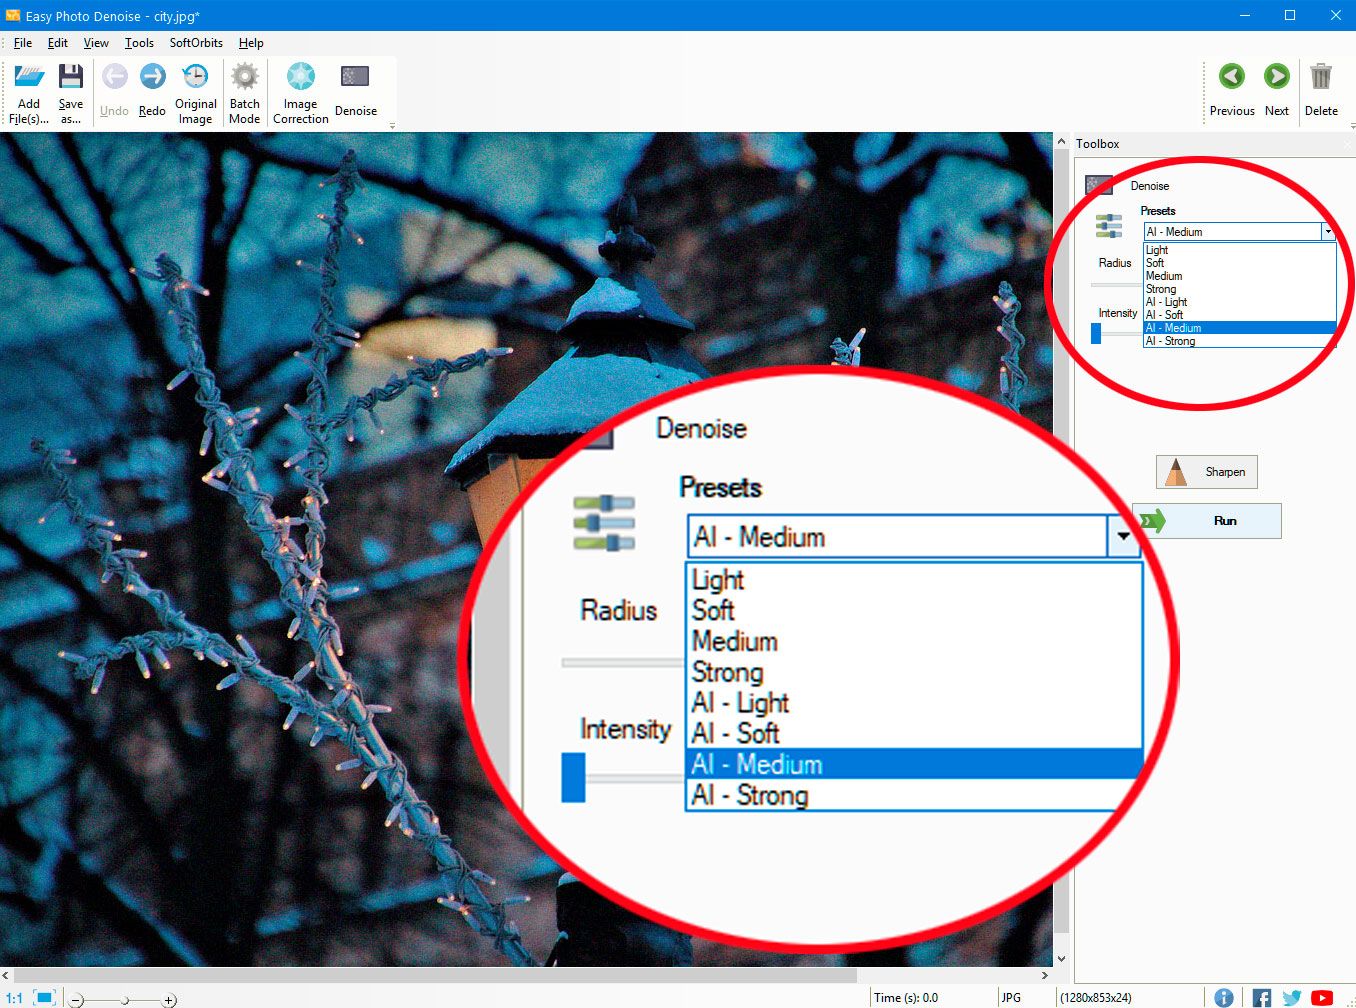
Pine Tools is a collection of many image editing tools. Along with features like adding filters and adjusting exposure or adding effects like Posterize and Solarize, one of the options it provides is Remove Noise.
The steps to be followed are very simple. You can google this website and use the toolbar on the left to select the Remove Noise tool. Then use the Browse button to add a photo from your computer, and click on Remove Noise.
Within a few seconds, the website will send back an edited version you can download!

Vance AI Denoiser is a great tool for noise reduction. By simply uploading the photo and waiting a few moments, you can get a clean version for download.
And the algorithms of Vance AI do a good job of fixing grain without making the edges and details look too smooth!
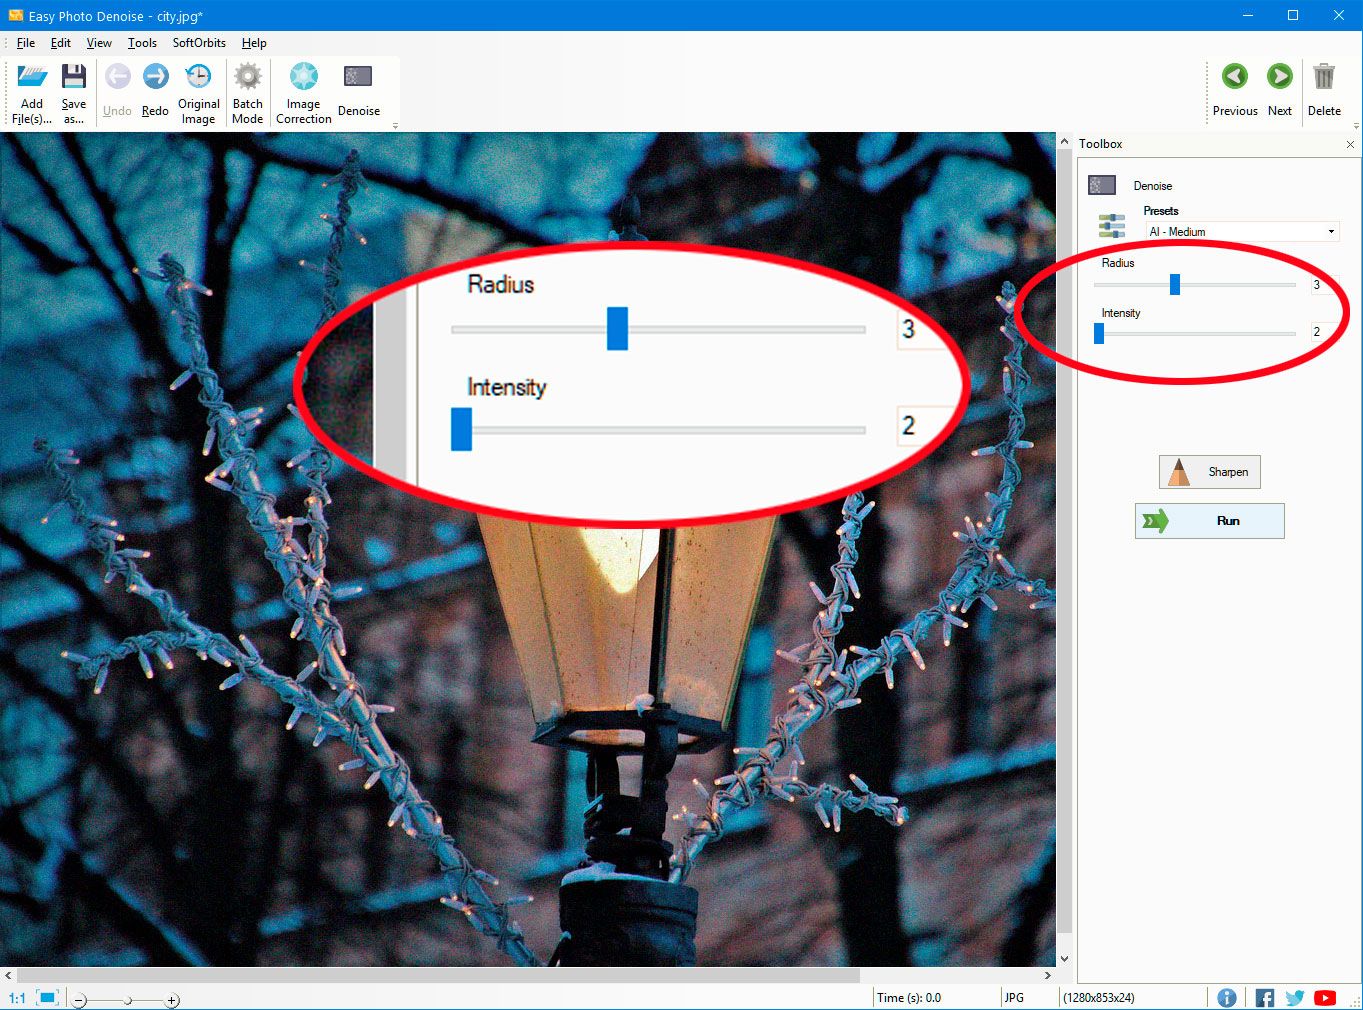
Using the link provided, you can directly begin uploading your photos. You will also get a slider from 0 to 100 to control the amount of reduction applied. The one drawback of this online tool is that there is a resolution limit, and you get only 5 tries for free.
You will have to upgrade and buy the desktop program for unlimited use! However, you can check out apps like Easy Photo Unblur, which sharpens images and videos.
How to Avoid Image Noise
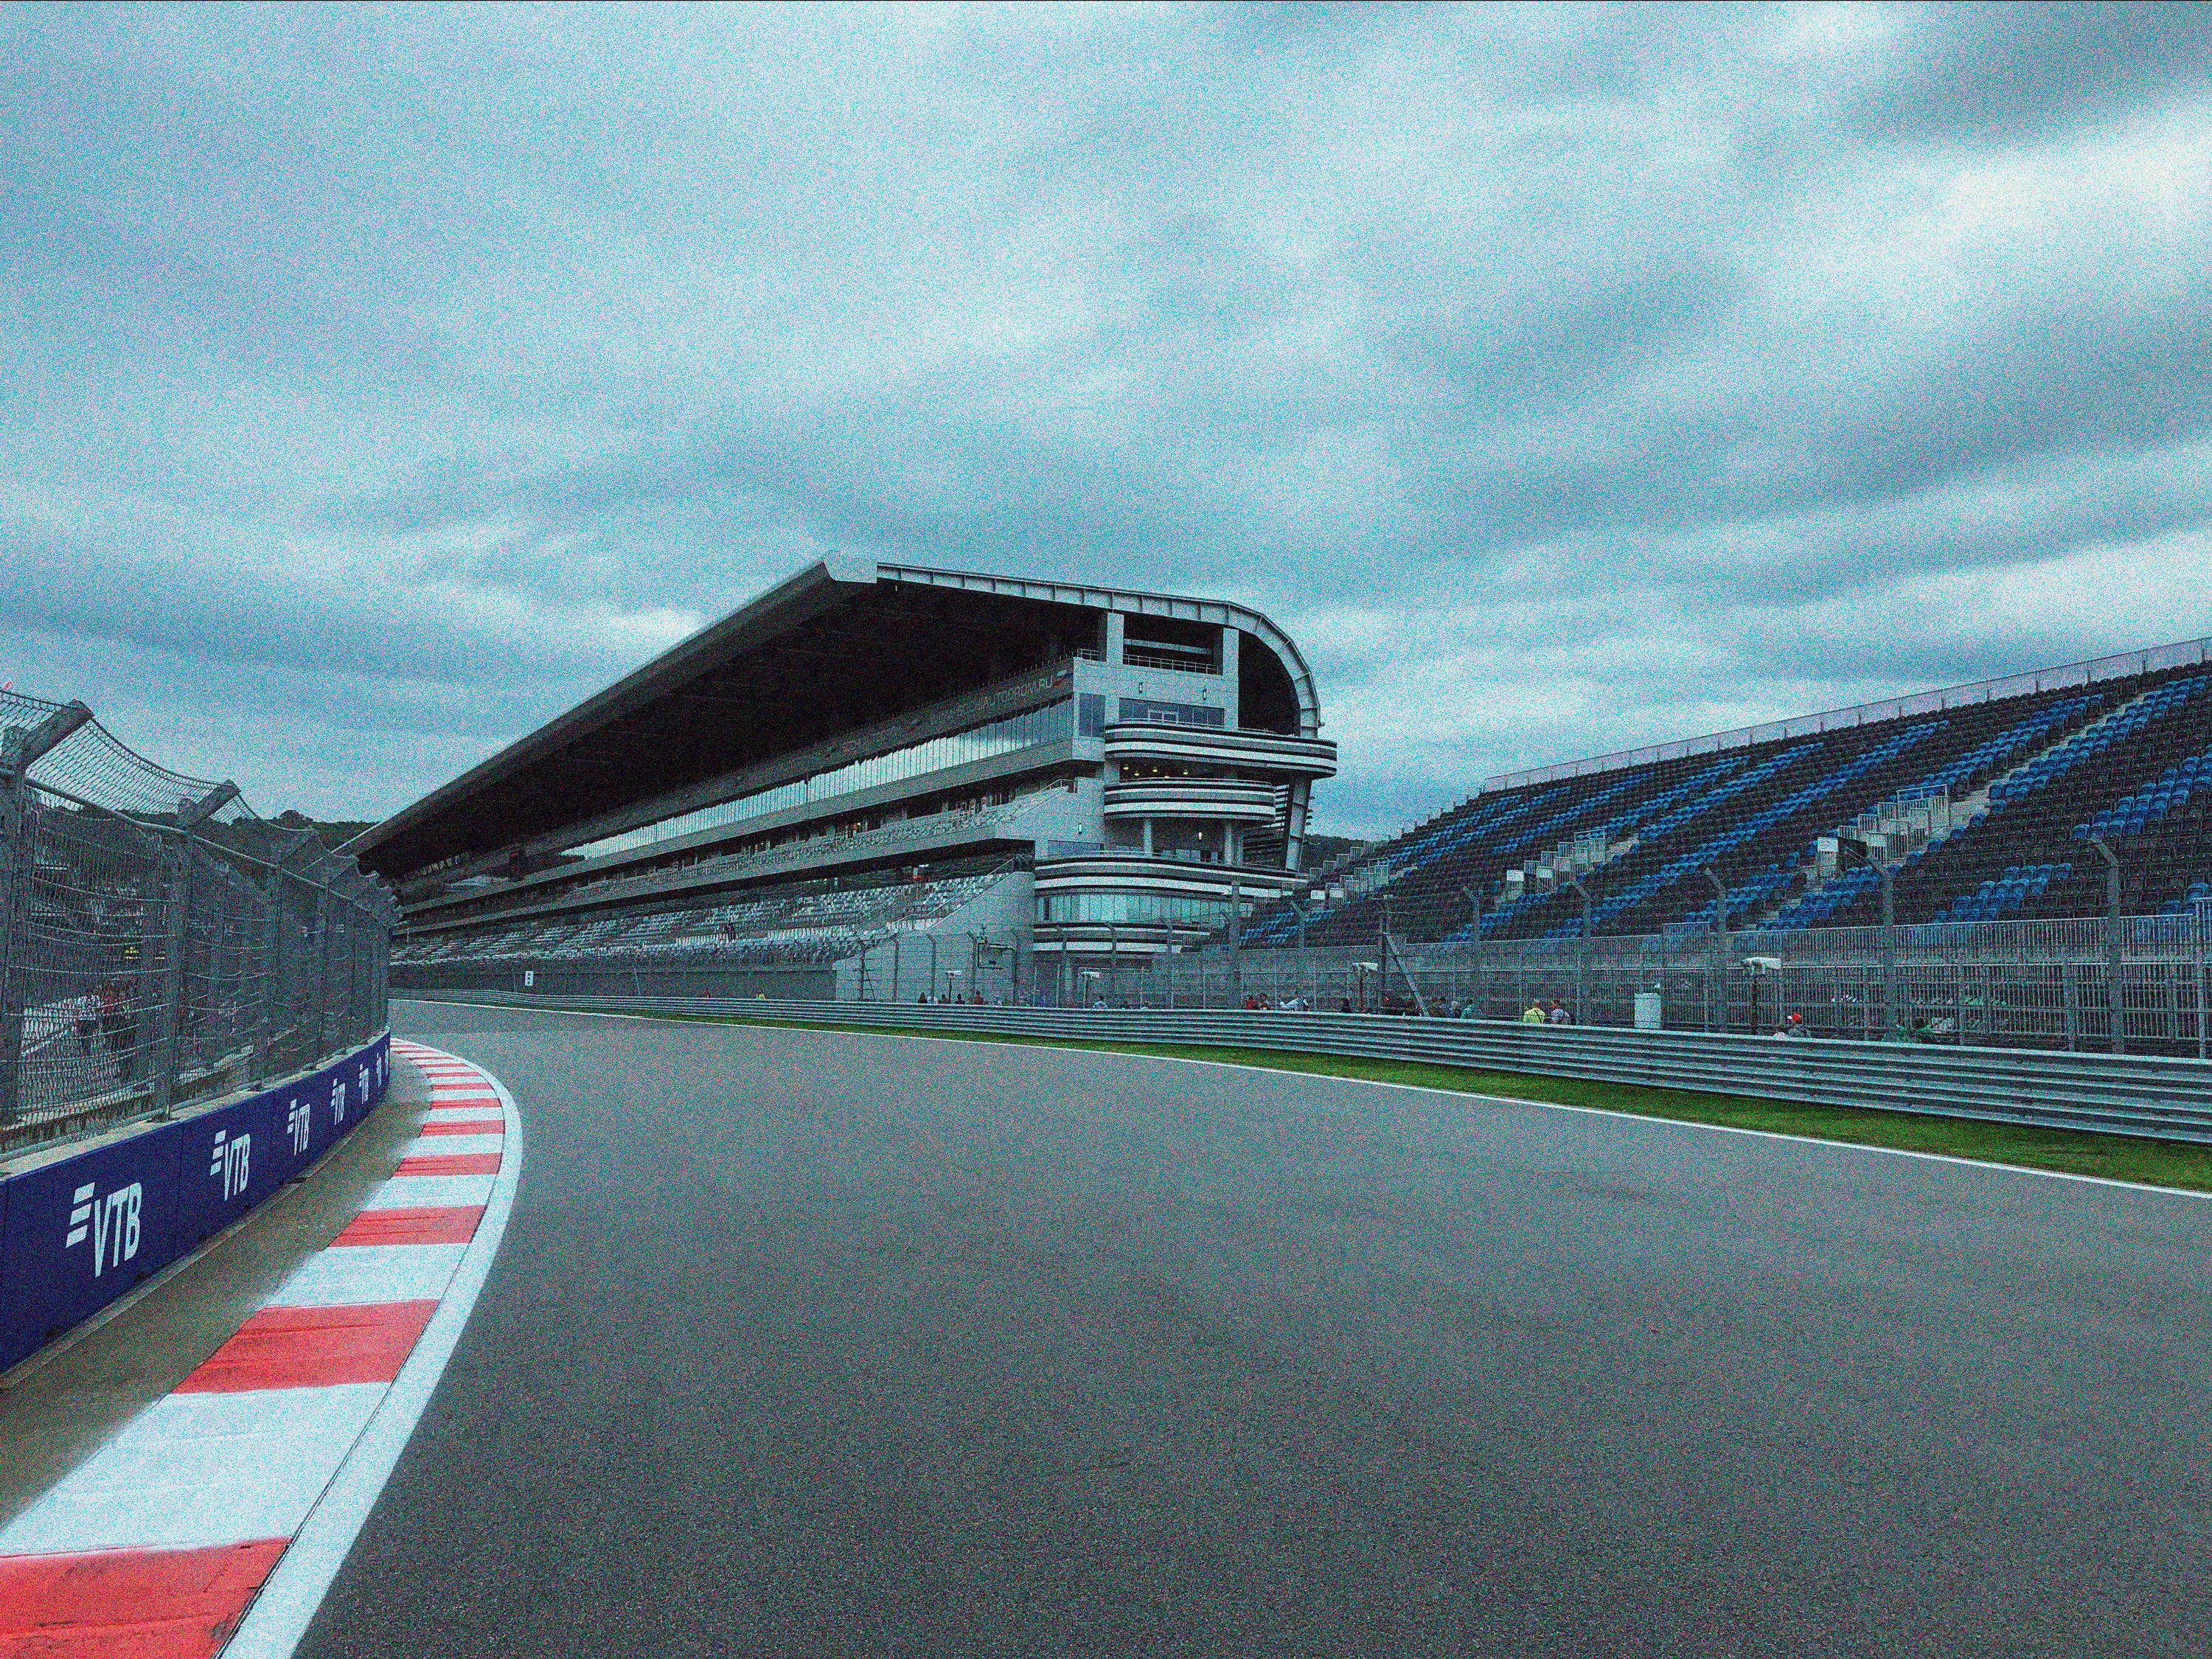
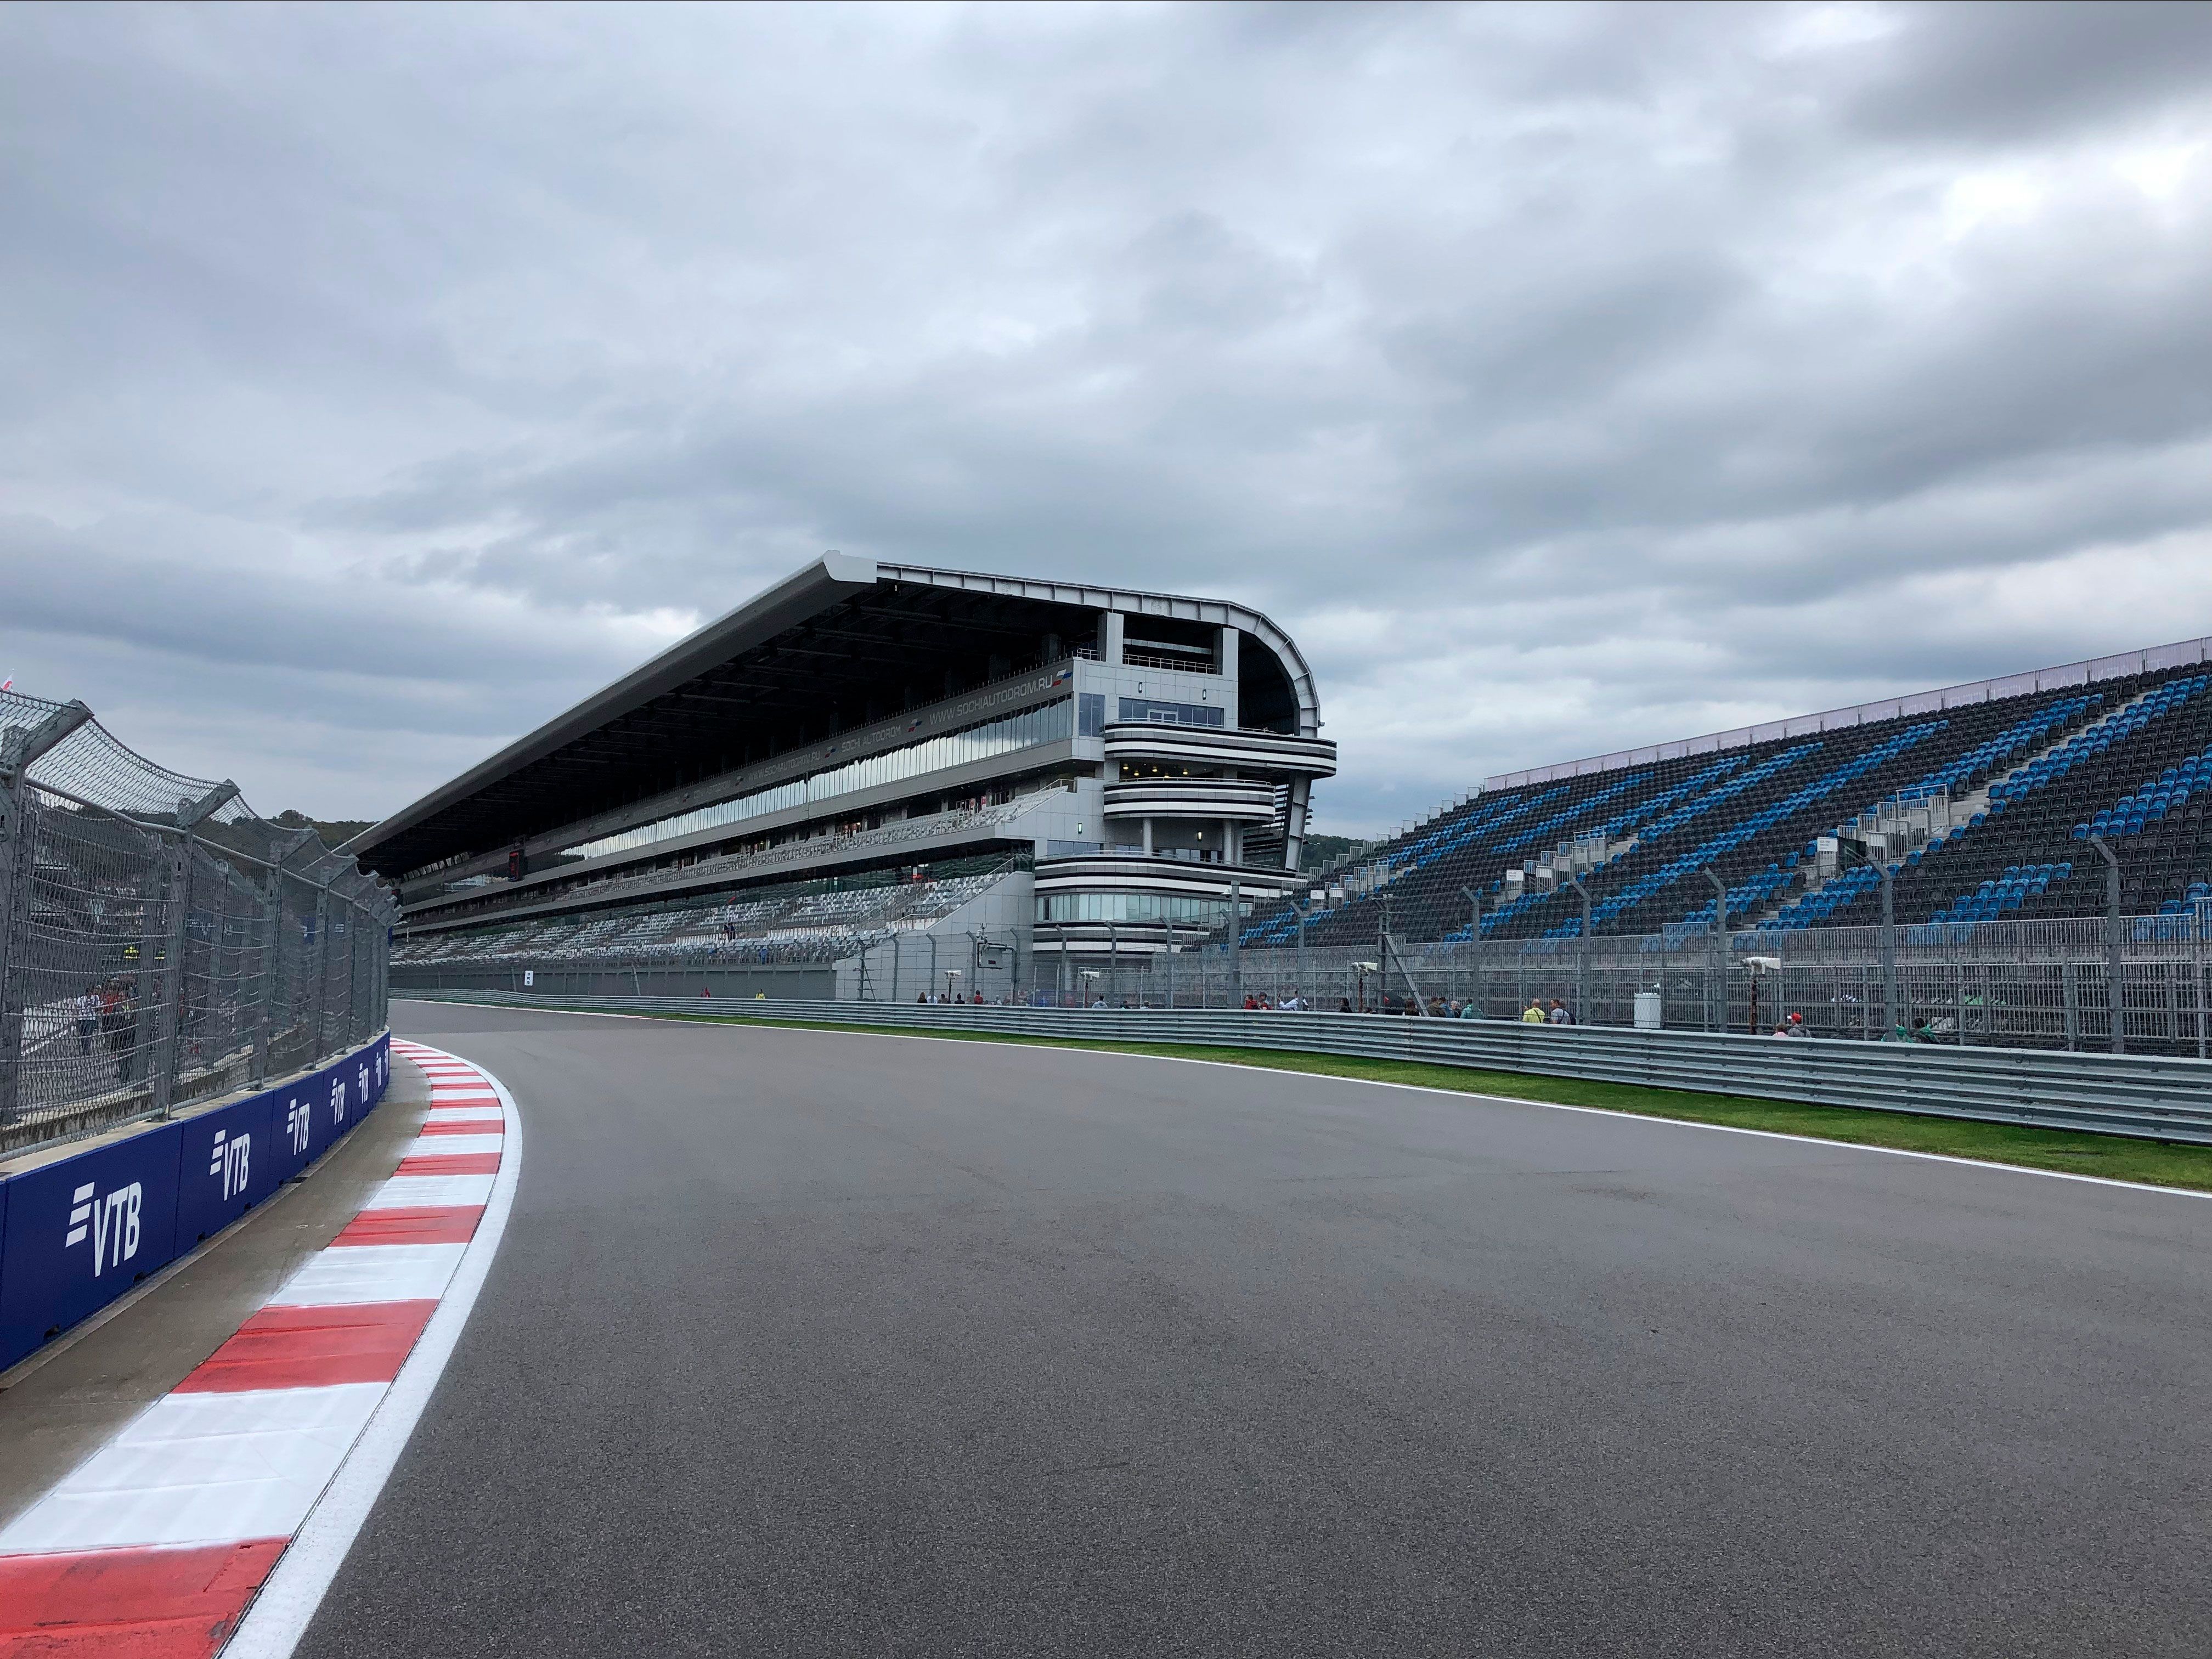
Shooting at a high ISO in low light is a recipe for image noise. In many situations, however, the stability delivered by the combination of an image-stabilised lens and in-body IS in the Canon EOS R5 means that you can avoid pushing the ISO too high. "In the old days, the solution was often a tripod," says Canon Europe's Mike Burnhill. "But tripods aren't always practical. So the ability to shoot handheld using a slower shutter speed at a lower ISO opens up a whole range of possibilities."Easy Photo Unblur stands out as the premier solution due to its intuitive interface, powerful features, and remarkable efficiency in restoring clarity to blurry photos.
Comments (0)